Introduction
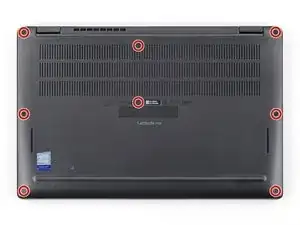
This guide demonstrates how to remove the WWAN card in your Dell Latitude 7410 laptop.
-
-
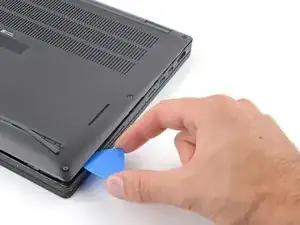
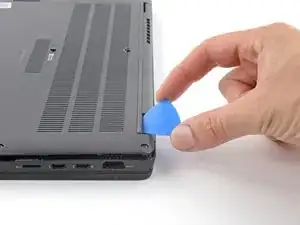
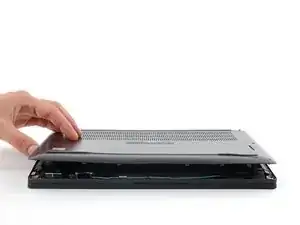
Insert an opening pick between the right edge of the back cover and the frame, just below the middle right screw.
-
-
-
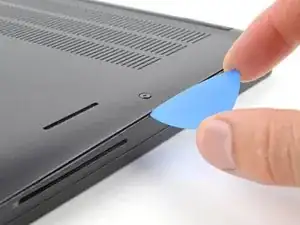
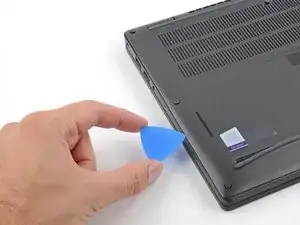
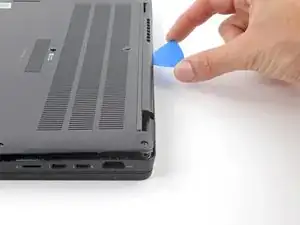
Insert your pick between the left edge of the back cover and the frame, next to the speaker cutout.
-
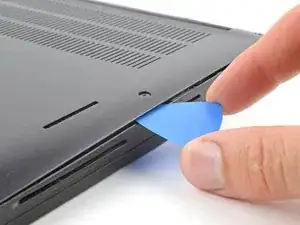
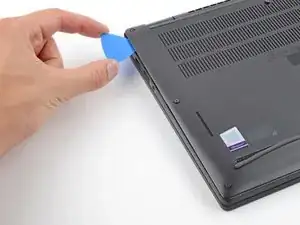
Slide your pick along the left edge to release the clips.
-
-
-
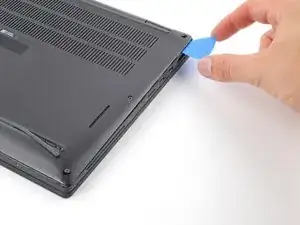
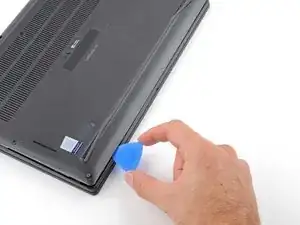
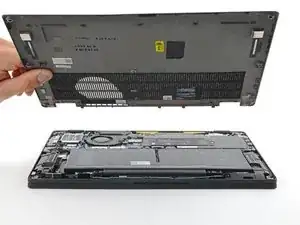
Insert your pick between the back cover and the right display-hinge to release the first clip along the back edge.
-
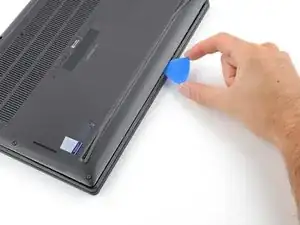
Slide your pick toward the left hinge until the second clip releases.
-
-
-
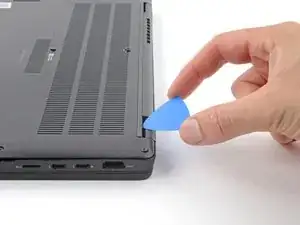
Insert your pick between the front edge of the back cover and the frame, just to the right of the bottom left screw.
-
Slide your pick toward the right edge until the front edge releases from the frame.
-
-
-
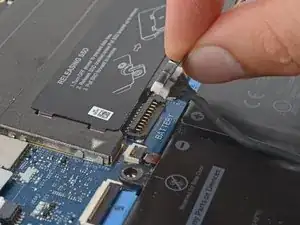
Grab the black pull tab on the head of the battery connector and pull straight up to disconnect it.
-
-
-
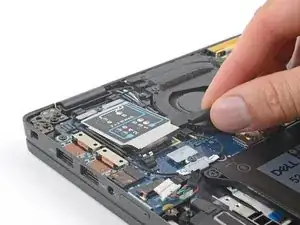
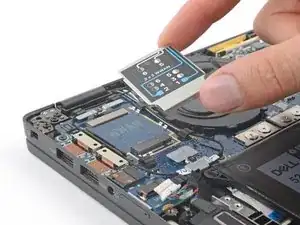
Use the flat end of a spudger to pry up the WWAN card cover from its clips on the I/O board.
-
Remove the cover.
-
-
-
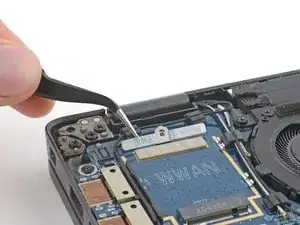
Use your Phillips screwdriver to remove the 3 mm screw securing the WWAN cable bracket.
-
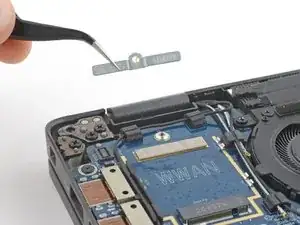
Remove the cable bracket.
-


To reassemble your device, follow these instructions in reverse order.