Introduction
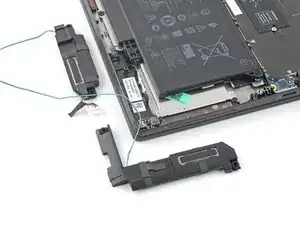
Use this guide to replace the speakers in your Dell Latitude 7410 laptop.
This guide refers to the speakers by the side they're on when the screen is open and facing you.
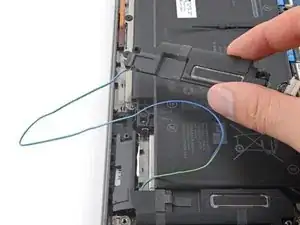
Note: The left and right speakers are connected by soldered wires. Replacing one requires that you remove and replace both, unless you de-solder the connecting wires.
Tools
-
-
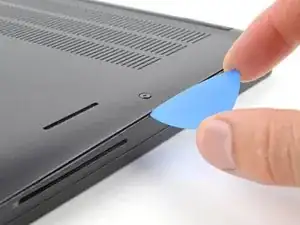
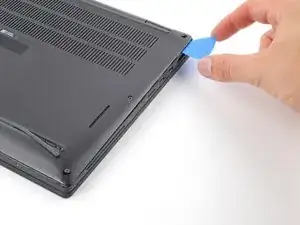
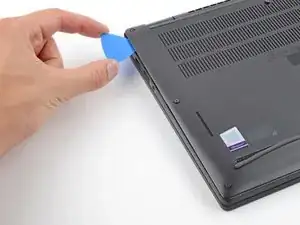
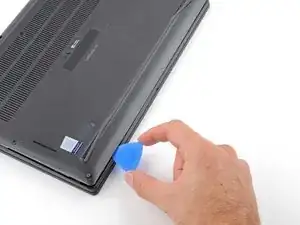
Insert an opening pick between the right edge of the back cover and the frame, just below the middle right screw.
-
-
-
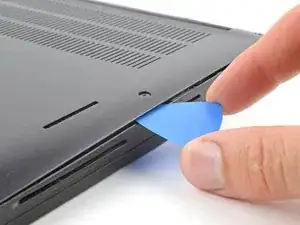
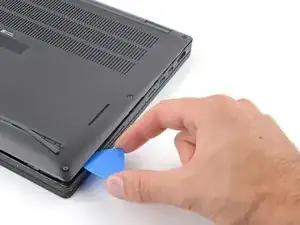
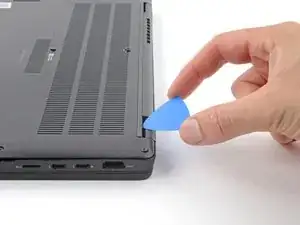
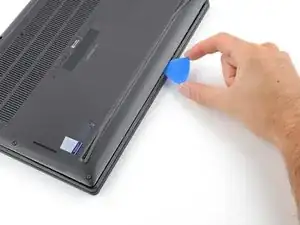
Insert your pick between the left edge of the back cover and the frame, next to the speaker cutout.
-
Slide your pick along the left edge to release the clips.
-
-
-
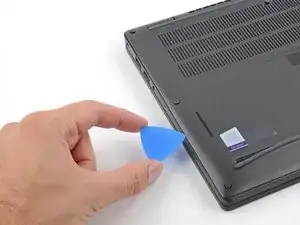
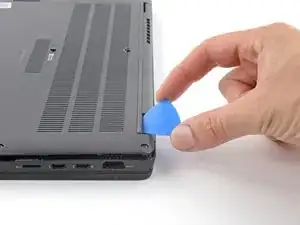
Insert your pick between the back cover and the right display-hinge to release the first clip along the back edge.
-
Slide your pick toward the left hinge until the second clip releases.
-
-
-
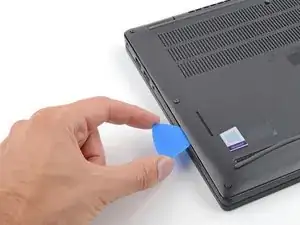
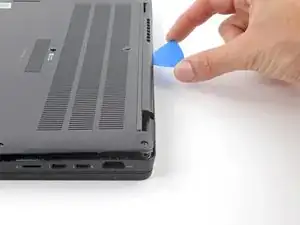
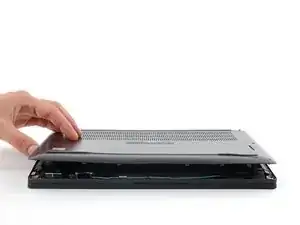
Insert your pick between the front edge of the back cover and the frame, just to the right of the bottom left screw.
-
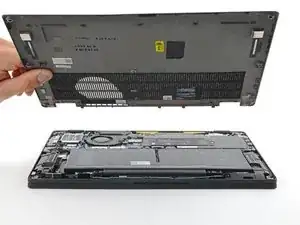
Slide your pick toward the right edge until the front edge releases from the frame.
-
-
-
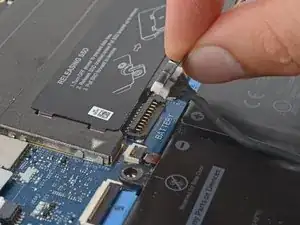
Grab the black pull tab on the head of the battery connector and pull straight up to disconnect it.
-
-
-
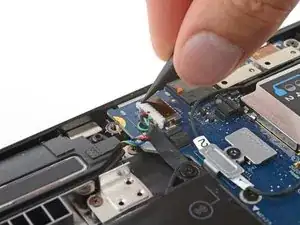
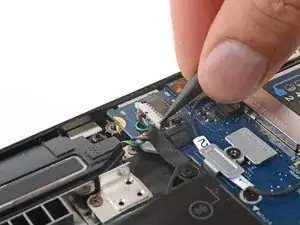
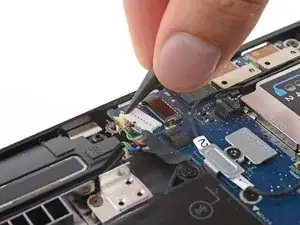
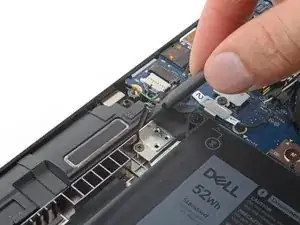
Use the point of a spudger to press on alternating side of the speaker connector to "walk" it out of its socket.
-
-
-
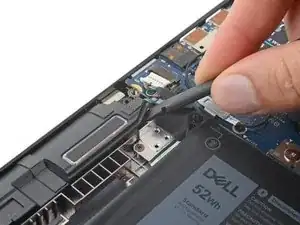
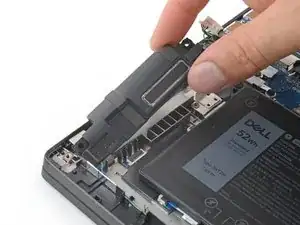
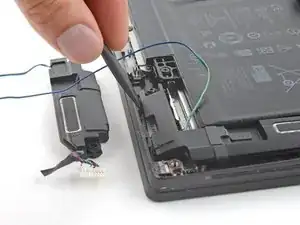
Insert the flat end of your spudger between the top edge of the right speaker and the frame.
-
Pry up to free the top rubber grommet on the speaker from the screw post.
-
-
-
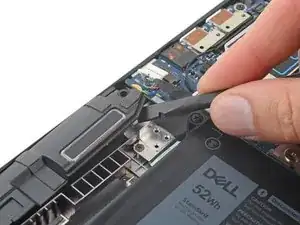
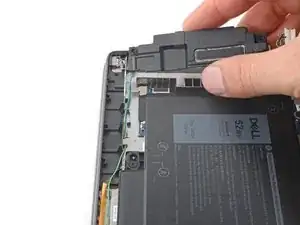
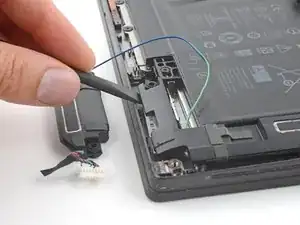
Insert the flat end of your spudger between the left edge of the left speaker and the frame.
-
Pry up to free the left rubber grommet from the screw post.
-
-
-
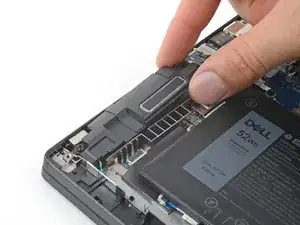
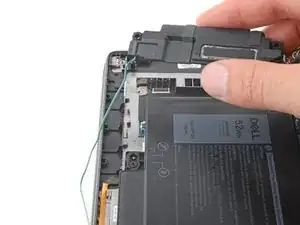
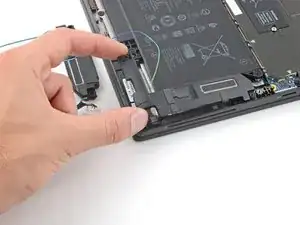
Grab the bottom edge of the left speaker.
-
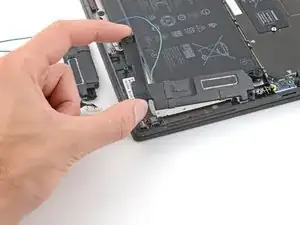
Pry up to free the top rubber grommet from the screw post.
-
Remove the left speaker.
-
To reassemble your device, follow these instructions in reverse order.
Take your e-waste to an R2 or e-Stewards certified recycler.
Repair didn’t go as planned? Try some basic troubleshooting, or ask our Answers community for help.

