Introduction
Use this guide to upgrade or replace the SSD in your Dell Latitude 7410 laptop.
Before you perform this repair, back up your existing SSD if possible. If you're replacing the SSD where your operating system is installed, familiarize yourself with a disk cloning utility so you’ll be ready to migrate your data to the new SSD. There are many tools to do this, but this article is a good place to start, if you're unfamiliar with the process.
Tools
-
-
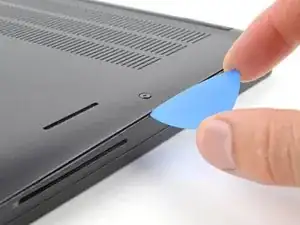
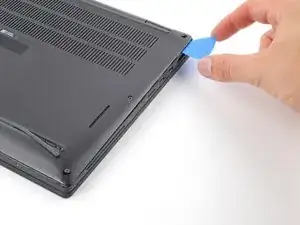
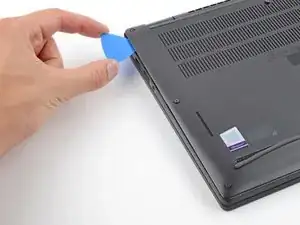
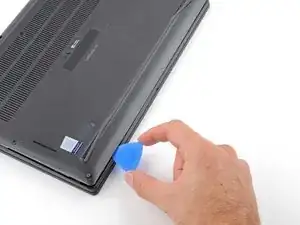
Insert an opening pick between the right edge of the back cover and the frame, just below the middle right screw.
-
-
-
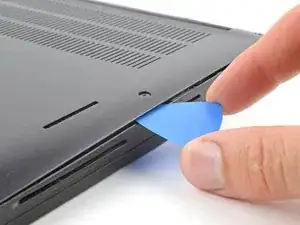
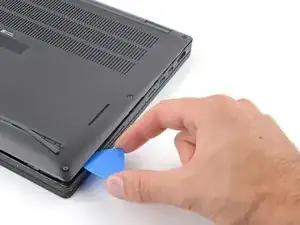
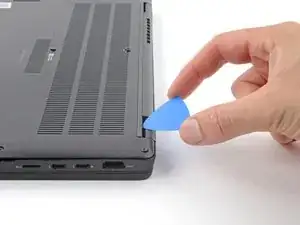
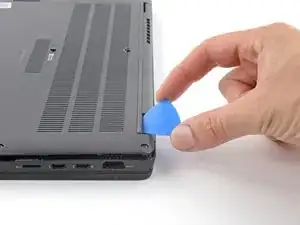
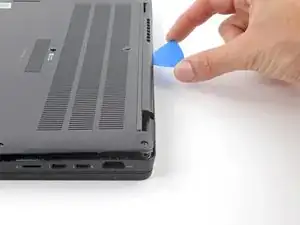
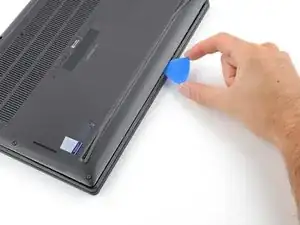
Insert your pick between the left edge of the back cover and the frame, next to the speaker cutout.
-
Slide your pick along the left edge to release the clips.
-
-
-
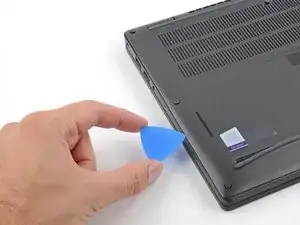
Insert your pick between the back cover and the right display-hinge to release the first clip along the back edge.
-
Slide your pick toward the left hinge until the second clip releases.
-
-
-
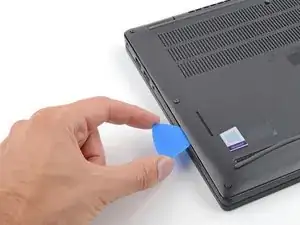
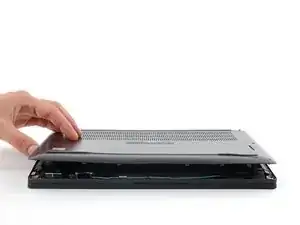
Insert your pick between the front edge of the back cover and the frame, just to the right of the bottom left screw.
-
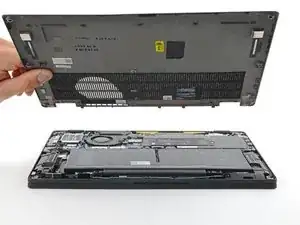
Slide your pick toward the right edge until the front edge releases from the frame.
-
-
-
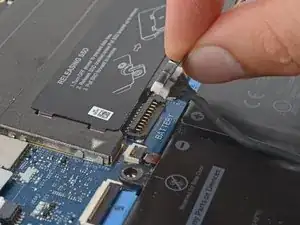
Grab the black pull tab on the head of the battery connector and pull straight up to disconnect it.
-
-
-
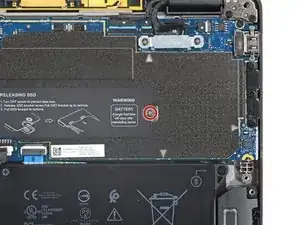
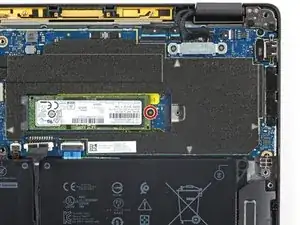
Use your Phillips screwdriver to remove the 2.7 mm screw securing the SSD shield.
-
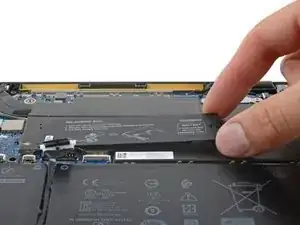
Grab and remove the SSD shield.
-
-
-
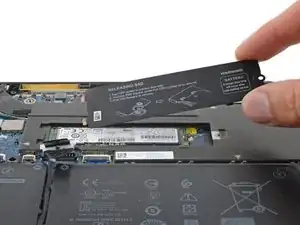
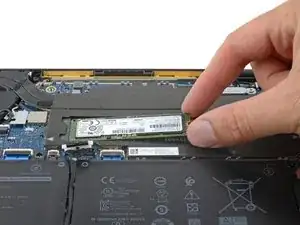
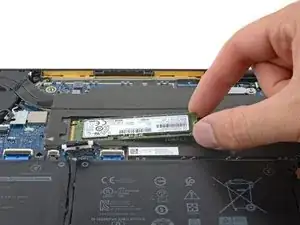
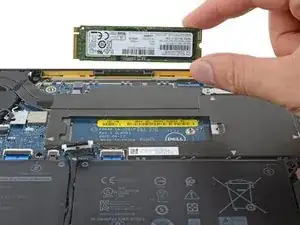
Grip the corners of the SSD closest to the screw cutout and pull it straight out of its socket and remove it.
-
To reassemble your device, follow these instructions in reverse order.
Take your e-waste to an R2 or e-Stewards certified recycler.
Repair didn’t go as planned? Try some basic troubleshooting, or ask our Answers community for help.

