Introduction
Use this guide to replace a worn out or damaged battery in your Dell Latitude 7410 laptop.
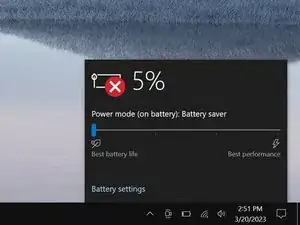
If your laptop dies quickly or doesn't hold a charge, it might be time to replace the battery.
If your battery is swollen, take appropriate precautions.
-
-
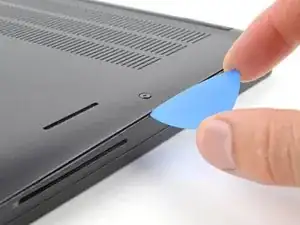
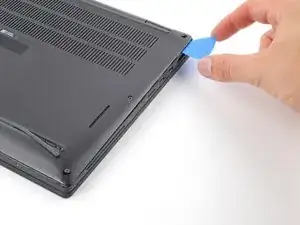
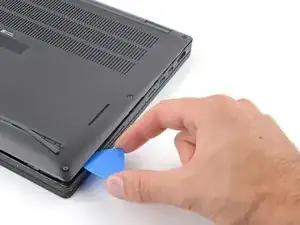
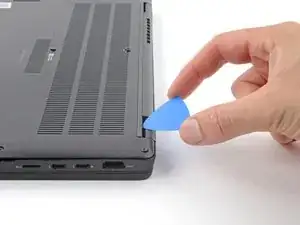
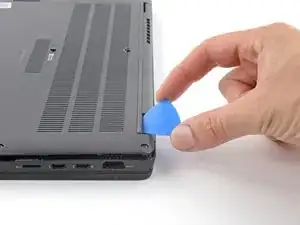
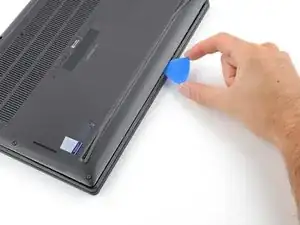
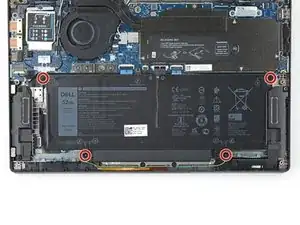
Insert an opening pick between the right edge of the back cover and the frame, just below the middle right screw.
-
-
-
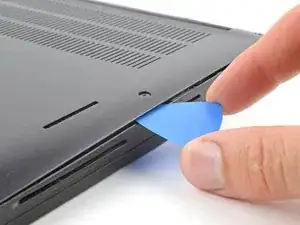
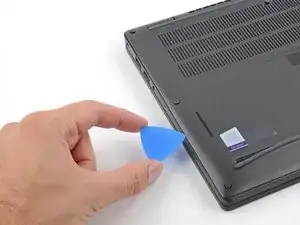
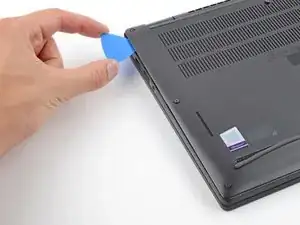
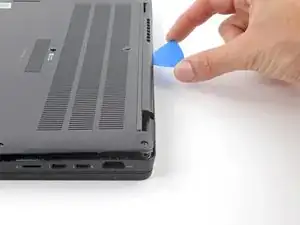
Insert your pick between the left edge of the back cover and the frame, next to the speaker cutout.
-
Slide your pick along the left edge to release the clips.
-
-
-
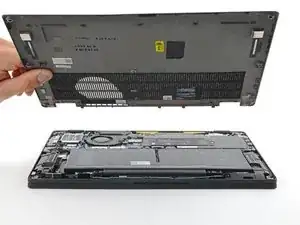
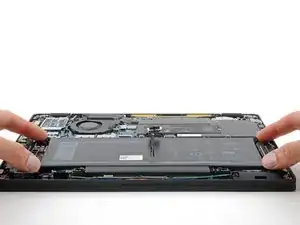
Insert your pick between the back cover and the right display-hinge to release the first clip along the back edge.
-
Slide your pick toward the left hinge until the second clip releases.
-
-
-
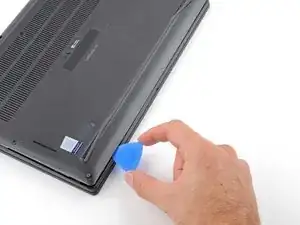
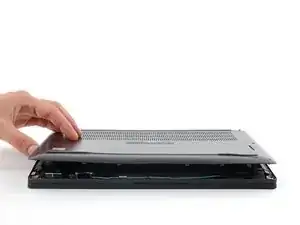
Insert your pick between the front edge of the back cover and the frame, just to the right of the bottom left screw.
-
Slide your pick toward the right edge until the front edge releases from the frame.
-
-
-
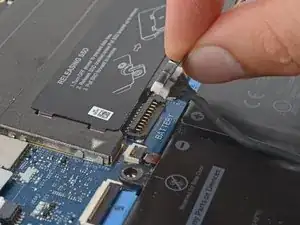
Grab the black pull tab on the head of the battery connector and pull straight up to disconnect it.
-


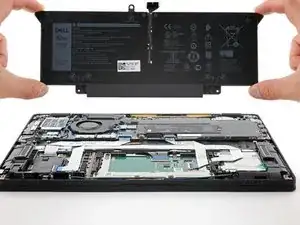
To reassemble your device, follow these instructions in reverse order.
For optimal performance, calibrate your newly installed battery after completing this guide.
Take your e-waste to an R2 or e-Stewards certified recycler.
Repair didn’t go as planned? Try some basic troubleshooting, or ask our Answers community for help.