Introduction
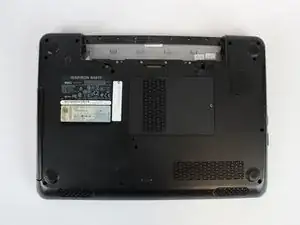
Removal and replacement of the top cover gives access to many components. The top cover also includes the track pad assembly. This guide is often a prerequisite to replacing many internal components.
Tools
-
-
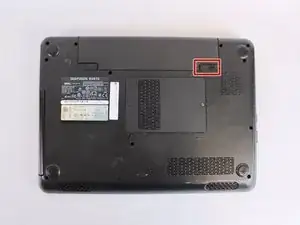
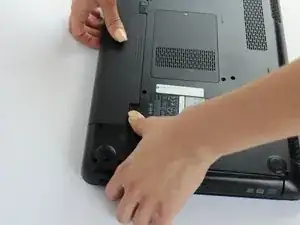
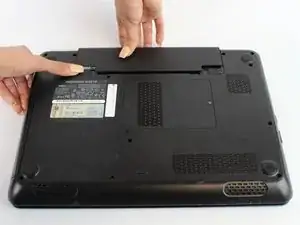
While holding the left-hand switch to the left position, pull the battery away from the laptop.
-
-
-
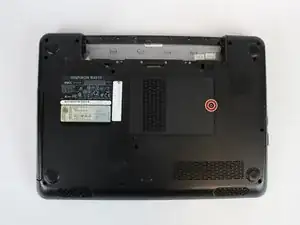
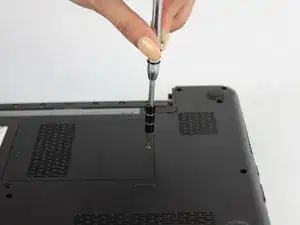
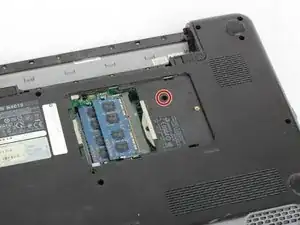
Using the #0 Philips head, unscrew the indicated screw.
-
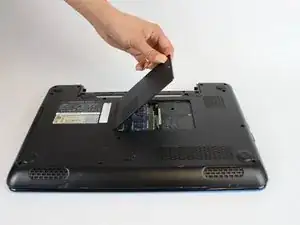
Carefully pull the RAM cover up and away.
-
-
-
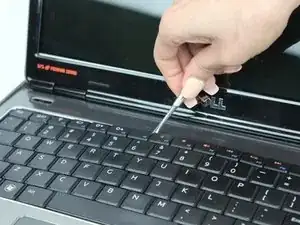
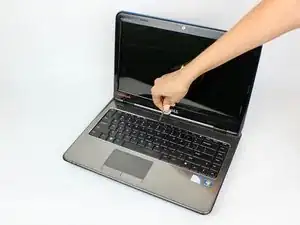
Using a thin plastic tool (such as a guitar pick or spudger) at the top of the keyboard just above the F7 key, gently pry the keyboard away.
-
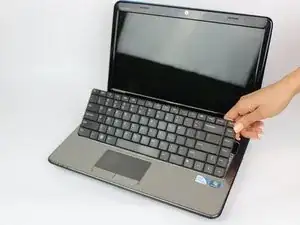
Move the spudger to either end at the top of the keyboard to fully undo all plastic clips.
-
-
-
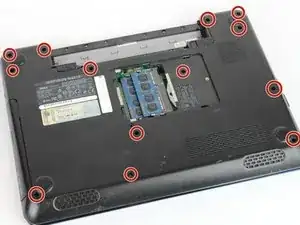
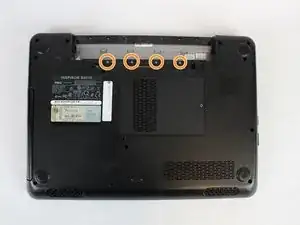
Remove the indicated 5.7mm screws.
-
Remove the smaller 3mm screws from underneath the battery compartment.
-
-
-
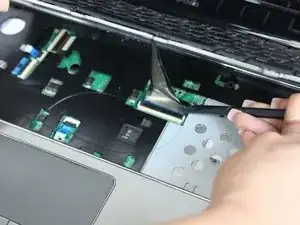
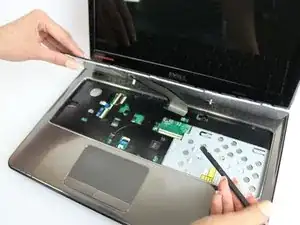
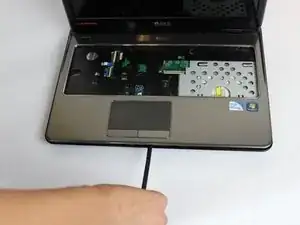
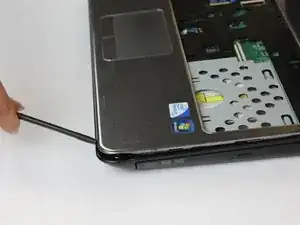
With a plastic spudger, pry away the silver top cover from the black casing.
-
Move the tool to the right and left along the seams to fully disconnect the cover.
-
-
-
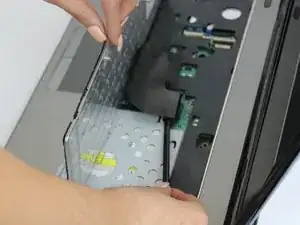
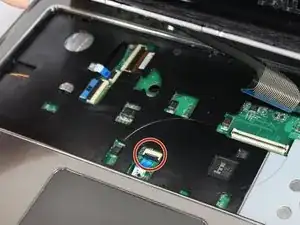
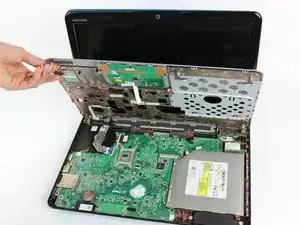
Lift the cover upwards and away from the body of the laptop, after removing the optical drive and unscrewing the three screws on the right
-
To reassemble your device, follow these instructions in reverse order.
