Introduction
Disclaimer: Make sure to turn the power off your device and disconnect the battery. Also, make sure the data on your hard drive is backed up before removing it. Some screws are smaller than others so try to keep in mind where those screws go but to help the smaller screws go in the holes that look like a different shade when looking down at it.
-
-
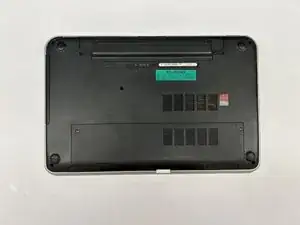
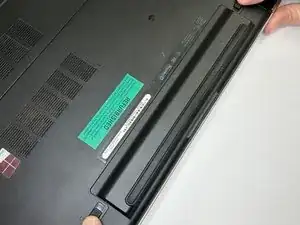
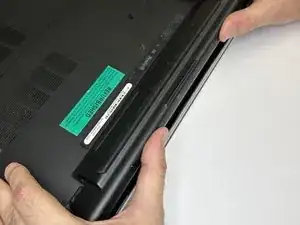
Flip the computer over and lift the battery out of the laptop by first sliding the latches outward. Set the battery to the side
-
-
-
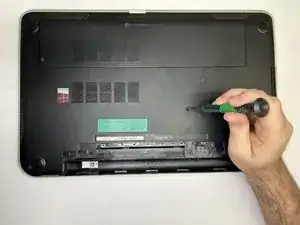
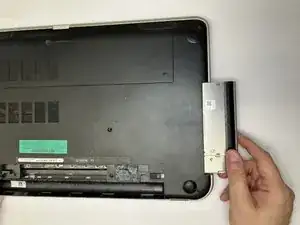
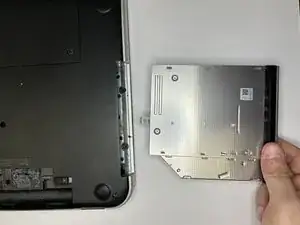
Remove the optical drive by unscrewing the screws on the panel and then sliding the drive out from the side. Set the optical drive to the side.
-
-
-
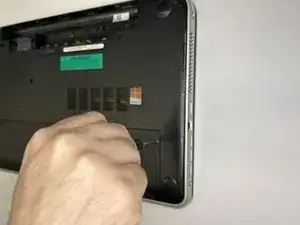
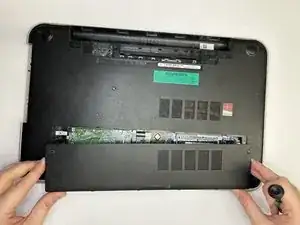
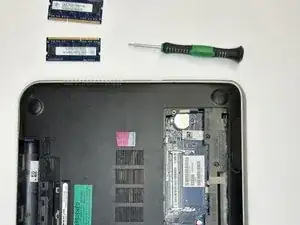
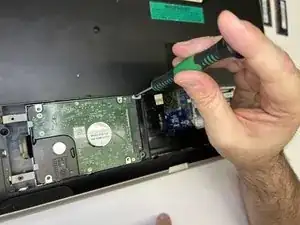
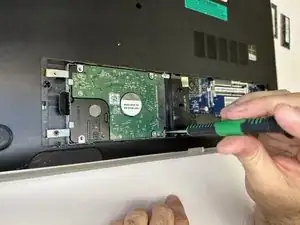
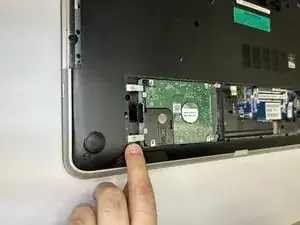
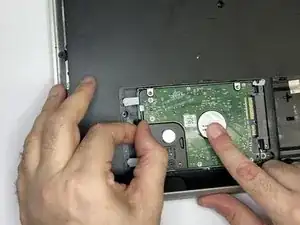
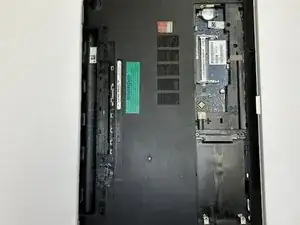
On the very bottom panel of the computer, unscrew the screws and take off the cover on the compartment housing the hard drive (your left side) and two pieces of memory hardware (your right side).
-
-
-
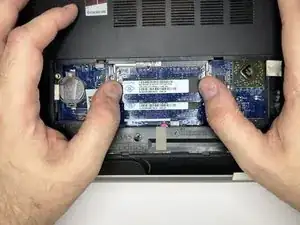
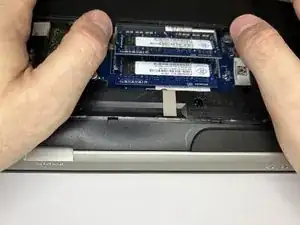
On your right side, separate the clips on the side of each memory to remove them. Set memory to the side.
-
-
-
Remove eleven screws from the outer frame. Four on the outermost corners, two on the optical drive, one by harddrive, two near the battery, and two screws by the memory bank.
-
-
-
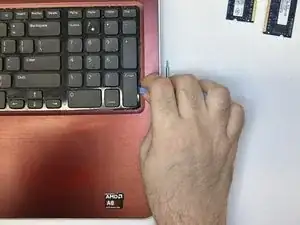
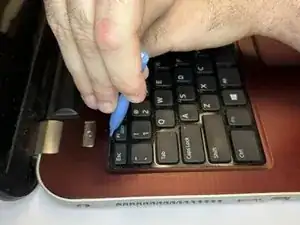
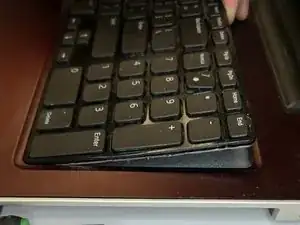
Use the flathead screwdriver to push in between the keyboard tabs around the edges of the keyboard. Use a prying motion to encourage the keyboard to loosen out of place.
-
-
-
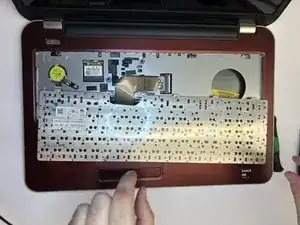
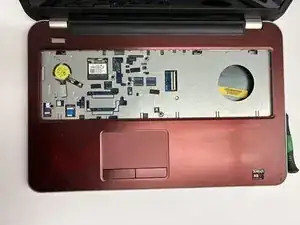
After the keyboard comes out, flip it over and carefully disconnect the cable. Set keyboard, with the cable attached, to the side.
-
-
-
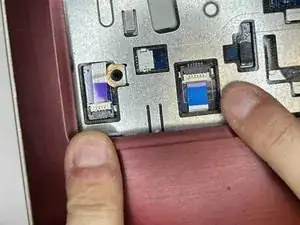
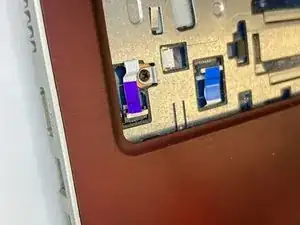
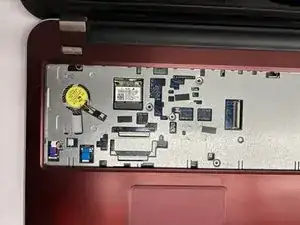
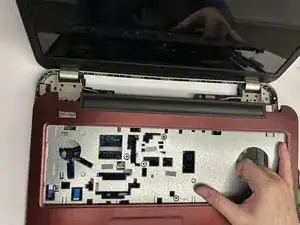
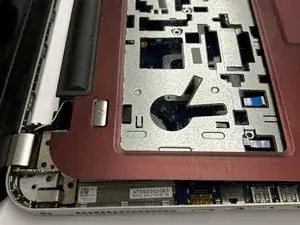
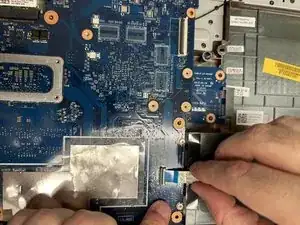
Disconnect the blue and purple palm rest cables by lifting up the covers and holding them in place.
-
-
-
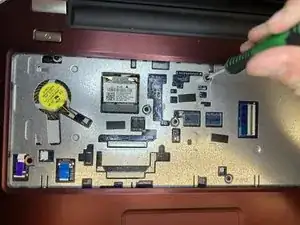
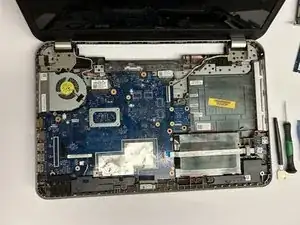
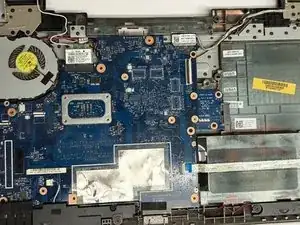
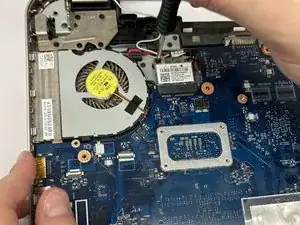
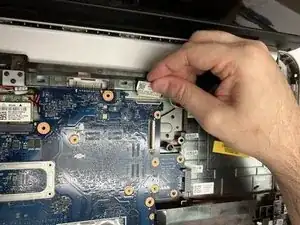
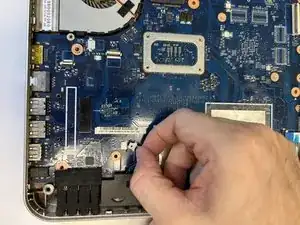
Detach the five motherboard cables. Lift the motherboard out of the base and set the computer to the side.
-
To reassemble your device with new fan, follow these instructions in reverse order.
