Introduction
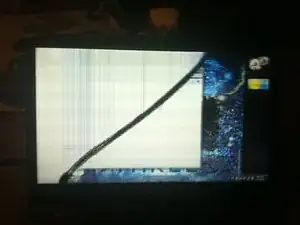
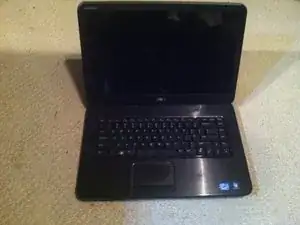
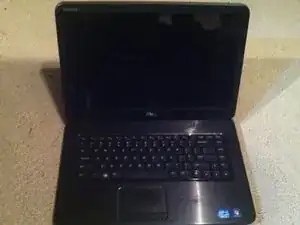
Give step by step instructions on how to remove and replace the screen of your dell.
Tools
Parts
-
-
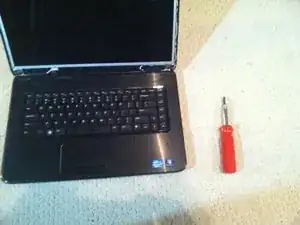
Assemble the required tools. You can do this with just a phillips head screw driver and your hands, but a plastic spatula can be helpful.
-
Find a replacement screen for your laptop there are many companies available, I recommend Laptopscreen.com. Make sure spec match the screen you are replacing. Also pay attention to options like glossy or matte screens. Either should work, it just depends on your preference.
-
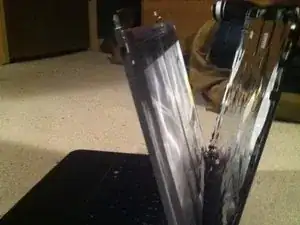
Once the new screen arrives remove cover and carefully examine screen for any cracks or flaws. Nothing worse than installing a new screen to find it was cracked during shipping.
-
-
-
Begin by unplugging your laptop, powering it down and removing the battery.
-
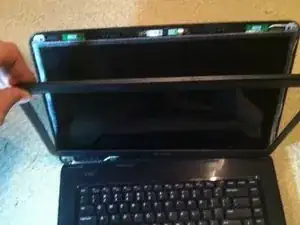
Next gently pry the plastic cover from around the screen. You shouldn't have a problem just using your fingers, but a spatula would also work.
-
-
-
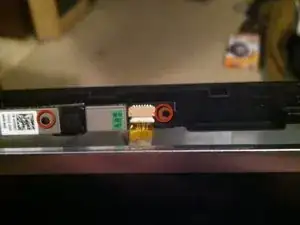
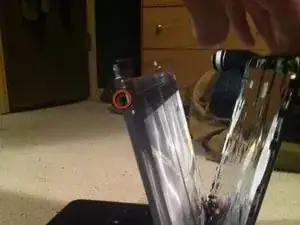
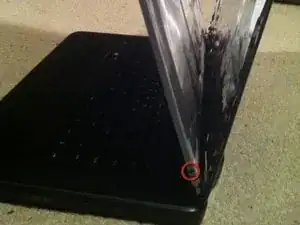
Remove the two screws from the top of the screen and four screws in bottom corners.
-
These screws hold the metal frame to the plastic back cover of your screen. It is a good idea to hold the screen and the back cover together as your remove the last screw. Once they are removed you can move the screen forward and away from the backing to make the other screws easier to reach.
-
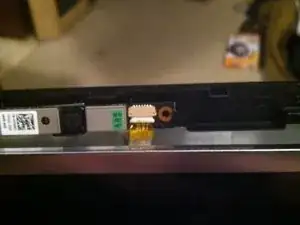
Next disconnect the camera cable that plugs in to the webcam above the screen. This will allow screen to be moved further away from the back cover
-
-
-
Now remove the four screws that hold the screen in the metal frame. There are two on each side of the screen.
-
-
-
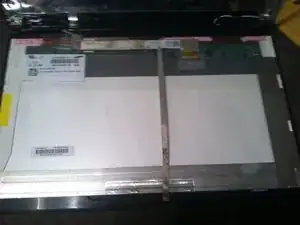
Once all the screws have been removed and the camera cable disconnected you can lay the screen down on your keyboard to disconnect the other cable.
-
-
-
Start by gently prying off the camera cable from the back screen. It should come off fairly easily but a spatula can also be used to pry under the cable and help remove it.
-
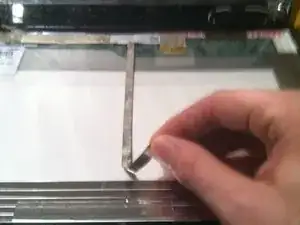
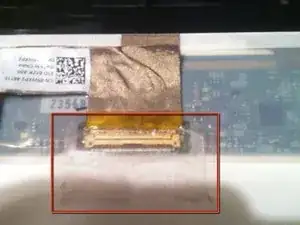
Next you must remove the video cable plugged into the back on the screen. It is a bigger version of the camera cable. However this connector is covered with clear tape to prevent the cable from unplugging by accident. Gently pull up an edge of the tape then slowly peel down away from the screen.
-
Next gently pry the rest of the video and camera cables from the back and your broken screen should be free to remove.
-
-
-
Installation is just the reverse of removal. Plug video cable back into the back of the screen. You can add a new piece of tape if you feel it's needed.
-
Next place screen back into the metal frame and replace the two screws on each side. Remember to remove any tape that wraps around from your screen protector before you screw the screen into the frame.
-
-
-
Push the screen and metal frame back against the plastic back cover, making sure to keep your camera cable at the top of the screen to reconnect
-
Snap the camera cable back into it's plug and then hold the back cover to the screen while you replace the two screws above the screen and the four at the bottom on the screen.
-
-
-
Snap the plastic cover back onto the screen. Gently press around the screen it snaps flush with the back cover.
-
Insert battery and power on your laptop. You should a perfectly working new screen!
-
To reassemble your device, follow these instructions in reverse order.
6 comments
Actually it was not that difficult. Thanks I got an old laptop working again.
Laptop visitor
I’m thinking about replacing my laptop screen, after reading this blog I also came across this video:
https://www.youtube.com/watch?v=u1XFFi0j... which shows a dell laptop screen being replaced. But he didn’t show a camera cable to replace. Will I have to replace that or not?
How much will it cost to replace the screen of model Latitude E5470?
