Introduction
Tools
-
-
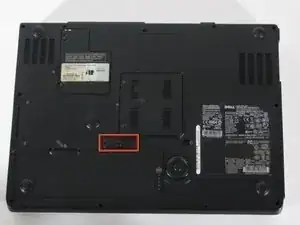
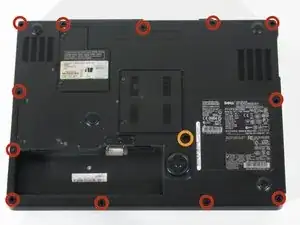
Remove the 12 Phillips #1 screws from the edges of the lower case.
-
You may also need to remove the central screw next to the lock icon.
-
-
-
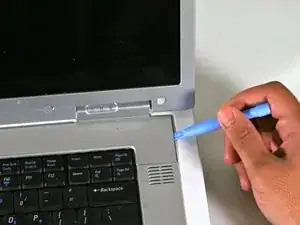
Turn the computer back over and tilt the screen open.
-
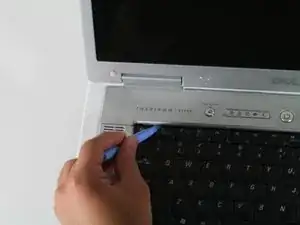
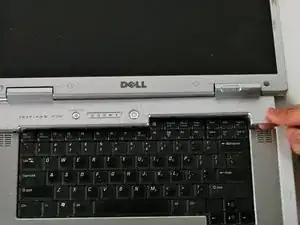
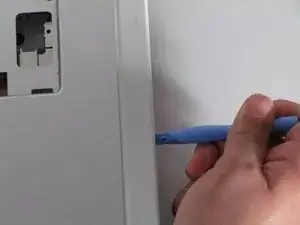
Use the plastic opening tool to carefully pry the panel out as shown in the pictures
-
-
-
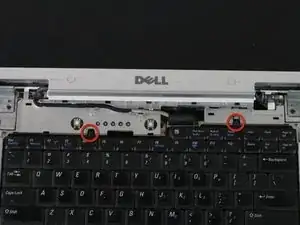
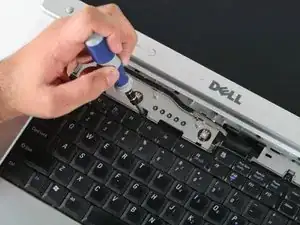
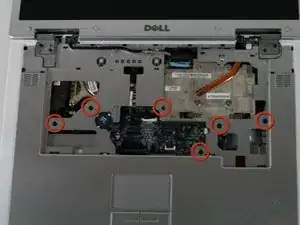
Use the small Phillips head screwdriver to remove the screws circled in red.
-
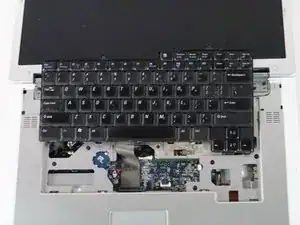
Gently lift the keyboard up and rest it just below the screen as shown in the picture.
-
The keyboard will still be connected to the motherboard.
-
-
-
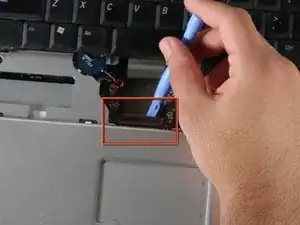
Before removing the keyboard completely, use the plastic opening tool to gently lift the clamp connecting the keyboard to the motherboard.
-
Once the keyboard has been disconnected, remove the keyboard completely.
-
-
-
Using a Phillips head screwdriver, remove the screws shown in the image. They all have the letter "P" next to them.
-
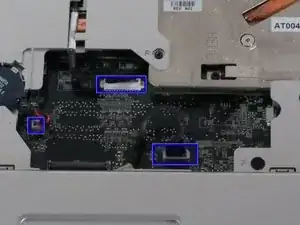
Carefully unplug the connections shown.
-
Also, the wireless cables on the right side may prevent moving the upper case out of the way.
-
Once the screws have been removed and the connections unplugged, use the plastic opening tool to gently separate the panel from the lower case.
-
-
-
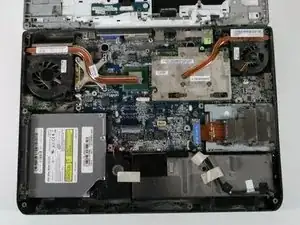
Remove the plastic case by gently bending back towards the screen. You can bend the screen all the way back if that helps.
-
-
-
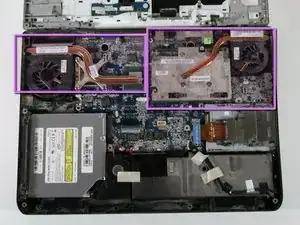
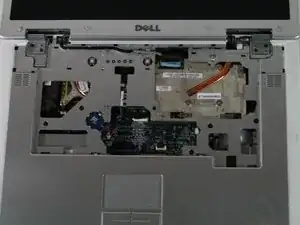
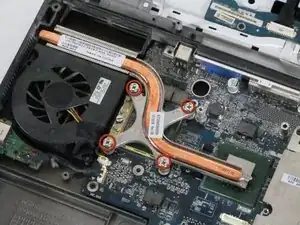
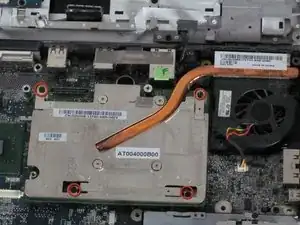
Remove the 4 screws indicated in the first picture
-
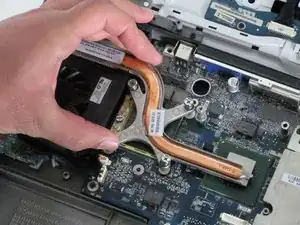
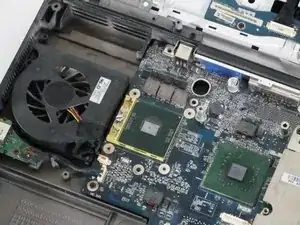
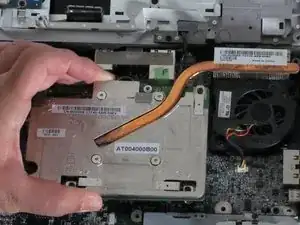
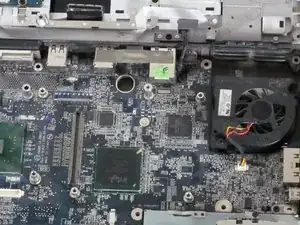
Gently lift up the videocard and heat sync from the motherboard.
-
To reassemble your device, follow these instructions in reverse order.
Introduction: Parts: Need to add the Fan Part Numbers
Original equipment: CPU Fan DC28A000820, GPU Fan DC28A000920
John Frazier -