Introduction
RAM is very important for a computer to pull up information quickly and without referring to previous bytes of memory. The RAM in any computer wears out over time so this is actually a pretty common replacement if you have an older computer. The wireless aspect just means how it connects to wireless networks(Wifi) problems with this leave the computer with a slow internet connection or non at all when there should be one.
Tools
-
-
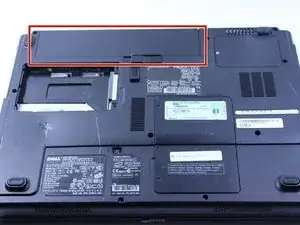
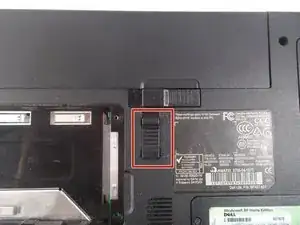
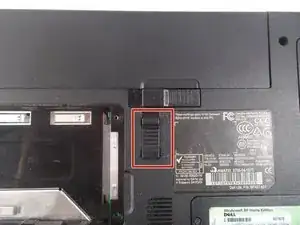
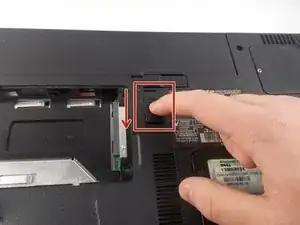
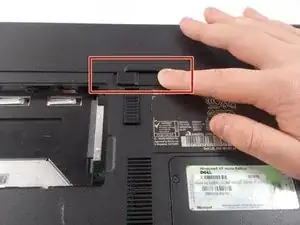
Push the tab from the battery, downwards to unlock the battery.
-
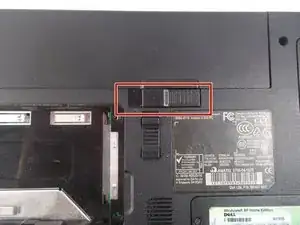
The tab should be in the position next to the unlocked indicator.
-
-
-
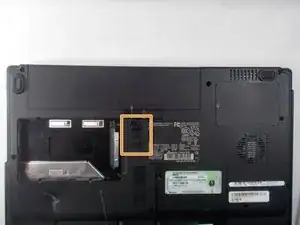
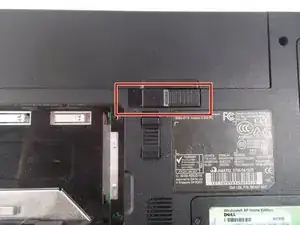
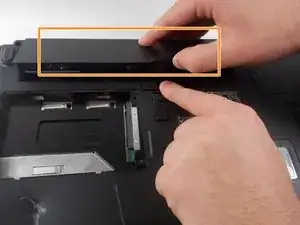
Now, push the other tab (the one right under the battery) from right to left.
-
Now the battery will be loose; lift the battery up and out of the computer.
-
-
-
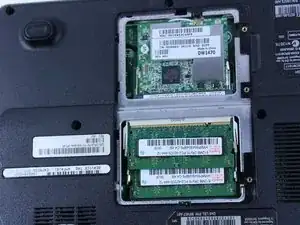
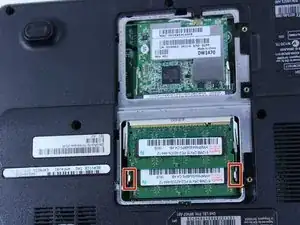
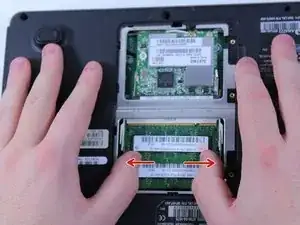
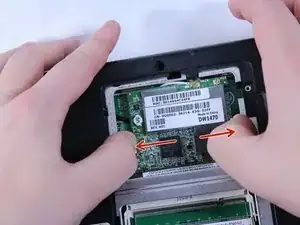
To remove the RAM, push outward against the metal brackets.
-
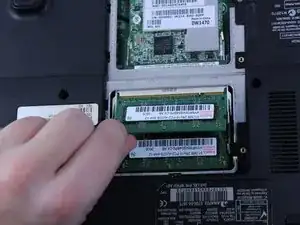
The first RAM will pop up so you can just pull it right out.
-
Repeat the first step again to remove the second RAM chip.
-
Installation is the reverse of removal.
-
-
-
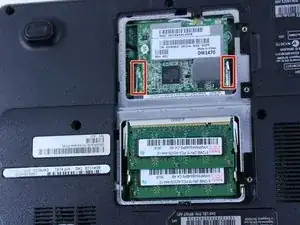
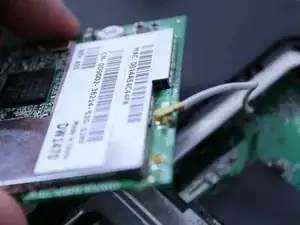
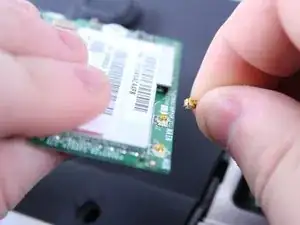
To remove the wire, hold the wireless chip firmly and pull the connection straight up off of the chip.
-
To reassemble your device, follow these instructions in reverse order.
