Introduction
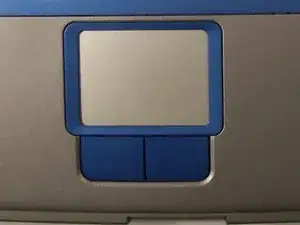
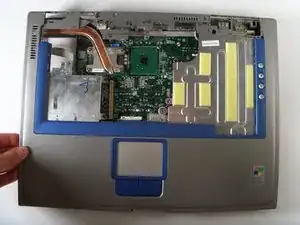
In this guide you will learn how to replace the touchpad on the Dell Inspiron 8600. The touchpad is used to scroll and click on links and items that are being presented on your screen without this function working properly your computer is ineffective
Tools
-
-
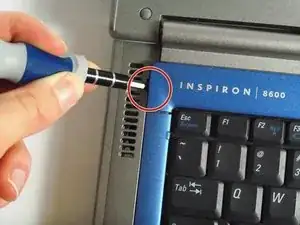
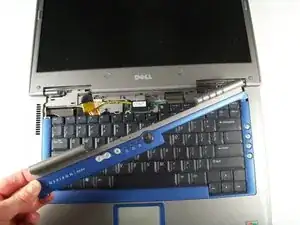
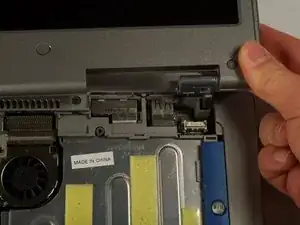
Insert a spudger into the notch at the far left side of the top blue panel and pry the hinge cover off.
-
You may need to pry the other side off as well. You can do this by inserting the spudger between the hinge and the top cover.
-
-
-
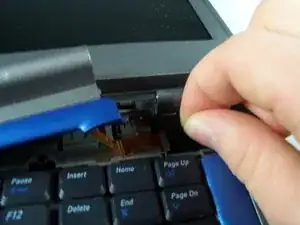
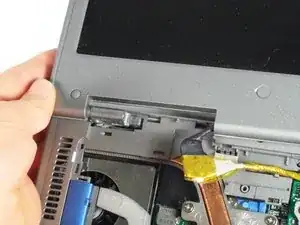
Pull the small black tab on the right hand side of the laptop.
-
You have now removed the hinge cover.
-
-
-
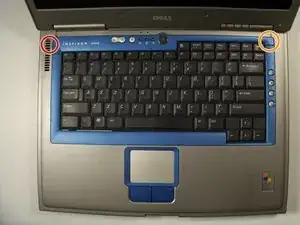
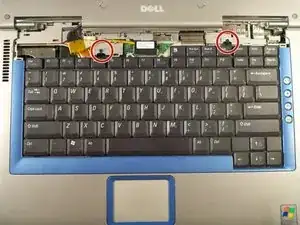
Using the Phillips #1 remove the screws at the top of the keyboard as indicated.
-
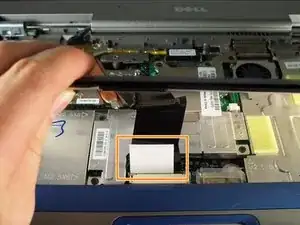
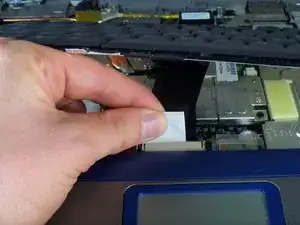
You will need to pull out the white tab underneath the keyboard upwards until it pops out of its socket.
-
-
-
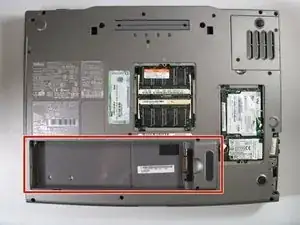
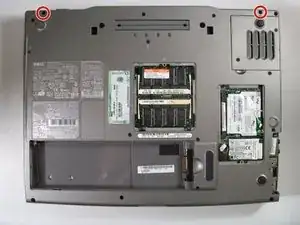
Flip the laptop over and remove the indicated screws.
-
Flip the laptop back over.
-
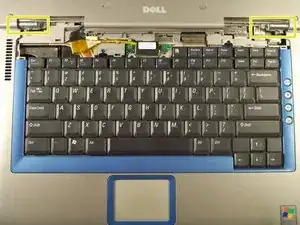
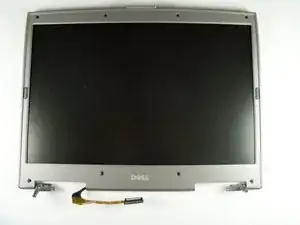
Find the two places where the display module is attached to the base of the computer.
-
-
-
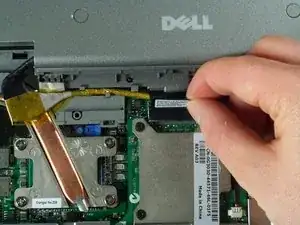
Disconnect the video card from the display module by gently lifting upwards on the black tab.
-
To reassemble your device, follow these instructions in reverse order.
