Introduction

Follow this guide to replace the top case of the Dell Inspiron 8600.

  1. H5bBYX1QTDXQvO15
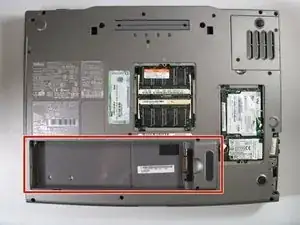
    • Remove the battery from the bottom left of the laptop as shown.

    • Remove the battery before operating on the computer to avoid electrocution.

  2. VNsOFgDRG1BvTRry
    VNsOFgDRG1BvTRry
    1WvOl5mh6or24QAk
    qXIB5JoFICYOJT42
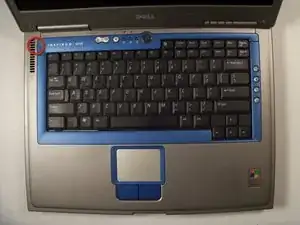
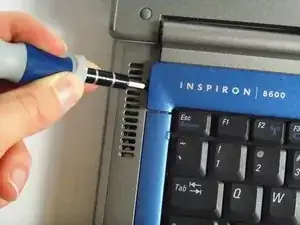
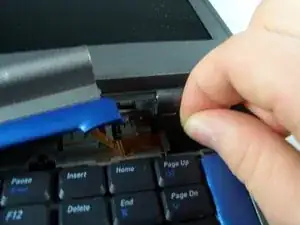
    • Locate the small opening at the upper left of the top blue panel which houses the power button.

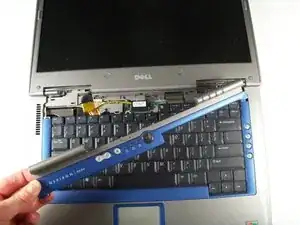
    • Use a spudger to lift up and remove the blue panel.

    • Caution: The hinge cover is still connected to the interior of the computer by a small black tab.

  3. EKAZTISTIYSijBZJ
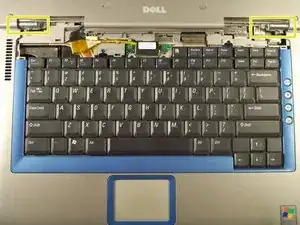
    • Locate the black tab at the upper right corner of the keyboard, and gently pull the black tab to the left to disconnect the hinge cover.

    • You should now be able to completely remove the hinge cover.

  4. ctofAQmWEIoxMS23
    ctofAQmWEIoxMS23
    2lRbJJBWIaafxoLN
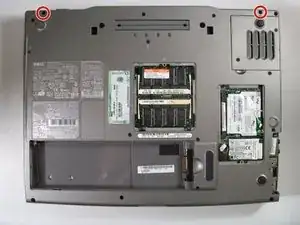
    • Flip the laptop over and remove the indicated screws.

    • Flip the laptop back over.

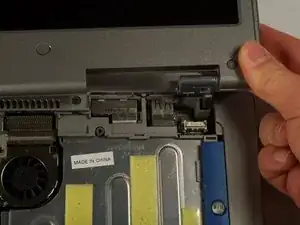
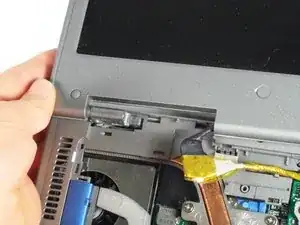
    • Find the two places where the display module is attached to the base of the computer.

  5. FTr5yemRQWJDRKtg
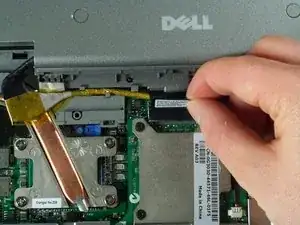
    • Disconnect the video card from the display module by gently lifting upwards on the black tab.

  6. tLmloPXFiMbSwwj3
    tLmloPXFiMbSwwj3
    MRTwOZsSoeAu15Ji
    • Lift the display module directly upwards from the base of the computer.

  7. cbWZoMsNpduhHHTq
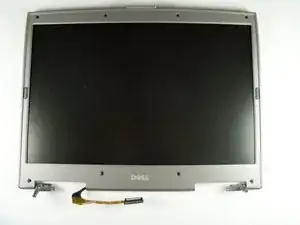
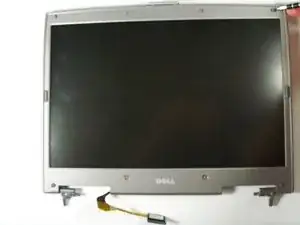
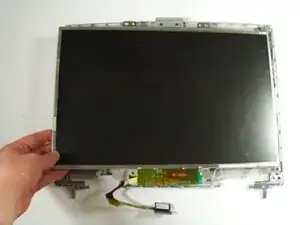
    • Now remove the display module.

  8. qdwSkNNxMsplOVgi
    qdwSkNNxMsplOVgi
    gPpQMLaeElL2PKiM
    AOT5GUM12JqP3XSg
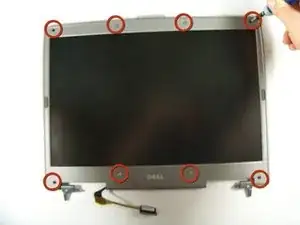
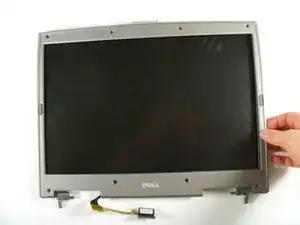
    • First, remove all tabs using a flat head/ finger.

    • Next, remove all screws using a #1 Philips screwdriver.

    • Pull apart top case from the lower case. It will be quite difficult to separate.

  9. QwPr2YwlbOrsYrbS
    QwPr2YwlbOrsYrbS
    JNBqLNPi54IvUy4x
    ymAeijVpxqaNdrth
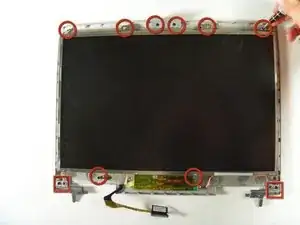
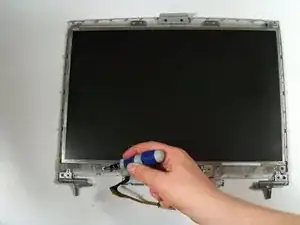
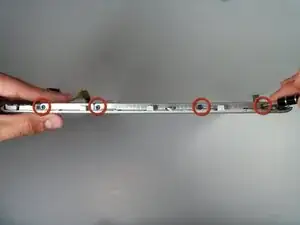
    • Remove all screws on the top of the lcd

    • There all several screw on each side of the LCD. Remove all.

  10. gET2d5iCx4taaYgb
    • LCD should remove smoothly.

    • The top case will be what remains.

Conclusion

To reassemble your device, follow these instructions in reverse order.
Perry

Member since: 13/04/11

251 Reputation

0 comments