Introduction

This guide will walk you through how to replace the LCD screen on your Dell Inspiron 600m. You will need a Philips #00 screwdriver, an anti-static wrist strap, and a wedge type tool such as a flat-head screwdriver or the IFixit Opening Tool to complete this guide.

  1. HD3qEBEfEXbedFI1
    HD3qEBEfEXbedFI1
    QDBNVQVWALjIdA4t
    rfAIKulKiBAeF3kr
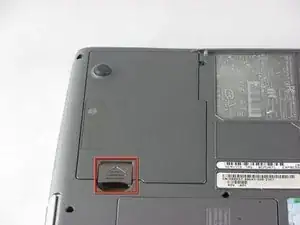
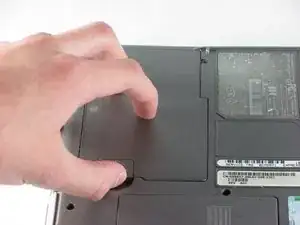
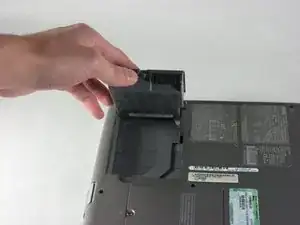
    • Flip laptop upside down and locate the battery as shown in the images.

    • Push in the tab on the battery and lift up. The battery should detach very easily.

  2. GVTpAY4yb1gtwoJj
    GVTpAY4yb1gtwoJj
    3IlWiHNAey16KOBf
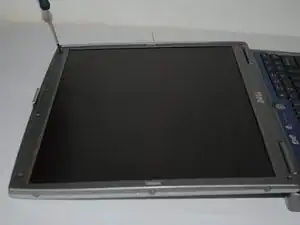
    • Using fingernails or a spudger, push any direction on the rubber dots to remove them from the plastic cover.

    • Underneath each rubber dot will be a screw. Remove these screws with the Phillips #00 screwdriver.

  3. gMOH3HSud6nYgNj4
    gMOH3HSud6nYgNj4
    BQrhRhYPkpBGSqBh
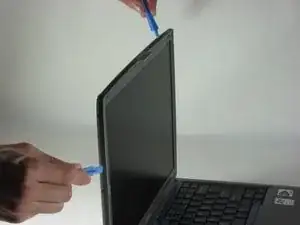
    • Use the IFixit Opening Tool to un-clip the plastic cover, detaching it from the rest of the screen.

    • There are clips about every inch around the right, left, and top of the plastic cover. Be sure that all of them are unclipped.

  4. 5dZjNd6b4tlFNnrd
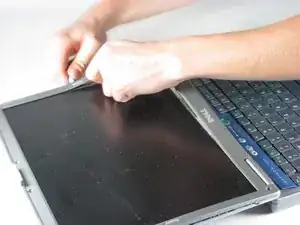
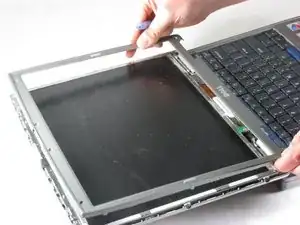
    • Pull straight up on the cover to lift the cover off of the rest of the screen.

    • The bottom part of the plastic is a little sticky.

  5. XRfPoGofpeOWWtGh
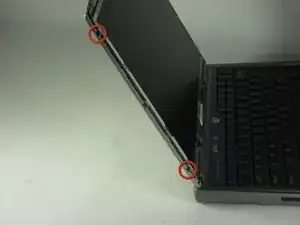
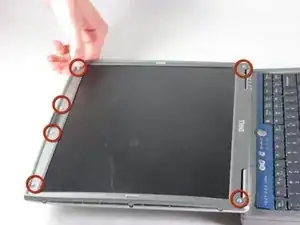
    • Remove four screws (two on each side of the screen) with the Phillips #00 screwdriver.

    • The middle screw does not need to be removed.

  6. OPxiOaALOZITU65x
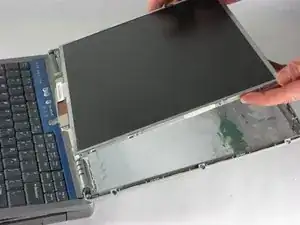
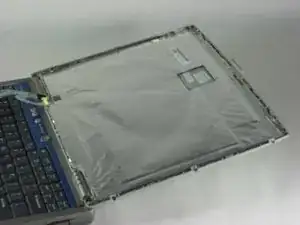
    • Gently lift the LCD panel off of the base.

    • The LCD is still attached to the computer. Do not pull too hard or you could break the cable.

  7. CdJ4ZNDHhM31d6Tk
    CdJ4ZNDHhM31d6Tk
    HH6JSKBXYPvI6JbO
    ZAAyQMBbLIXyVGYJ
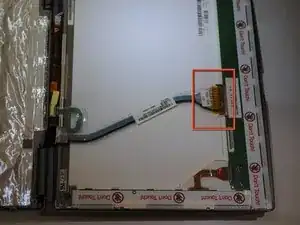
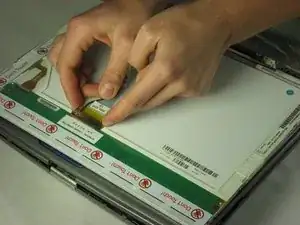
    • Flip the LCD panel over.

    • Do not touch on or near the back of the panel where it says "Don't Touch." LCD panels contain mercury which is hazardous to humans.

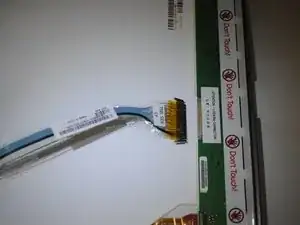
    • Remove the cable by squeezing each side of the connector and gently pulling straight out.

  8. ywSCEXSBrh4qTNuc
    ywSCEXSBrh4qTNuc
    C5LiQQ2M1FRpoyBs
    Sntk6OVMEuyxYdto
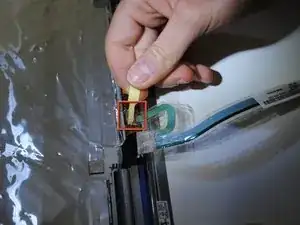
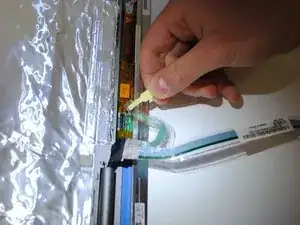
    • Remove the cable at the base of the laptop by pulling up on the yellow tab attached to the cable.

Conclusion

To reassemble your device, follow these instructions in reverse order.
Alex Klimaj

Member since: 01/04/11

143 Reputation

0 comments