Introduction

This guide will demonstrate removing the computer's CD/DVD drive.

  1. NwGYw6d1vHDha66L
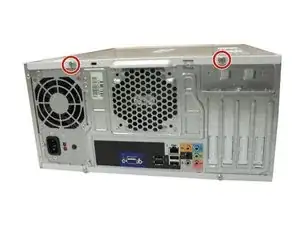
    • Place the case on its side.

    • Locate and remove the two 13.1 mm thumbscrews.

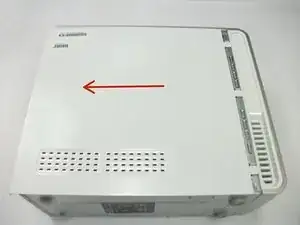
  2. GLsbDn3OLp1TxP1O
    • Slide the side panel towards the back and remove.

  3. h1PyAaC3KcdMchnL
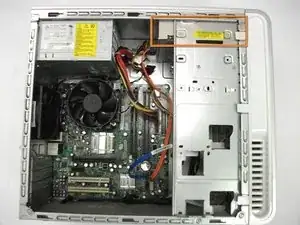
    • Locate the CD/DVD drive in the upper-front corner of the case.

  4. o3smhb23LcaSSBwo
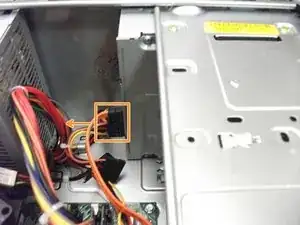
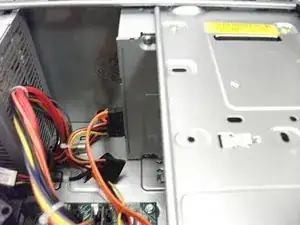
    • Locate and remove the two cables attached to the CD/DVD drive.

  5. pPMFgK4BnFaGAhFm
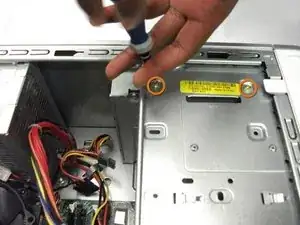
    • Locate and remove the two Phillips #0 7.8 mm screws.

  6. EGUcXRETXg1qS6n3
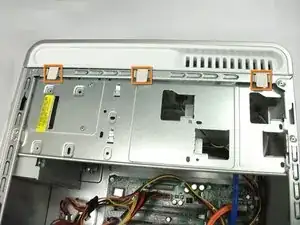
    • Locate the three plastic tabs connecting the computer's faceplate to the case.

    • Gently lift the three tabs to pull off the faceplate.

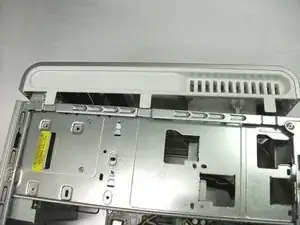
  7. wQPeCDGQGXVdUqIY
    • Pull the faceplate forward and out.

  8. AbEYrFfZHWc1245o
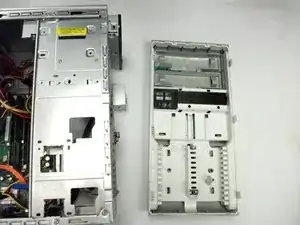
    • Completely remove the faceplate.

    • Remove the CD/DVD drive by pulling it forward towards the front.

Conclusion

To reassemble your device, follow these instructions in reverse order.

Doug Howe

Member since: 24/10/11

2161 Reputation

One comment

add the problems may happen and ther solution
mersen getu -