Introduction
The function of random access memory (RAM) allows your PC to store files temporarily so that you can perform multiple tasks without having to close and reopen applications that you want to work on. Before diving into your PC, make sure you have an open, flat surface that isn’t carpet. Be sure you are not building up static electricity, so that you don’t damage any components.
Tools
Parts
-
-
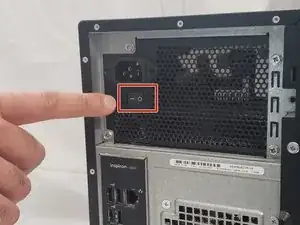
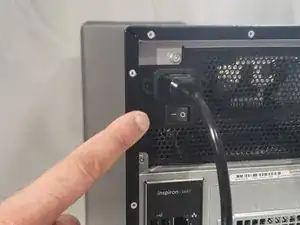
Shut off and power down the PC by turning the switch to the off position, located on the back of the PC.
-
Unplug the power cable and remove any and all peripherals connected to PC.
-
-
-
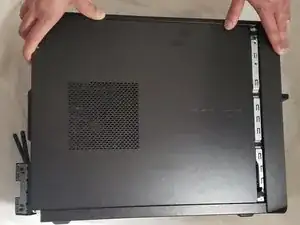
Lay your PC flat on its side with the 'Inspiron' Logo facing up.
-
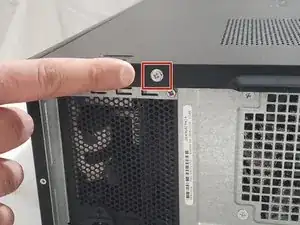
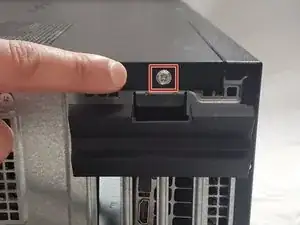
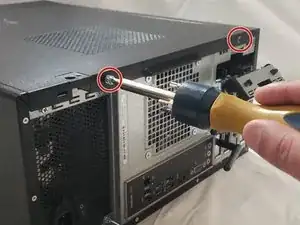
Remove the two Phillips #0 screws from the back side of panel.
-
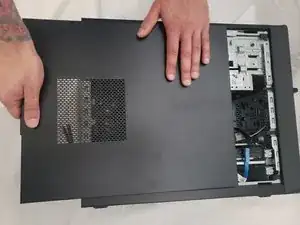
Slide the side panel off completely.
-
-
-
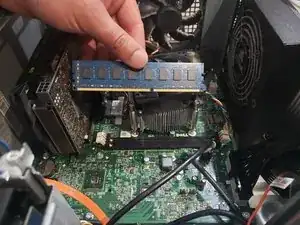
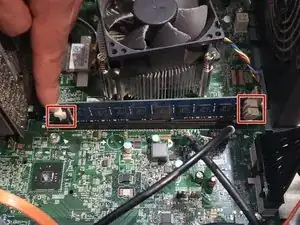
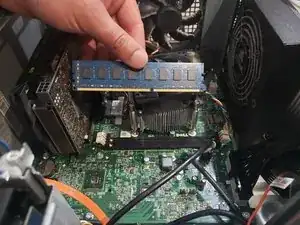
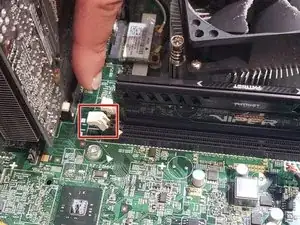
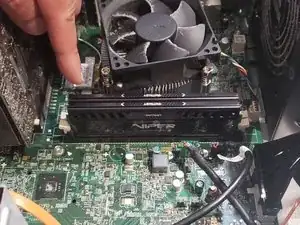
Gently press down the flaps located on each end of the RAM slots. Remove the RAM stick(s) from the motherboard.
-
Repeat this step for each stick of RAM.
-
-
-
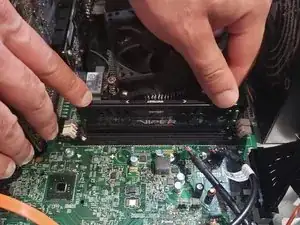
Align the new memory sticks with the memory slots.
-
Gently press down until a “CLICK” sound is made and flaps are pointing upwards.
-
Repeat this step for each stick of RAM you want to install.
-
-
-
Slide the side panel back into position and screw in with the same screws from Step #2.
-
Plug all peripherals into the PC and switch it back on.
-
Boot up the computer. If no errors appear, then installation is complete!
-
To check if your RAM is installed correctly, Right-click on My PC, Click Properties, and check Installed Memory under the System heading.
