Introduction
part 2: Dell Inspiron 3552 Hard drive Replacement part 2 - iFixit Repair Guide
Parts
-
-
Close the display and turn the computer over
-
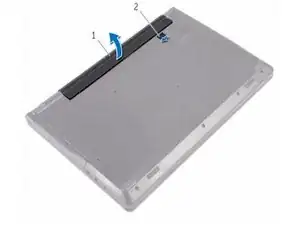
Slide the battery-release latch to the unlocked position
-
Lift the battery at an angle and remove the battery from the battery bay
-
-
-
Remove the screw that secures the optical-drive assembly to the base cover.
-
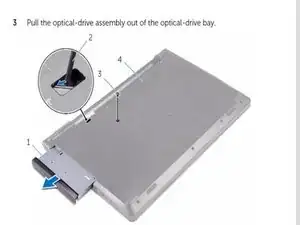
Using a plastic scribe, push the optical-drive assembly out of the optical-drive bay.
-
Pull the optical-drive assembly out of the optical-drive bay.
-
-
-
Turn on the computer over and open the display
-
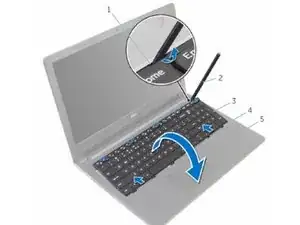
Using a plastic scribe, gently release the tabs that secure the keyboard to the palm-rest assembly
-
Slide the keyboard up to release it from the slots on the palm-rest assembly.
-
Carefully turn the keyboard over and place it on the palm-rest assembly
-
-
-
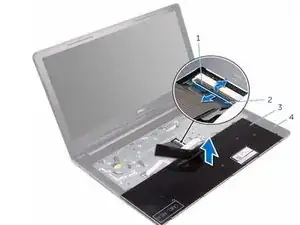
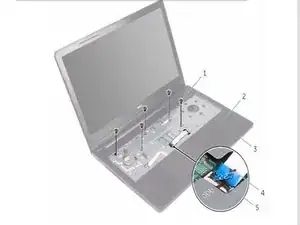
Open the display and remove the screws that secure the palm-rest assembly to the base cover from its connector on the system board
-
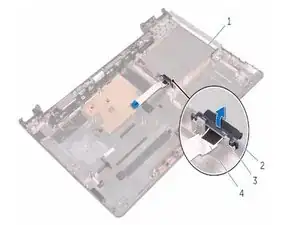
Open the latch and disconnect the optical-drive cable from its connector on the system board
-
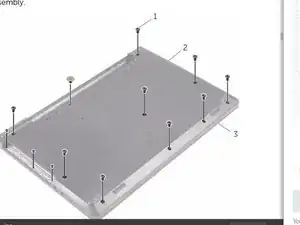
Close the display and turn the computer over.
-
Remove the screws that secure the base cover to the palm-rest assembly
-
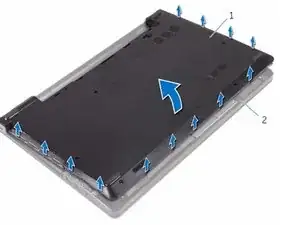
Using your fingertips, gently pry the base cover off the palm-rest assembly
-
To reassemble your device, follow these instructions in reverse order.
