Introduction
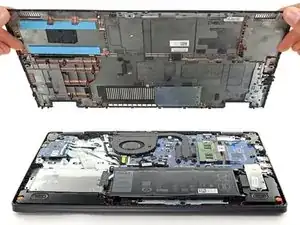
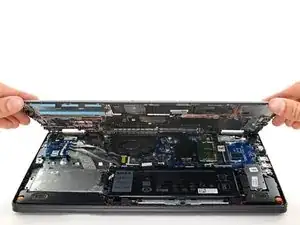
Use this guide to replace the back cover on your Dell Inspiron 3501.
Tools
-
-
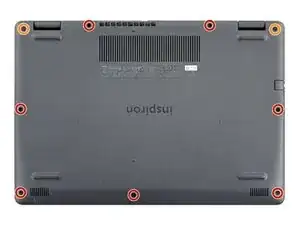
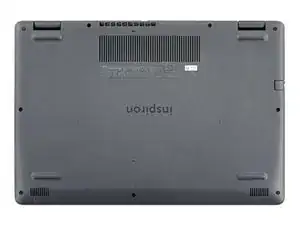
Use the Phillips screwdriver to remove the seven 6 mm-long screws securing the back cover.
-
Use the Phillips screwdriver to loosen the two captive screws.
-
-
-
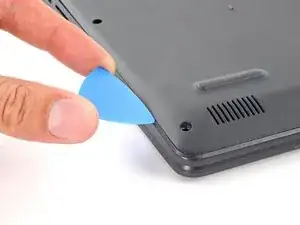
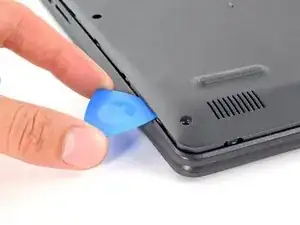
Insert an opening pick between the bottom-left corner of the back cover and the laptop body.
-
Pry upward to release the retaining clips.
-
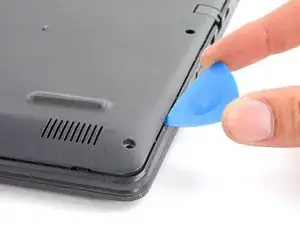
Repeat this procedure for the bottom-right corner of the back cover.
-
-
-
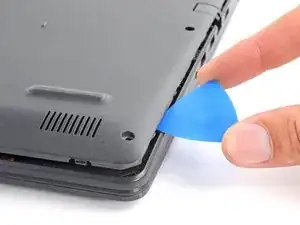
At the sides of the laptop, insert your opening pick between the cover and body.
-
Pry upward to release the remainder of the clips.
-
-
-
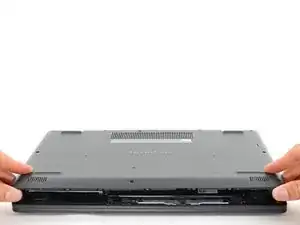
Grab the cover by the edge closest to you.
-
Lift the cover up. Swing it open so that the rear edge lifts up last.
-
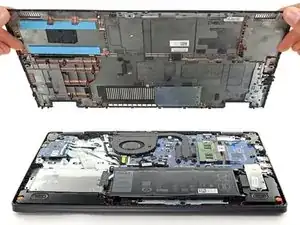
Completely remove the cover from the laptop.
-
To reassemble your device, follow these instructions in reverse order.
Take your e-waste to an R2 or e-Stewards certified recycler.
Repair didn’t go as planned? Try some basic troubleshooting, or ask our Dell Inspiron answers community for help.
