Introduction
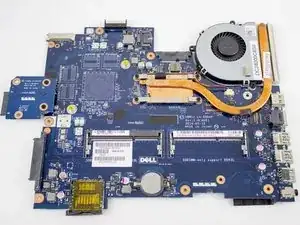
The motherboard is an integral part of the device and is linked to other parts. Removing the motherboard involves multiple prerequisites and can be time consuming. Removing this part on its own would be due to it being physically damaged.
Tools
-
-
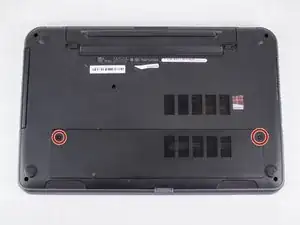
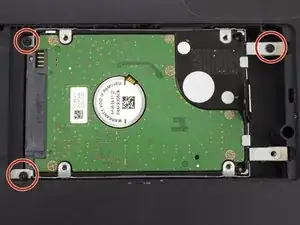
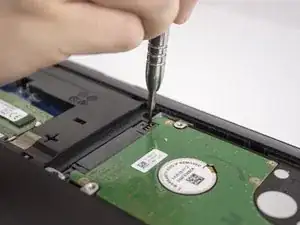
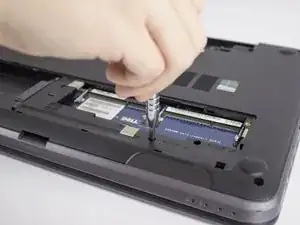
Remove three 4.8mm screws from the hard drive with a JIS #00 screwdriver.
-
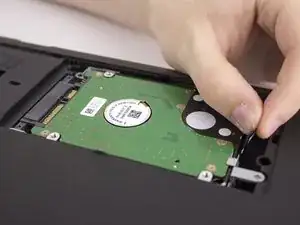
Slide the hard drive to the left.
-
Slide the hard drive to the right and up.
-
-
-
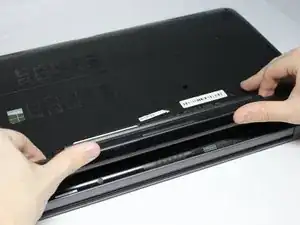
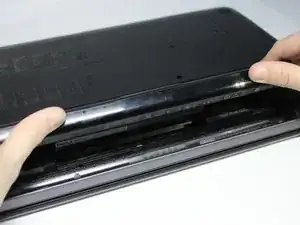
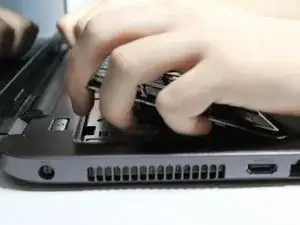
Slowly lift the keyboard.
-
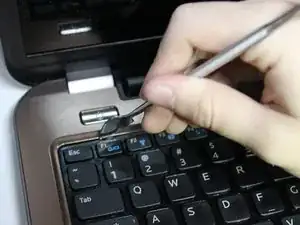
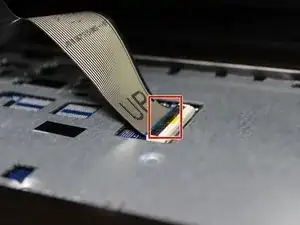
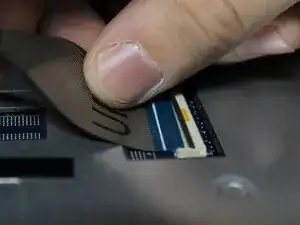
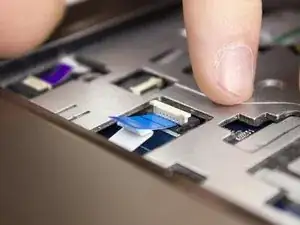
Lift the locking flap that holds the ribbon cable in place.
-
Remove the keyboard.
-
-
-
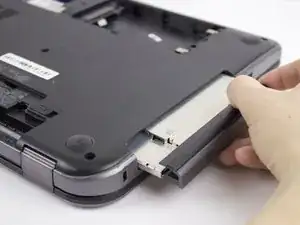
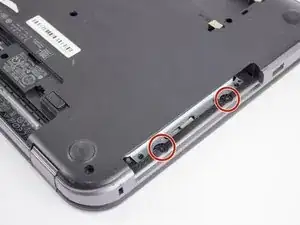
Remove two 1.6mm screws from beneath the optical drive with a JIS #00 screwdriver.
-
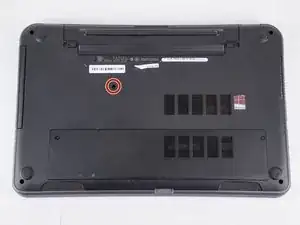
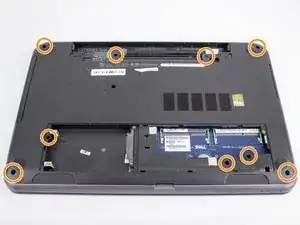
Remove the nine remaining 4.8mm screws from the back of the computer with a JIS #00 screwdriver.
-
-
-
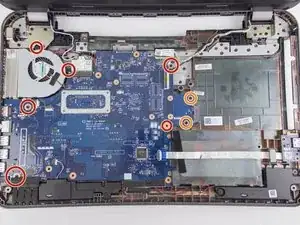
Remove six 4.8mm screws with a JIS #00 screwdriver.
-
Remove two 3.2mm screws with aJIS #00 screwdriver.
-
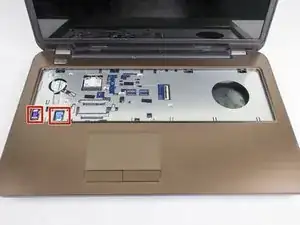
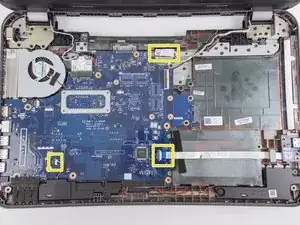
Disconnect three cables from the front of the motherboard.
-
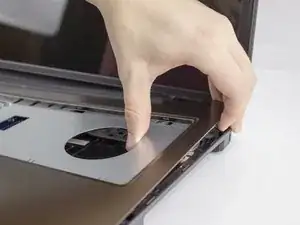
Slowly lift the motherboard exposing the bottom side.
-
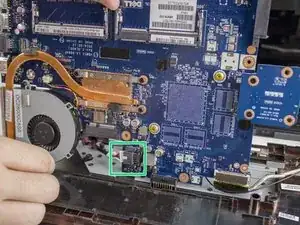
Remove the ribbon cable from the back of the motherboard.
-
Remove the motherboard.
-
To reassemble your device, follow these instructions in reverse order.
One comment
Hello Frends... Sry I speak not perfect English and come FROM ÖSTERREICH,
I give my best and PLEASE help when you are a Profi!?
Can someone please help me which FASTEST CPU I can make.
I have the Dell Core I5-4200U installed.
Which pedestal do I have?
Have the Dell Inspiron 17R-5737 laptop and have now installed 2 times 8 GB of memory.
But during a test I get that I can not install Windows 11Pro because my CPU is too slow.
Is this now a 5737 socket or no idea.
Please help me friends
I would be incredibly grateful to you.
Mfg
Bacher Johann
