Introduction
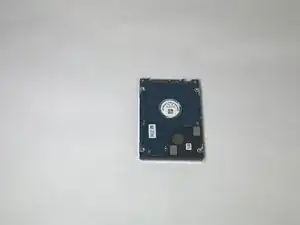
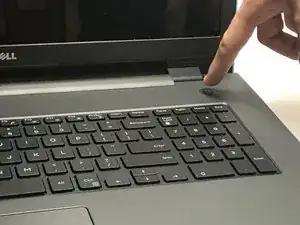
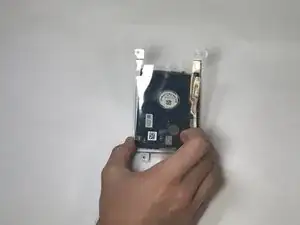
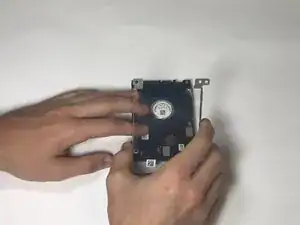
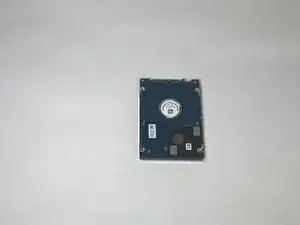
This guide will allow you to replace a damaged/faulty hard drive for the Dell Inspiron 17-5755. Please ensure that the battery is removed before performing this replacement
Tools
-
-
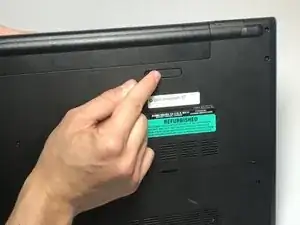
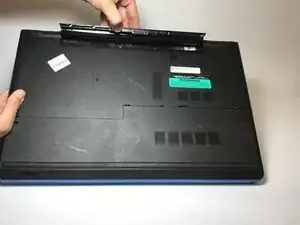
Find the battery release latch on the bottom side of the computer.
-
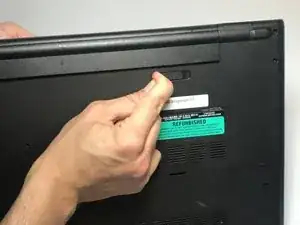
Slide the latch to the left until you hear a "click". This indicates that the battery has been released.
-
-
-
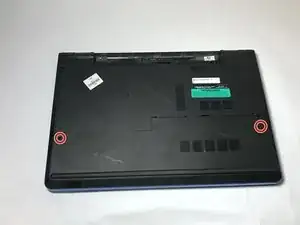
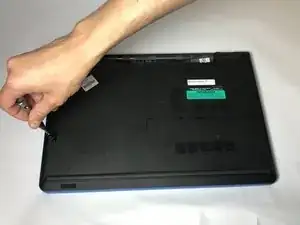
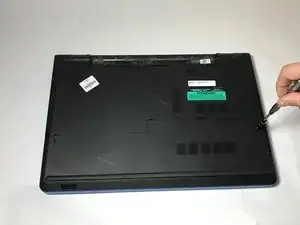
Turn over your laptop and locate the two screws which secure the base cover.
-
Use a Phillips #0 screwdriver to unscrew the 8mm screws which secure the base cover.
-
-
-
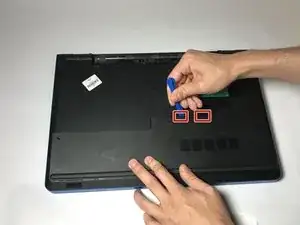
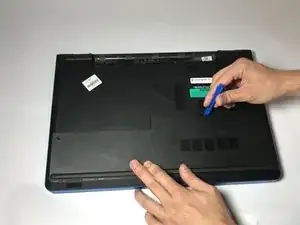
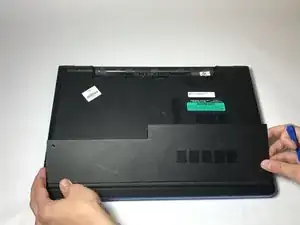
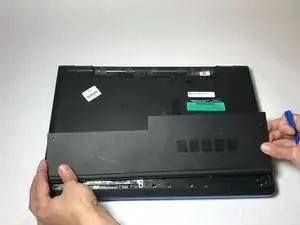
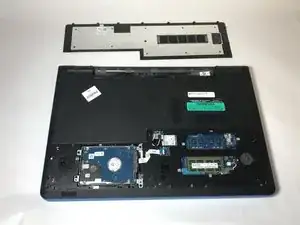
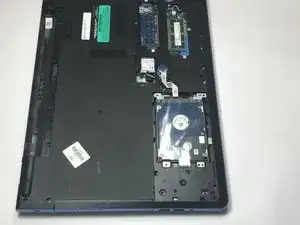
Locate the tabs that hold the base cover to the laptop and use a plastic opening tool to gently release the base cover.
-
-
-
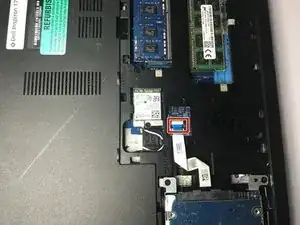
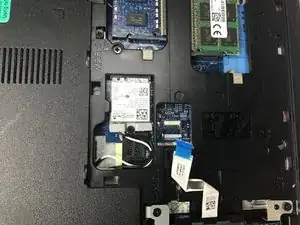
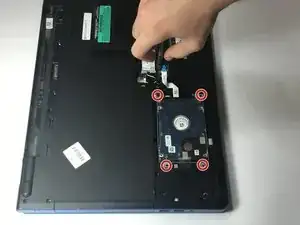
Locate the hard drive cable, and disconnect it from the laptop by lifting the latch which secures the cable.
-
-
-
Use a Phillips #0 screwdriver to remove the four 8mm screws which secure the hard drive assembly to the laptop.
-
-
-
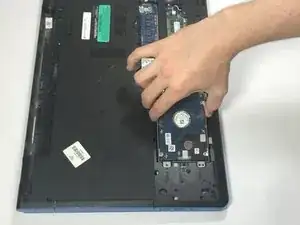
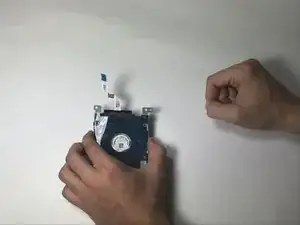
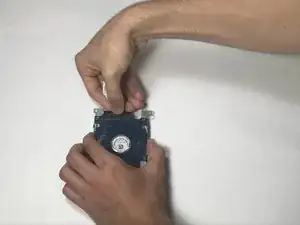
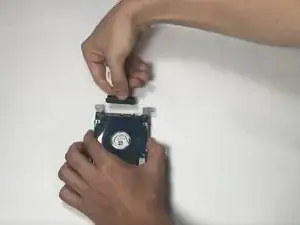
Remove the interposer by grabbing the black portion of the assembly, and pulling it away from the hard drive.
-
-
-
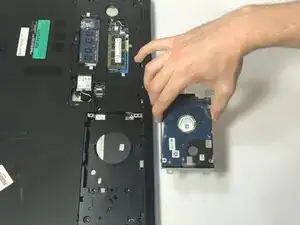
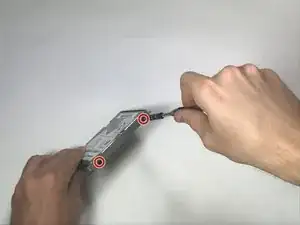
Use a Phillips #0 screwdriver to remove the four 4mm screws on either side of the hard drive assembly.
-
To reassemble your device, follow these instructions in reverse order.
2 comments
My question is, the hard drive is this a 7mm, 12mm or 15mm drive bay? I want to put a 4tb in my laptop but those are 15mm size and I can’t find what the size limit of the bay is.
I want to put a 4tb harddrive in my laptop.
Those only come in 15mm.
will this drive bay hold 15mm sized drives?
