Introduction

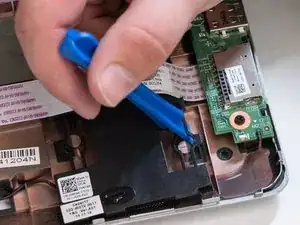
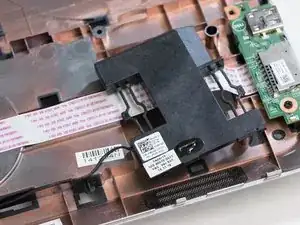
This guide will show how to access and replace the speakers in this laptop. Simple tools are required. Be gentle when removing parts with ribbon cables.

  1. ucCgKLc4mJffKQKA
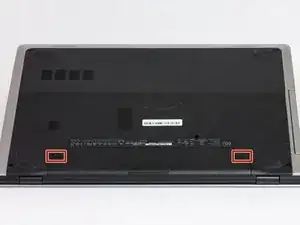
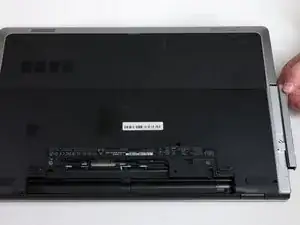
    • Flip the laptop upside down.

    • Locate the battery lock latches.

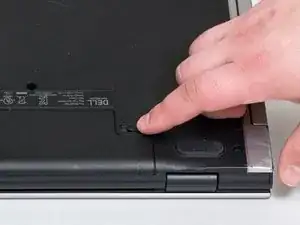
  2. ibnYRrdjAykuYUhr
    • Slide both lock latches to the unlocked position.

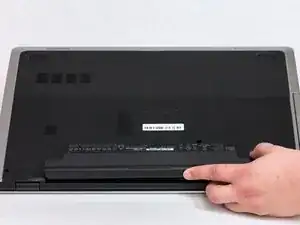
  3. e1jxDNGwAWmrXJ4L
    • Lift the battery up and out of the laptop battery socket.

  4. r2h6x4QMZ4fdQehx
    r2h6x4QMZ4fdQehx
    qyNZUupeHJEBhfC4
    Lo2IDfKGEeWYGUph
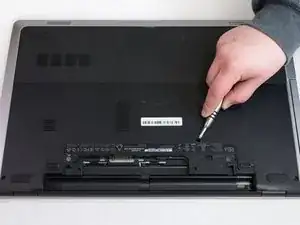
    • Remove the 4.5 mm Phillips #0 screw holding the Optical Drive in place.

    • Slide the Optical Drive out of the device.

  5. jGWXHHICbdWjCVK2
    jGWXHHICbdWjCVK2
    T3L2BxQaPKgEC6Z3
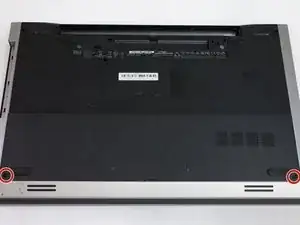
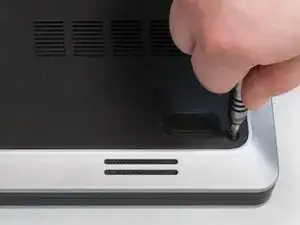
    • Remove the two 4.5 mm Phillips #0 screws on the access panel door.

  6. XxDIEPoNPNMLgCpZ
    XxDIEPoNPNMLgCpZ
    6yJU1Cq6PmS4tPaC
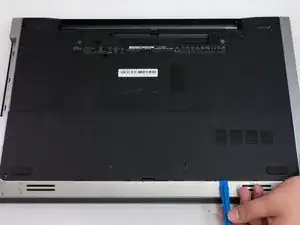
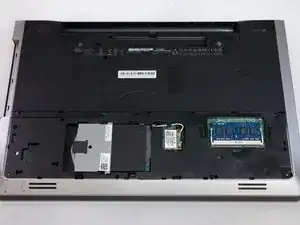
    • Using a plastic opening tool, pry open the access panel, exposing the disk drive, RAM, and wireless module.

  7. DPp6NE55PIySKMXs
    DPp6NE55PIySKMXs
    lXGdKQinUVpQMUYZ
    EYJbehLeEk6cUdDh
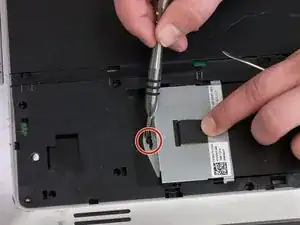
    • Remove the 2.5 mm Phillips #0 screw securing the hard drive.

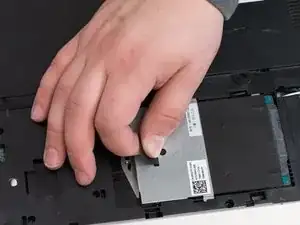
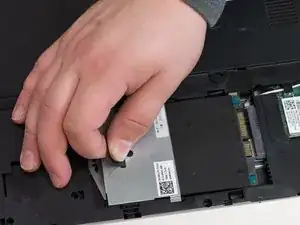
    • Slide the hard drive out using the pull tab.

    • Remove the hard drive from the device.

  8. SuSLPOIiIwGrZ2c2
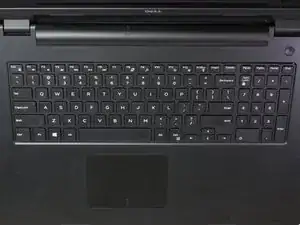
    • Open the laptop and locate the keyboard.

  9. BQGMdTHjQKSEJFTA
    BQGMdTHjQKSEJFTA
    gcspQyNYm3av5cjv
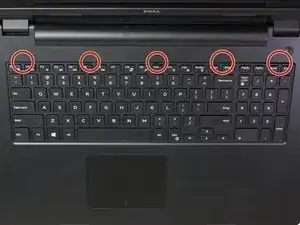
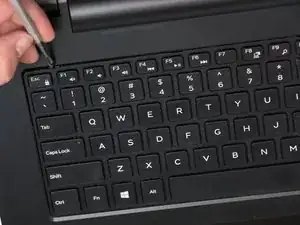
    • Locate the 5 keyboard tabs at the side of the keyboard closest to the screen.

    • Using a metal spudger, gently pry the keyboard tabs inwards until they loosened. You should hear a click.

  10. Ufa2JAh5juG4s11a
    Ufa2JAh5juG4s11a
    YSSyFECkfrAgZAF1
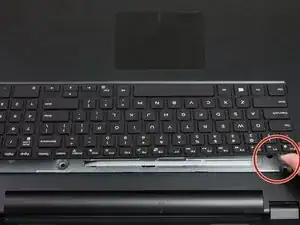
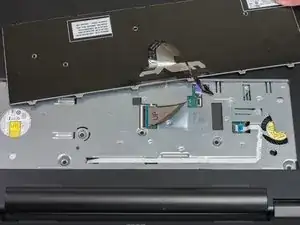
    • Do not remove the keyboard completely. The ribbon cable underneath, attaching it to the motherboard, must still be detached.

    • Lift the keyboard partially and flip it over.

  11. sReKQm2esFILefNu
    sReKQm2esFILefNu
    lJ1uuTB5ZgUk3aT1
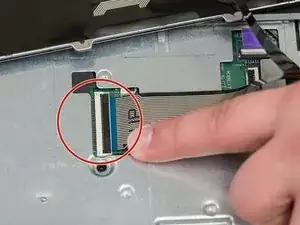
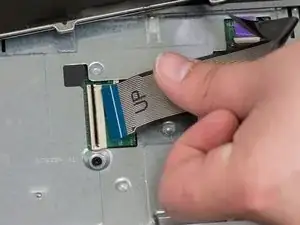
    • Detach the ribbon cable from the motherboard by tilting up the black clip, releasing the cable.

    • Gently detach the cable and the keyboard from the laptop.

  12. K3IB1NFEmQSrDCZ4
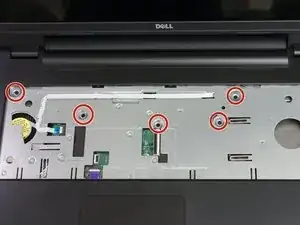
    • Remove the five 4.5 mm Phillips #0 screws found under the keyboard.

    There’s also a bunch of screws on the bottom that need to be removed. All the screws marked with a ‘P’, as well as the two longer screws in the corners on either side of the battery.

    Andy Gibbesh -

  13. HpCNE33HjjGlSKDi
    HpCNE33HjjGlSKDi
    BSWndvkZID2XL6OW
    ogUsbEAvOBDGBNK1
    • Do not fully remove the palm rest until the ribbon cable underneath is detached.

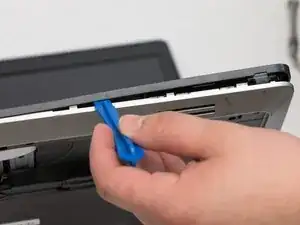
    • Using a plastic opening tool, separate the plastic palm rest and partially lift the palm rest from the device.

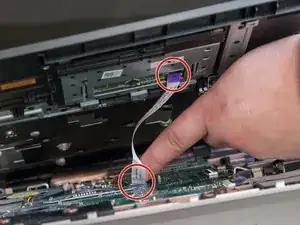
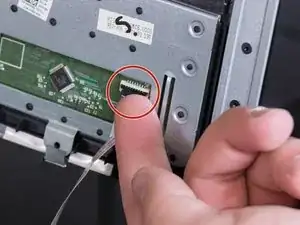
    • Remove both ends of the ribbon cable. This can be done by flipping up the black tabs securing both ends.

    • Remove the palm rest from the device.

  14. LVwsaVKUZLbwZvyf
    LVwsaVKUZLbwZvyf
    NgWZ3TULfr35G5Ls
    B1ju6HBw5DqFfxHU
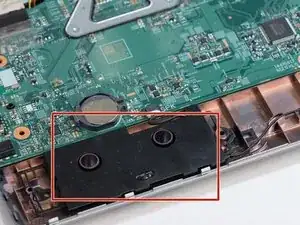
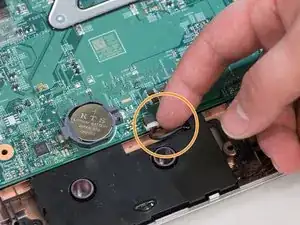
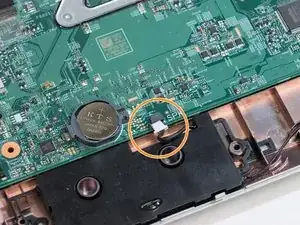
    • Locate the first speaker.

    • Unplug the speaker cable.

  15. MsDqkYT2EOHqIVtC
    MsDqkYT2EOHqIVtC
    PSO5CeVQdWyO1QDm
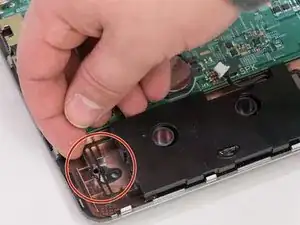
    • Lift the speaker from the corner.

    • Remove the speaker.

  16. ReoICWfF152iPm35
    ReoICWfF152iPm35
    jrad3qsPB2LLDLNm
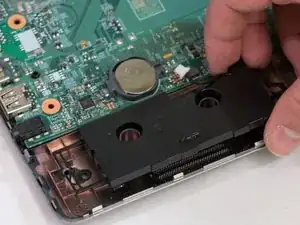
    • Using the plastic opening tool, gently remove the second speaker.

Conclusion

To reassemble your device, follow these instructions in reverse order.
Bradley

Member since: 12/02/18

235 Reputation

0 comments