Introduction

In this guide, we will be showing you how to remove and replace the Display Assembly.

  1. xBpWyimGCqGPBpfq
    xBpWyimGCqGPBpfq
    cHMGvB1uRgIjjxUm
    • WARNING: Before working inside your computer, read the safety information that shipped with your computer. Follow the procedures in Before You Begin.

    • CAUTION: To avoid electrostatic discharge, ground yourself by using a wrist grounding strap or by periodically touching an unpainted metal surface.

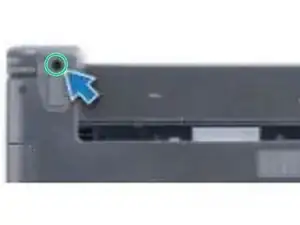
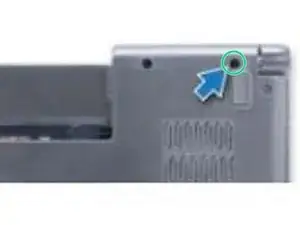
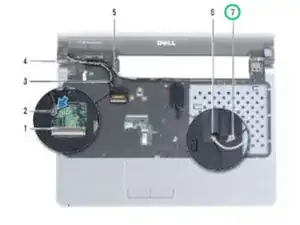
    • Remove the two screws on the base of the computer that secure the display assembly to the computer base.

  2. x4yGPGpFNBuPrNhh
    x4yGPGpFNBuPrNhh
    XwOXXyi2YAZTQV6O
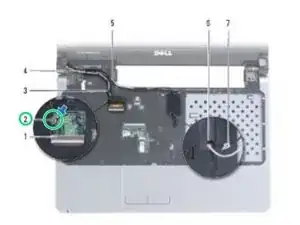
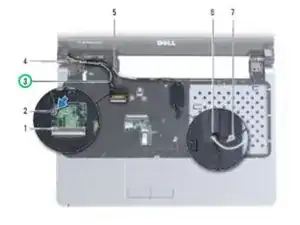
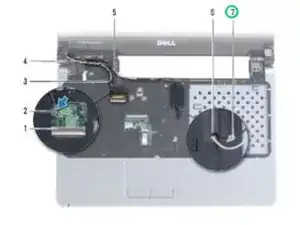
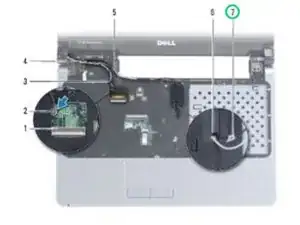
    • Disconnect the display cable and remove the screw from the system board.

  3. 653KZmXRQplTMclC
    • Pull the Mini-Card antenna cables up through the slot in the computer base.

  4. SRUc545HRbMAQ42B
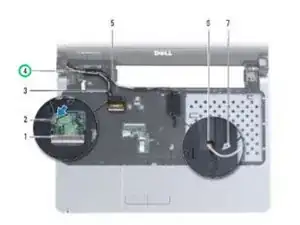
    • Note the routing of all the cables and remove them from their routing guides.

  5. qQ2S4FRq5GxRK3h5
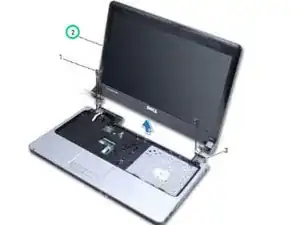
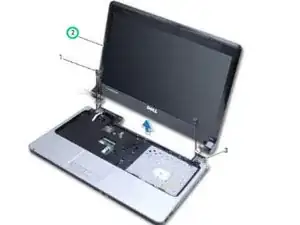
    • Hold the display while you remove the three screws that secure the display assembly to the computer base.

  6. WIhRCLSNSjnaMbhd
    • Lift and remove the display assembly from the computer base.

  7. bFwuevo16fKKEfCg
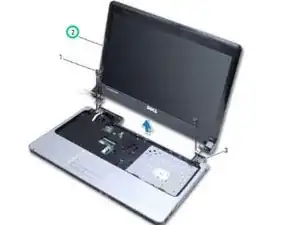
    • Using the alignment posts, place the display assembly in position and replace the three screws that secure the display assembly to the computer base.

  8. ZVnA12p45UNtDZDU
    • Route the Mini-Card antenna cables and display cable through their routing guides.

  9. r25hTTLmB2KecUxp
    • Route the antenna cables through the slot in the computer base.

  10. ljDiqj3a6gvNw2sI
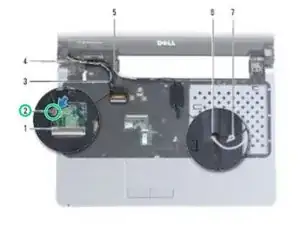
    • Replace the screw and connect the display cable.

Terrence15

Member since: 18/12/17

79034 Reputation

0 comments