Introduction

This guide will be utilized if you are having issues with reading disks and it is not a firmware problem.

  1. QfivfuqeUEdjbyWl
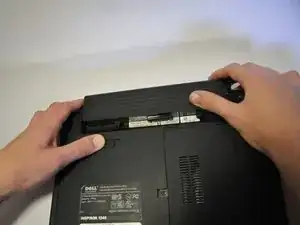
    • Before attempting to remove the battery ensure that the laptop is disconnected from all power sources and turned off.

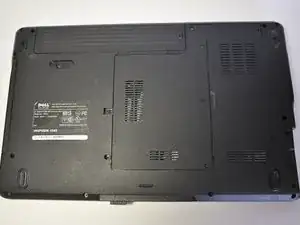
    • Turn the laptop over to its back.

  2. niO5YeKHZrxNBLGa
    • Slide the release latch while simultaneously pulling backwards on the battery.

  3. LgacPsHYg3IgQTHw
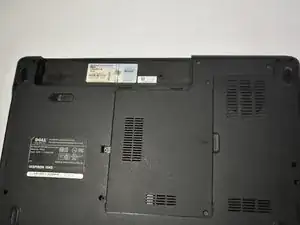
    • Slide the battery out of the battery bay.

  4. ABn5e5igOQvUEFcR
    • Flip the laptop to its back side.

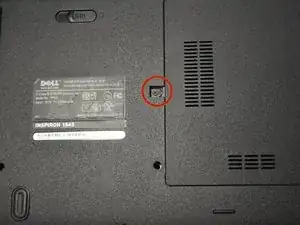
    • Remove the screw (5mm Phillips #1) that secures the Optical Disk Drive on the back of the laptop.

    You really don’t need to have the “Flip the laptop to its back side” comment here, as you should have already done that to get the battery out due to having to slide the battery latch, which is on the bottom.

    Matt Pierce -

  5. AhcOn5jdlfCOVFeH
    AhcOn5jdlfCOVFeH
    jmVcy5SlPSrlLIGF
    Unck6i3Kssr2Km6H
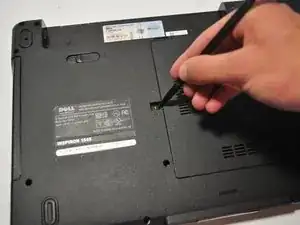
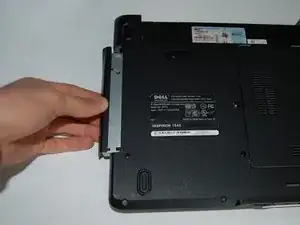
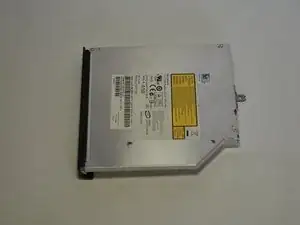
    • Push the Optical Disk Drive out using a spudger tool as shown and pull from the front cover of the Optical Disk Drive.

Conclusion

To reassemble your device, follow these instructions in reverse order.
Nathan Lemay

Member since: 16/04/14

3037 Reputation

0 comments