Introduction

In this guide, we will be showing you how to remove and replace the Hard Drive.

  1. hu1cgoBxliIpXQJ1
    • CAUTION: Before working inside your computer, read the safety information that shipped with your computer. Follow the instructions in Before You Begin.

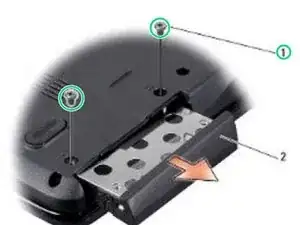
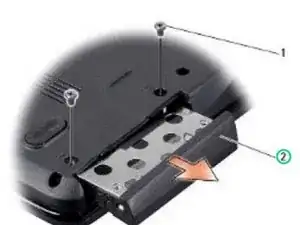
    • Remove the two screws securing the hard drive assembly to the computer base.

  2. YtGEGiJTB3EdedlN
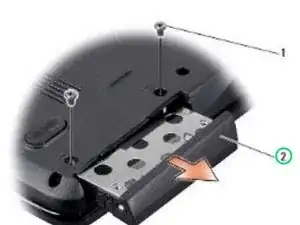
    • Slide the hard drive assembly out of the bay.

  3. qFPI2AOkIgr4m5CS
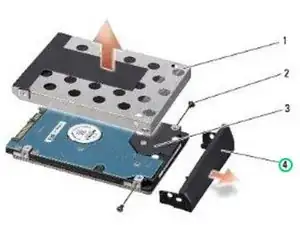
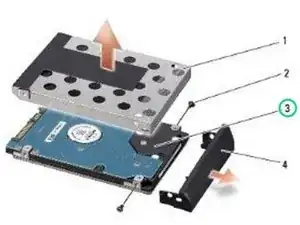
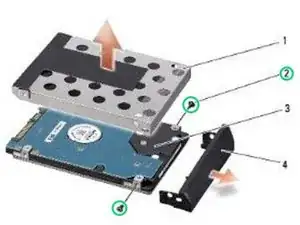
    • Remove the two screws (one from either side) securing the hard drive cage and bezel to the hard drive.

  4. 1DyaVZKeRQAVUir6
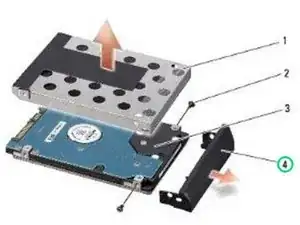
    • Remove the hard drive bezel.

  5. PYDo3p3e24ZWNQV4
    PYDo3p3e24ZWNQV4
    1rINp3CMtX3QOMCb
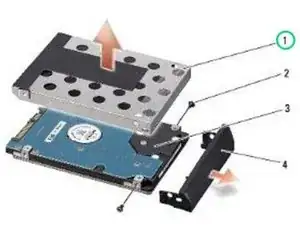
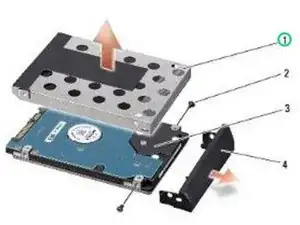
    • Lift the hard drive cage off the hard drive.

  6. wSKIqwTN1N2MXo5n
    wSKIqwTN1N2MXo5n
    jWnXKKrNCO3YZmSV
    • Replace the hard drive cage and the hard drive bezel.

  7. IdPOILficEXC2Z22
    • Replace the two screws (one on either side) that secure the hard drive cage and bezel to the NEW hard drive.

  8. LAvTJGPO6C5WGuNH
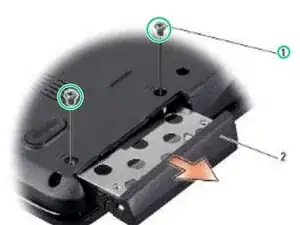
    • Slide the hard drive assembly into the bay.

  9. XmqmsP3RD6hVWu31
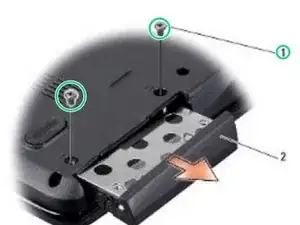
    • Replace the two screws that secure the hard drive assembly to the computer base.

    • NOTICE: Before turning on the computer, replace all screws and ensure that no stray screws remain inside the computer. Failure to do so may result in damage to the computer.

Terrence15

Member since: 18/12/17

79034 Reputation

0 comments