Introduction

This is an easy component to replace and only need a screwdriver to complete. This may be replaced if you get a blue screen before the laptop starts.

  1. jp3Nml1p2iLDut1s
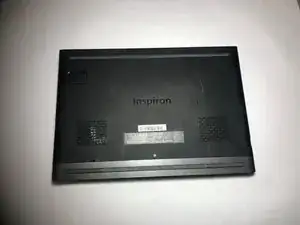
    • Turn off laptop before beginning.

    • Place the laptop upside down on a flat, stable surface.

  2. sNxMGaCZN4yv1DqI
    sNxMGaCZN4yv1DqI
    uJGq6cwytVoNxKMf
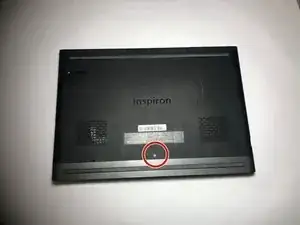
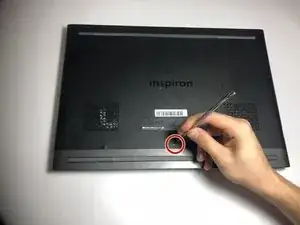
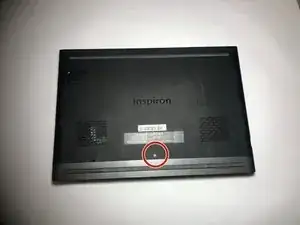
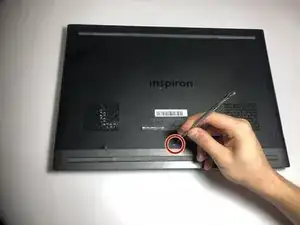
    • Remove the 3mm screw in the location shown, using a Phillips #1 screwdriver.

  3. cqGuhbwGIRHgKjGJ
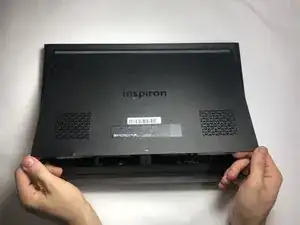
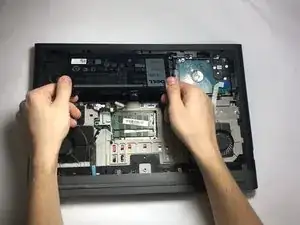
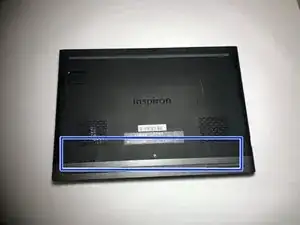
    • Remove the panel from the sides and pull it out at an angle towards you.

  4. KSArSUdUUYuMqMiK
    KSArSUdUUYuMqMiK
    EZgNOTShNibEF1vB
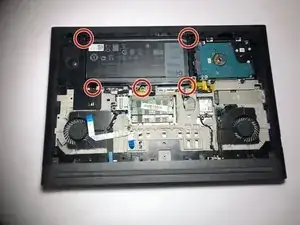
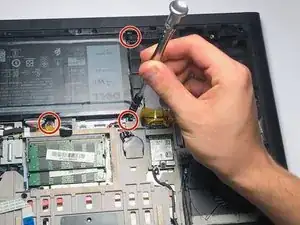
    • Remove the five 3mm screws on the battery with a Torx (T8) screwdriver in the locations shown.

  5. VTP6rTQFlgcn33h6
    VTP6rTQFlgcn33h6
    3HOG2Ss6qeBYiIfd
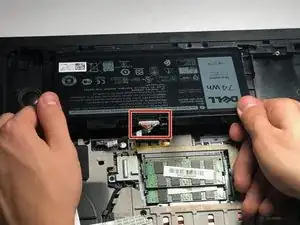
    • Disconnect the power cord from the battery by using a pair of tweezers, your fingers, or the opening tools from the iFixit pro tech tool kit.

    • Pinch the clips on the left and right side while pulling on the cord at the same time.

  6. BMWwq22DuyvPq6tc
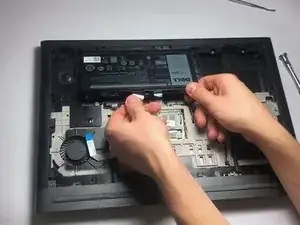
    • Pull the battery towards you.

    • Make sure to pull at an upward angle.

  7. F2K2ZLYFUbJi5CHD
    F2K2ZLYFUbJi5CHD
    S1nIVZP3bVohjW2B
    • Remove the 3mm screw on the back using a Phillips #1 screwdriver.

  8. w6u2MwDOZjZd4LbS
    w6u2MwDOZjZd4LbS
    rWFTw6kUVVqEJoQc
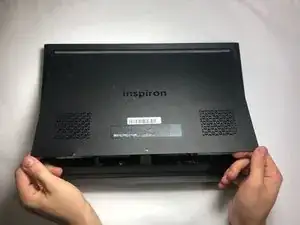
    • Remove the panel by lifting up the side towards you

  9. aPdFXYpG1XiFyoNH
    aPdFXYpG1XiFyoNH
    JbPnIJQixlBPl1o3
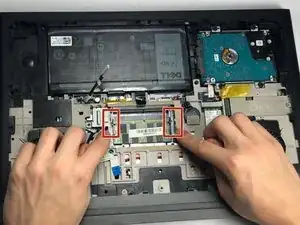
    • Release the two clips on the left and right side, by pushing outward on the side towards you.

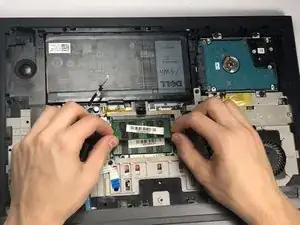
    • The RAM strip will extend out. Pull towards you at a slight angle.

Conclusion

To reassemble your device, follow these instructions in reverse order.
James Bedortha

Member since: 28/09/18

97 Reputation

0 comments