Introduction
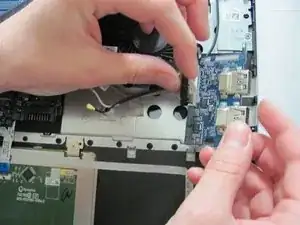
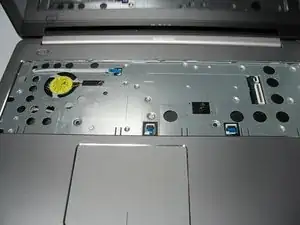
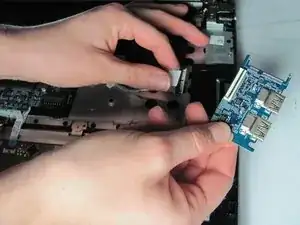
Use this guide to replace you USB board if you have determined that it is no longer working.
Tools
-
-
Make sure the display is closed. Then, flip the computer over so that you can see the bottom cover.
-
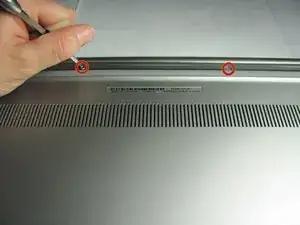
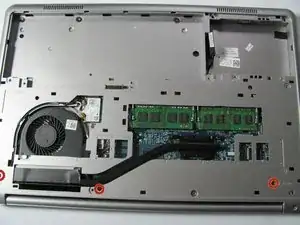
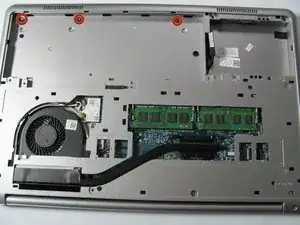
Loosen the two 5 mm Phillips #0 on the upper edge of the cover.
-
-
-
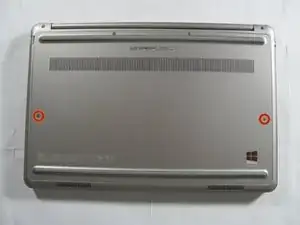
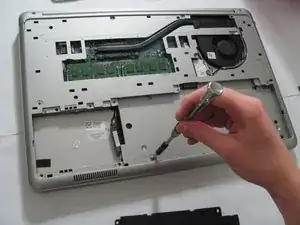
Remove the two 5 mm interior screws that connect the cover to the assembly using the same Philips head screwdriver from the previous step.
-
-
-
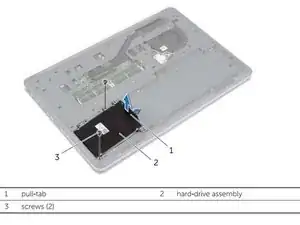
The model device did not come with a hard drive. However, you will need to remove the hard drive to proceed. Please remove the hard drive following the steps on page 16 of the official Dell Inspiron 15-7537 manual.
-
-
-
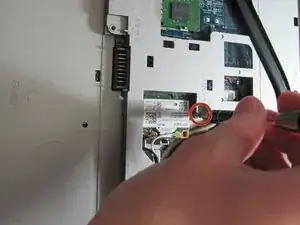
Remove the single 5mm screw that connects the keyboard to the palm assembly with the Phillips head screwdriver.
-
-
-
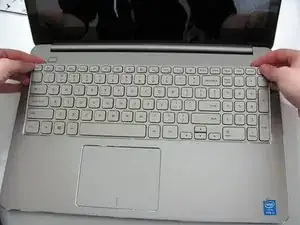
Flip over the computer and open the display as far as it can go.
-
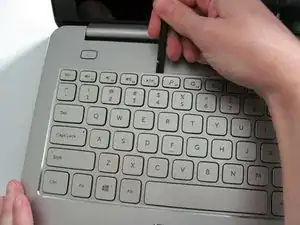
Use the spudger to remove the keyboard from the palm assembly.
-
-
-
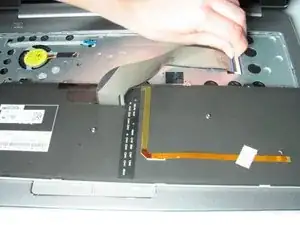
Gently flip over the keyboard and place it on the palm rest assembly.
-
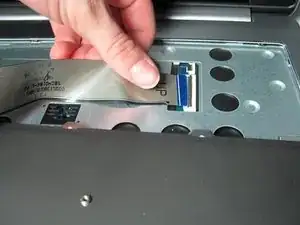
Lift the connector latches and disconnect the keyboard and the keyboard back-light cables.
-
-
-
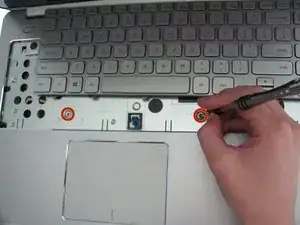
Unscrew the two black 5 mm screws underneath the keyboard using a Phillips head screwdriver.
-
-
-
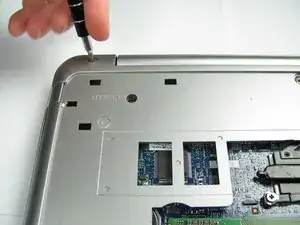
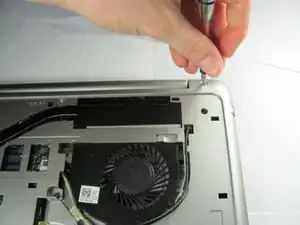
Flip the computer and remove the two silver 5 mm screws on the corners of the base cover with the Phillips head screwdriver.
-
-
-
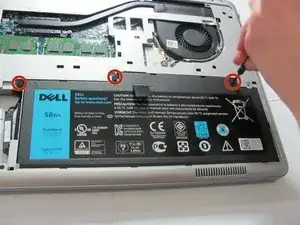
Remove the three silver 2 mm screws (with large flat circular heads) from where the battery was taken out with the Phillips head screwdriver.
-
-
-
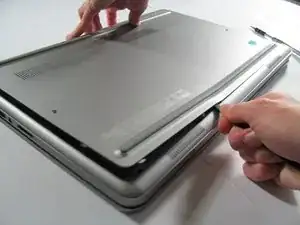
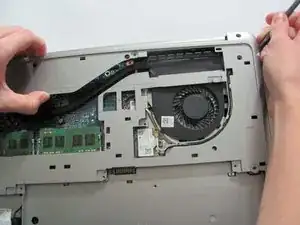
Place a plastic spudger underneath the base cover and move it along the outside of the cover. Once the cover is disconnected lift the off the base cover.
-
To reassemble your device, follow these instructions in reverse order.
