Introduction
As laptop hard drives age, they have a chance to fail or run out of storage space and may need to be replaced. Make sure the hard drive is at room temperature and not near any hazardous materials that could melt or destroy the hard drive during the removal process.
Tools
-
-
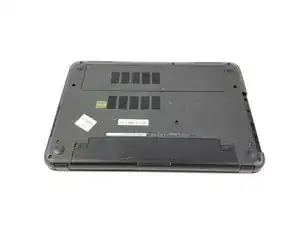
Flip the laptop over.
-
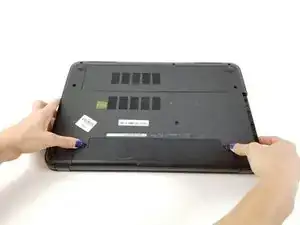
Slide the latches toward the edges to unlock the battery.
-
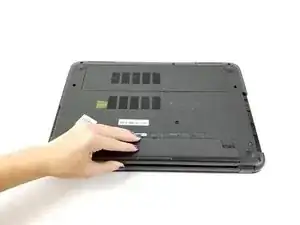
Lift the battery out of the laptop.
-
-
-
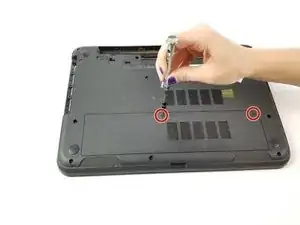
Loosen the two screws on the access panel using the PH1 head screwdriver.
-
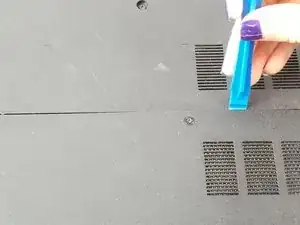
Pry the access panel from the laptop using the spudger.
-
-
-
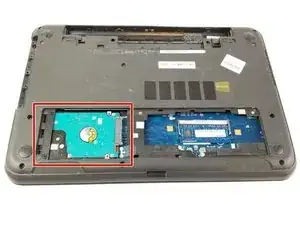
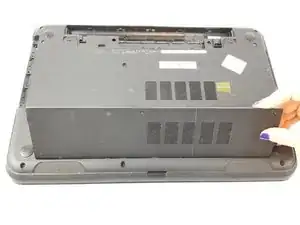
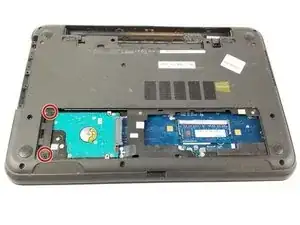
Lift the access panel away from the laptop to reveal the hard drive on the left.
-
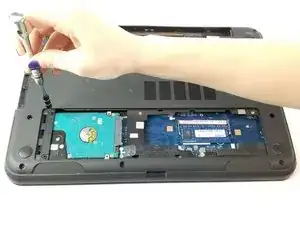
Remove the two 8.65 mm screws on the left side of the hard drive using the PH0 head screwdriver.
-
-
-
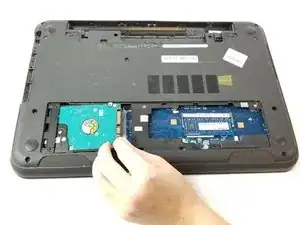
Push the hard drive to the left to release it and use the tab to pull it free from the laptop. The hard drive is in a caddy.
-
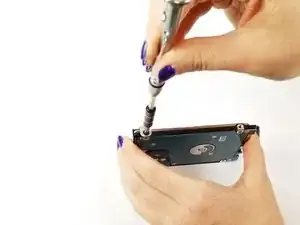
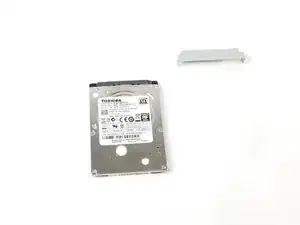
Remove the two 1.22 mm screws holding the hard drive in the caddy with the PH0 head screwdriver.
-
To reassemble your device, follow these instructions in reverse order.
