Introduction
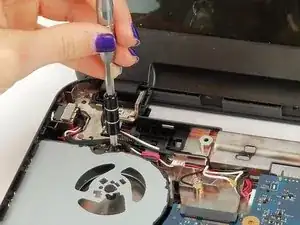
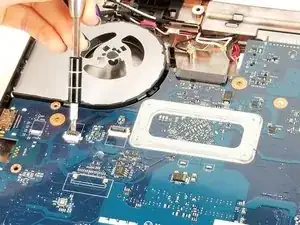
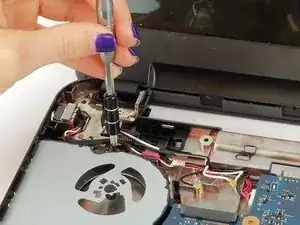
As laptop fans age, they have a chance to break and may need to be replaced. Make sure the motherboard ventilation fan is at room temperature and not near any hazardous materials that could destroy it during the removal process.
Tools
-
-
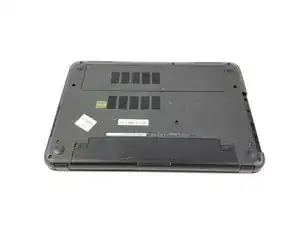
Flip the laptop over.
-
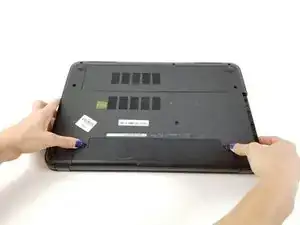
Slide the latches toward the edges to unlock the battery.
-
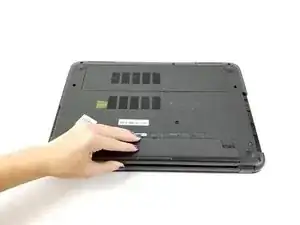
Lift the battery out of the laptop.
-
-
-
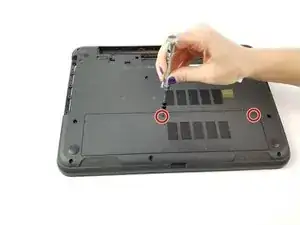
Loosen the two screws on the access panel using the PH1 head screwdriver.
-
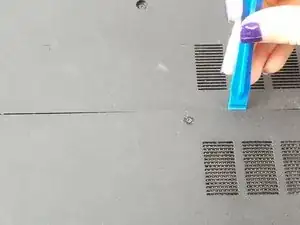
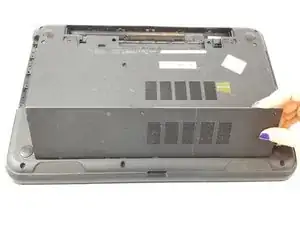
Pry the access panel open with the spudger.
-
-
-
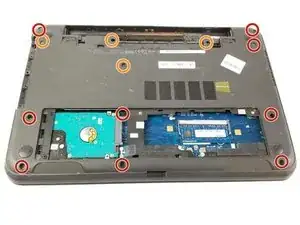
Remove the nine 8.65mm screws holding the backplate to the laptop using the PH0 head screwdriver.
-
Remove the four 1.22 mm screws holding the backplate to the laptop using the PH0 head screwdriver.
-
-
-
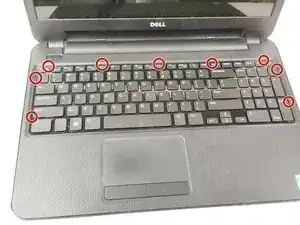
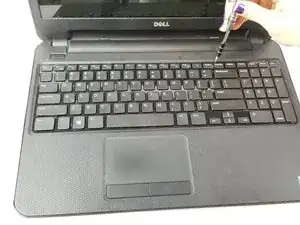
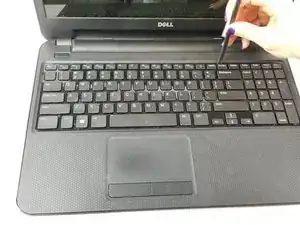
Depress (push in, not down) the five tabs at the top of the keyboard and the two on each side of the keyboard using a flat head screwdriver.
-
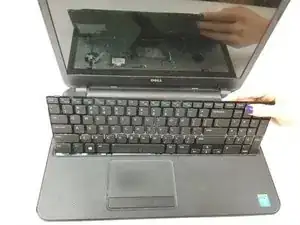
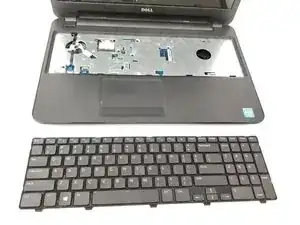
Pry the keyboard from the laptop using the spudger.
-
-
-
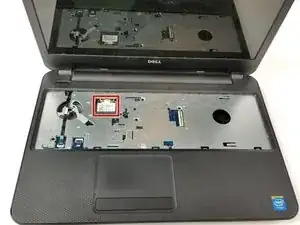
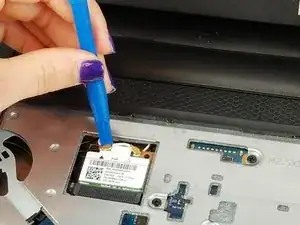
Disengage both antenna (black and white) cables by lifting them up using the spudger.
-
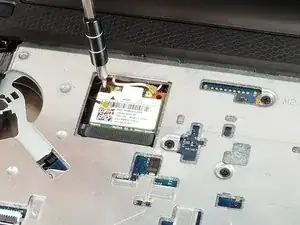
Unscrew the one 8.65 mm screw holding the wireless card.
-
Remove the wireless card.
-
-
-
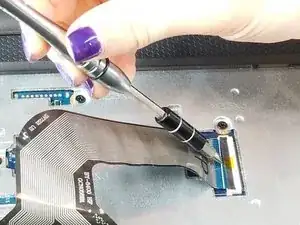
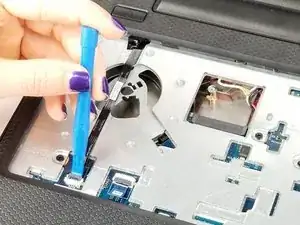
Lift the locking tab with the spudger and pull the cable form the locking tab.
-
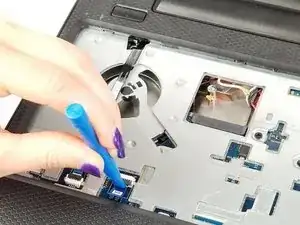
Repeat with the second locking tab.
-
-
-
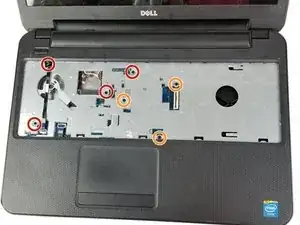
Remove the four 8.65 mm screws underneath the keyboard plate.
-
Remove the three 1.22 mm small screws underneath the keyboard plate.
-
-
-
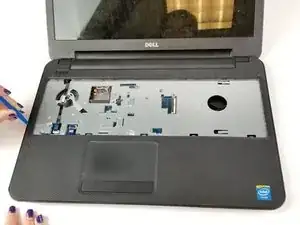
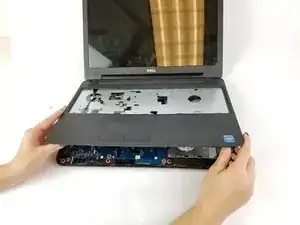
Separate the palmrest from the base of the laptop using the spudger to loosen the palmrest along the edges.
-
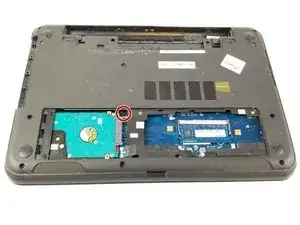
Make sure to remove all the screws, especially the inconspicuous 8.65 mm screw next to the hard drive.
-
-
-
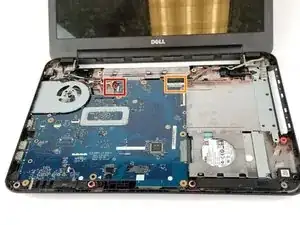
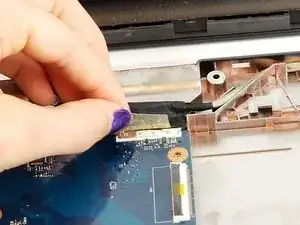
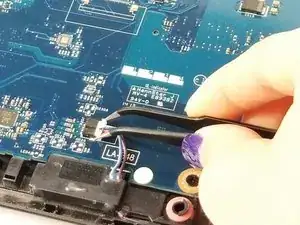
Remove the cables on the upper left side of the laptop using flat tweezers.
-
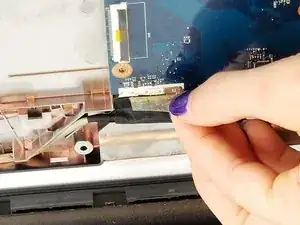
Remove the cable from the upper right hand corner.
-
-
-
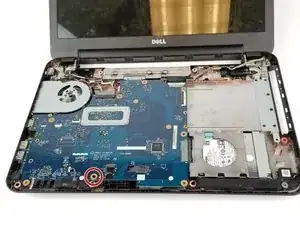
Unscrew the one 8.65 mm screw holding the motherboard in place with a PH0 size head screwdriver.
-
Remove the motherboard.
-
-
-
Turn over the motherboard.
-
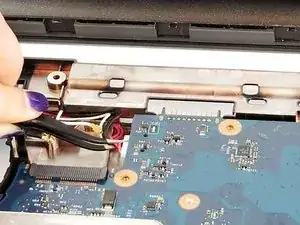
Disconnect the fan power cable.
-
Remove the 8.65 mm screw holding the fan casing to the laptop frame using a PH0 head screwdriver.
-
To reassemble your device, follow these instructions in reverse order.
