Introduction
Tools
-
-
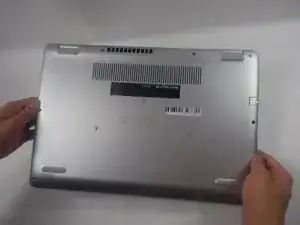
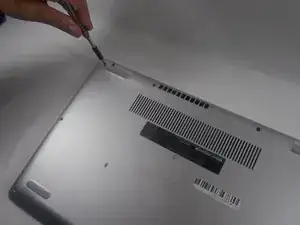
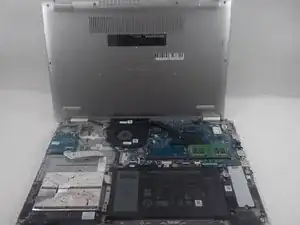
Turn over the laptop so that the bottom is facing upwards, and the Inspiron logo is upside-down.
-
-
-
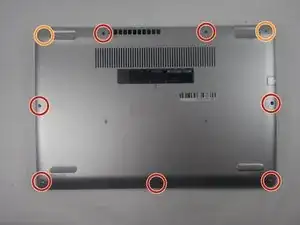
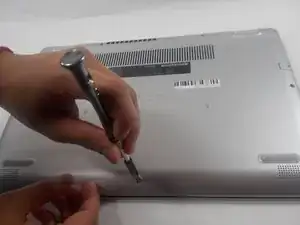
Remove the seven 7 mm screws from the bottom using a Phillips #0 screwdriver.
-
Loosen the two captive back corner screws using a Phillips #0 screwdriver.
-
-
-
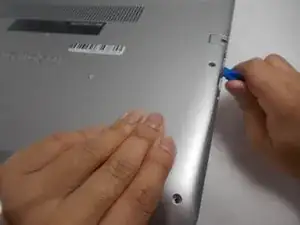
Slide an iFixit opening tool underneath the right side USB port and the keyboard.
-
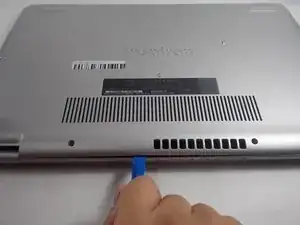
Gently trace the iFixit opening tool along the entire outer rim of the laptop, carefully applying an upwards pressure.
-
-
-
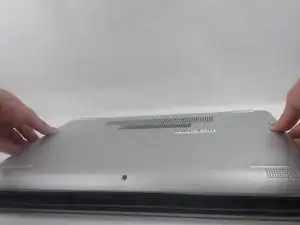
Gently pry off the bottom cover from the laptop.
-
Use the iFixit opening tool to loosen any spots you may have missed from Step 3.
-
-
-
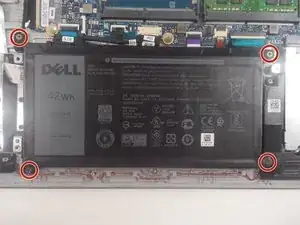
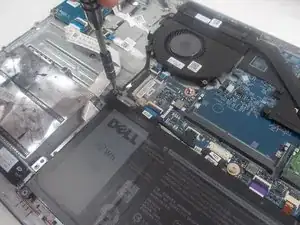
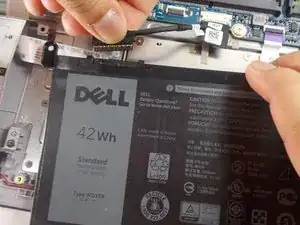
Detach the motherboard connector tab from the top left of the battery.
-
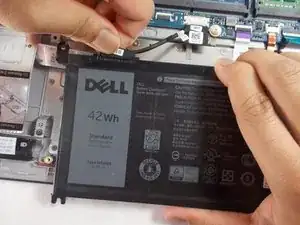
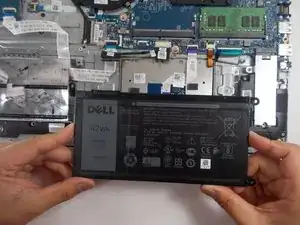
Remove the battery from the device.
-
-
-
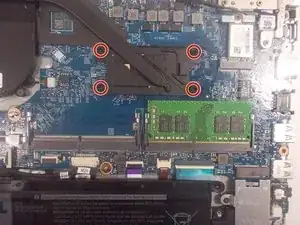
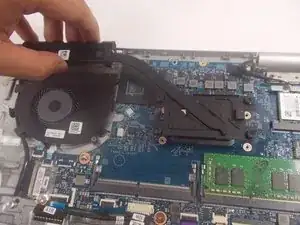
Loosen the four captive 3.5 mm screws securing the heat sink to the motherboard using a Phillips #0 screwdriver.
-
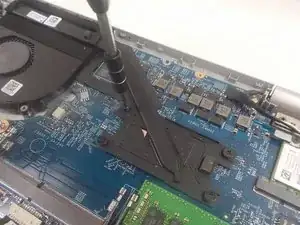
Remove the CPU plate cover from the motherboard and safely place it off to the side.
-
-
-
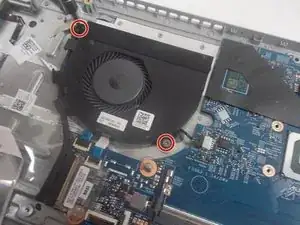
Remove the two 3.5 mm screws from the fan with a JIS #0 screwdriver.
-
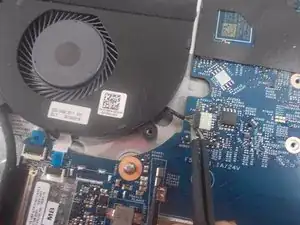
Detach the fan connector from the motherboard using a pair of tweezers.
-
-
-
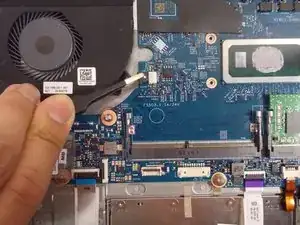
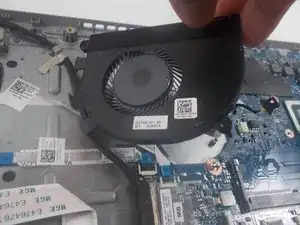
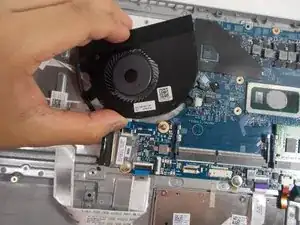
Gently lift the fan from the device and de-thread the LCD display cable.
-
Remove the fan from the device.
-
-
-
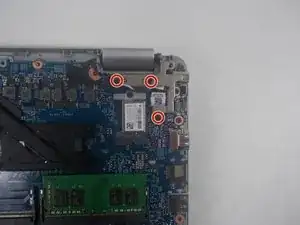
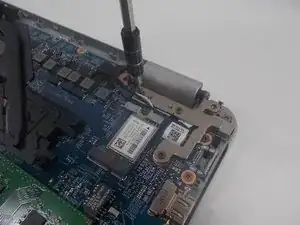
Remove the three 6 mm screws holding down the screen hinge in the upper right corner using a JIS #0 screwdriver.
-
-
-
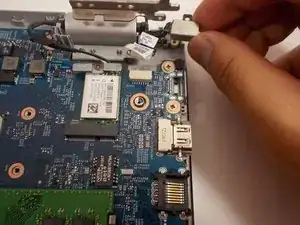
Lift up the sticker covering the DC jack connector using tweezers.
-
Using tweezers, detach the motherboard connector and lift the jack out of place.
-
Remove the DC jack from the laptop.
-
-
-
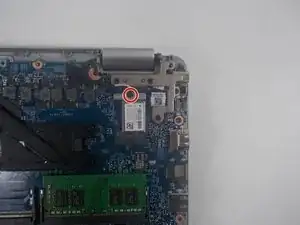
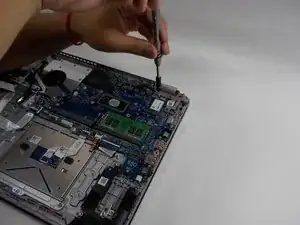
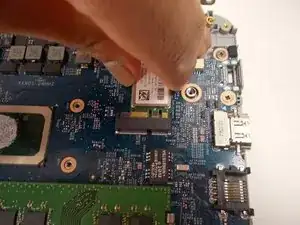
Remove the single 3 mm screw that holds down the Wi-Fi card using a Phillips #0 screwdriver.
-
Remove the Wi-Fi card from the motherboard.
-
-
-
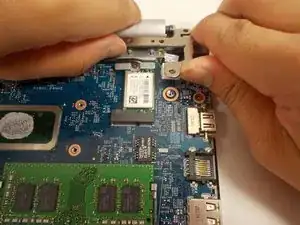
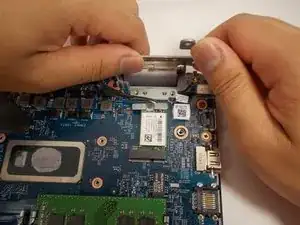
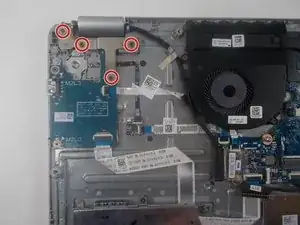
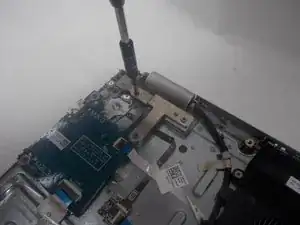
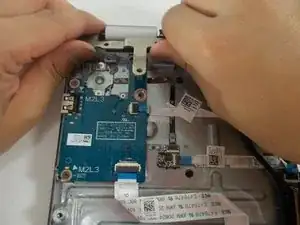
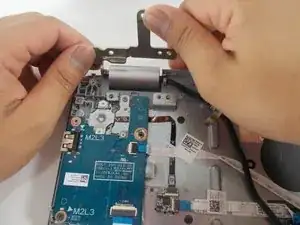
Remove the four 6 mm screws from the hinge in the upper left corner with a JIS #0 screwdriver.
-
-
-
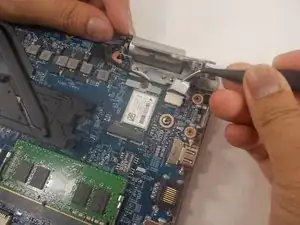
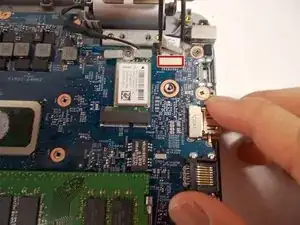
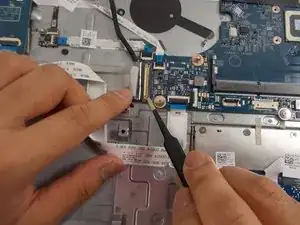
Use tweezers to peel off the sticky label covering the display cable port.
-
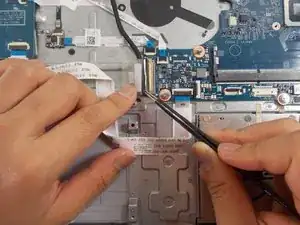
Use tweezers to unlatch the cable.
-
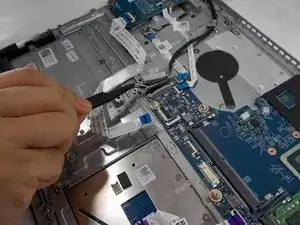
Grasp the display cable firmly and remove it.
-
-
-
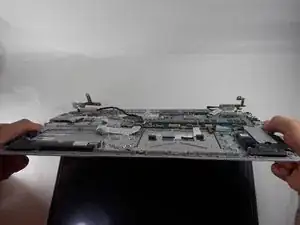
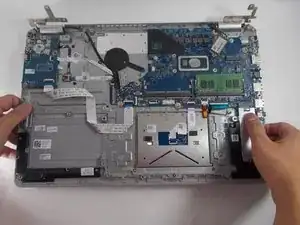
Lift the underside of the device and slightly open the laptop.
-
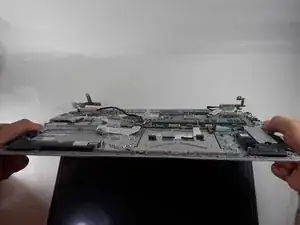
Pull the bottom half of the device off of the hinges.
-
To reassemble your device, follow these instructions in reverse order.
