Introduction
Use this guide to replace the DC jack in your Dell Inspiron 15 5584.
The DC jack is a piece of hardware that allows for the intake of charge to your battery, and therefore, power to the rest of your computer. If the DC jack fails, your laptop will not take charge and will eventually lose power, becoming unable to function.
Before using this guide, ensure that the issue is not your charger or wall outlet. Utilize caution when removing the DC jack as it is linked into the motherboard, which is sensitive and easy to damage. Furthermore, ensure your device's battery is drained and your device is shut off.
Tools
-
-
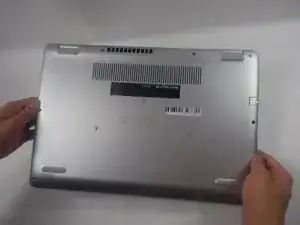
Turn over the laptop so that the bottom is facing upwards, and the Inspiron logo is upside-down.
-
-
-
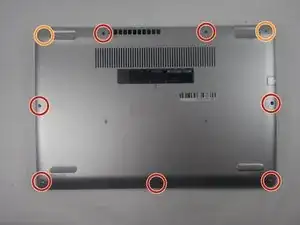
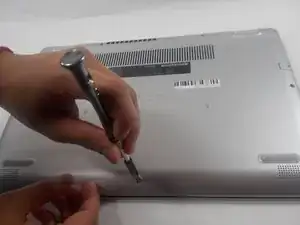
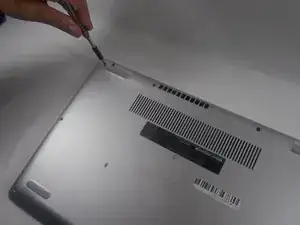
Remove the seven 7 mm screws from the bottom using a Phillips #0 screwdriver.
-
Loosen the two captive back corner screws using a Phillips #0 screwdriver.
-
-
-
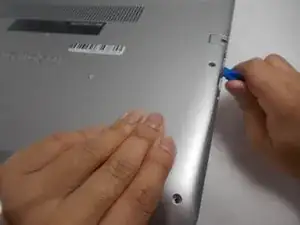
Slide an iFixit opening tool underneath the right side USB port and the keyboard.
-
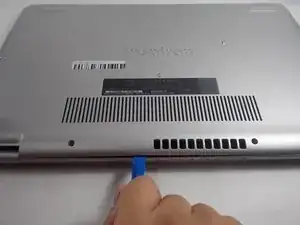
Gently trace the iFixit opening tool along the entire outer rim of the laptop, carefully applying an upwards pressure.
-
-
-
Gently pry off the bottom cover from the laptop.
-
Use the iFixit opening tool to loosen any spots you may have missed from Step 3.
-
-
-
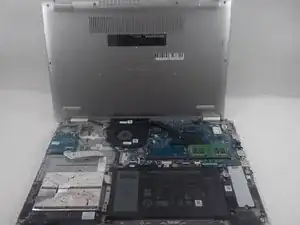
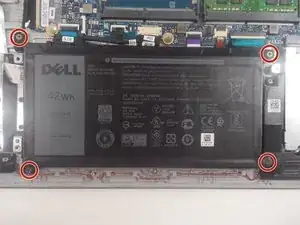
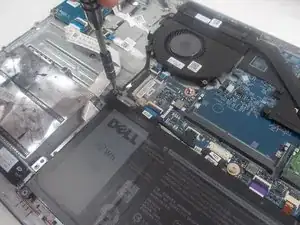
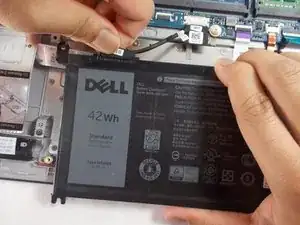
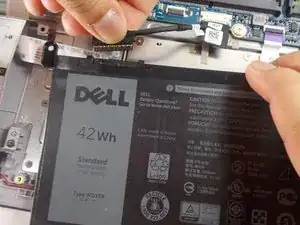
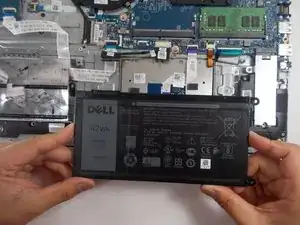
Detach the motherboard connector tab from the top left of the battery.
-
Remove the battery from the device.
-
-
-
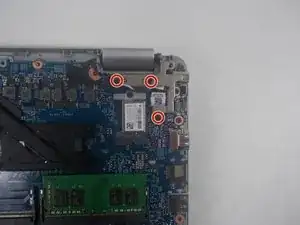
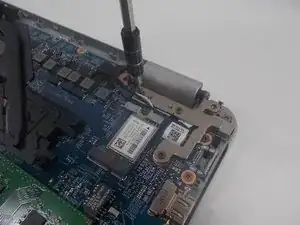
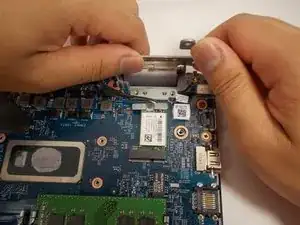
Remove the three 6 mm screws holding down the screen hinge in the upper right corner using a JIS #0 screwdriver.
-
-
-
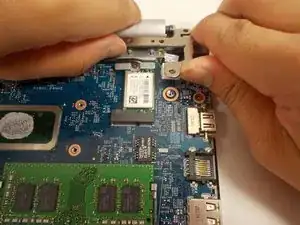
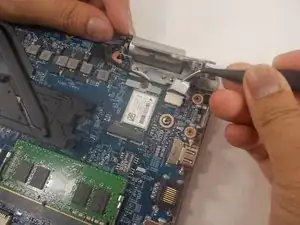
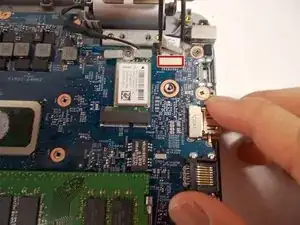
Lift up the sticker covering the DC jack connector using tweezers.
-
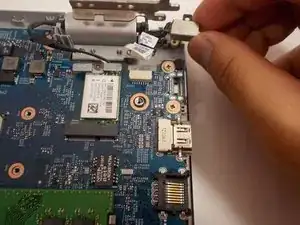
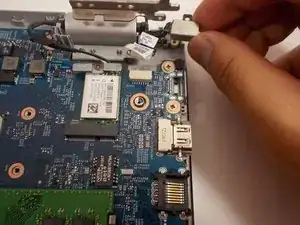
Using tweezers, detach the motherboard connector and lift the jack out of place.
-
Remove the DC jack from the laptop.
-
To reassemble your device, follow these instructions in reverse order.
One comment
it is important to replace an OEM and New dc jack, you may check these pages:
https://www.dcjks.com/dell-inspiron-5584...
Amazon.com: Laptop DC Power Jack for DELL Inspiron 15 5584 P85F 0TM5N3 TM5N3 New : Electronics
Tom -
