Introduction
Tools
Parts
To reassemble your device, follow these instructions in reverse order.
2 comments
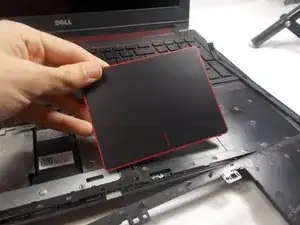
Does the touchpad not require a connection?
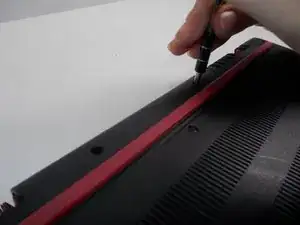
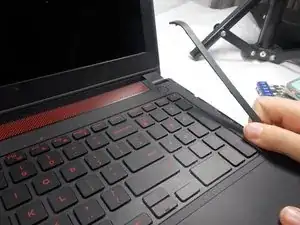
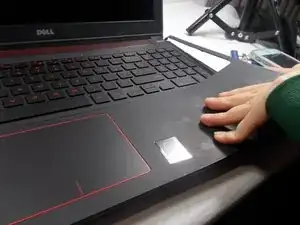
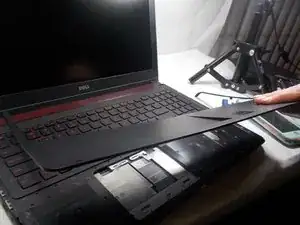
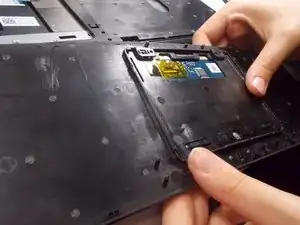
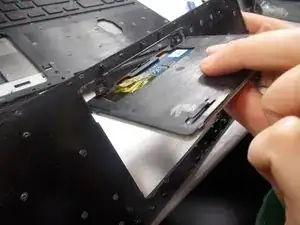
WARNING! If you use this method, you will positively break your Dell 5577 laptop. The pictures of the laptop that are shown above must be from a laptop that was already broken. The tiny plastic rivets of the palmrest have plastic welds with the c-shell of the laptop. Therefore, you can certainly pull those rivets out by applying force but you cannot reattach them unless you use some kind of glue after performing this procedure. I followed this process. Now I have to replace my laptop’s C-shell. I don’t know what is the right process but the right process has to be from the bottom, NOT by taking out the palmrest and the top parts.
There is one more problem. If you use this process, it will be quite a pain to reattach the wire to the new touchpad, There is only a very tiny piece of the wire sticking out, which will be hard to reattach unless you apply force and pull out the wire. This is what I did.
If you are OK with reattaching the stuff with glue, you can use this process.
Rob -
