Introduction
This guide will show a step-by-step process of replacing a RAM stick in a Dell Inspiron 15 5577 Gaming Laptop.
The role of RAM (Random Access Memory) in a computer is to temporarily hold and carry data that is currently in use. RAMs can be thought of as short-term memory in computers. The processor will access this memory when it needs it; this way, it is faster and more efficient than having to gather data straight from the hard drive.
The BIOS system (Basic Input/Output System) also uses RAM. The BIOS is what’s responsible for booting up the system. After booting, the BIOS will copy itself in the processor cache and then to the RAM.
Symptoms of a faulty memory-module are constant device crashes and failure to successfully boot. This may be caused due to overheating or by random chance.
Before buying a new RAM stick, it is recommended to check whether it is a slot issue. Laptops have two memory-module slots. To test your RAM slot, reseat the RAM stick to the other slot and turn on the device. If the same symptoms occur, then it is due for a new RAM stick. If it boots successfully and is functional, then the issue was the memory-module slot. That slot will be unable to read anything from now on, so it is recommended not to use that slot again.
Before working on your device, make sure that it is completely shut off and disconnected from a power source.
Tools
Parts
-
-
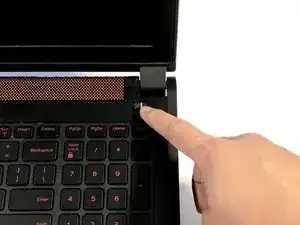
Shut down the device by holding down the power button for a few seconds.
-
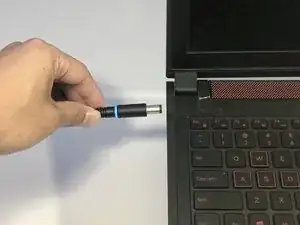
Remove the power cable from the device.
-
-
-
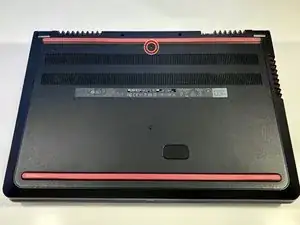
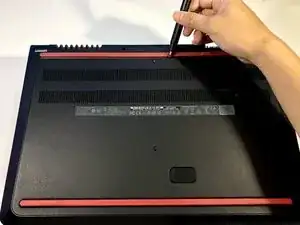
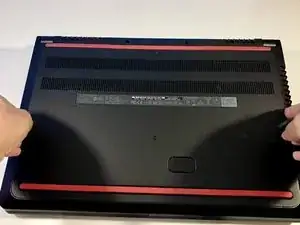
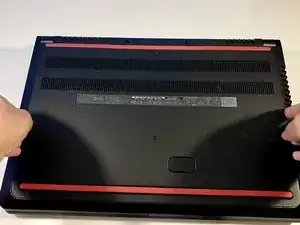
Flip the device over so that the bottom is facing up.
-
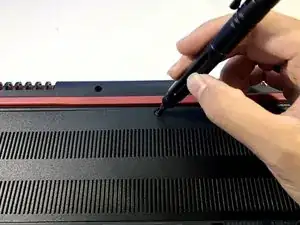
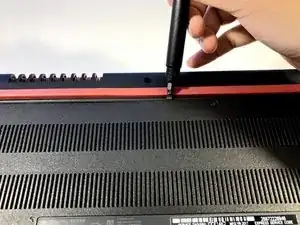
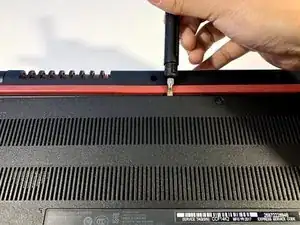
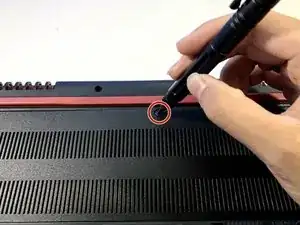
With a Phillips #00 screwdriver, loosen the screw located at the top of the base panel.
-
-
-
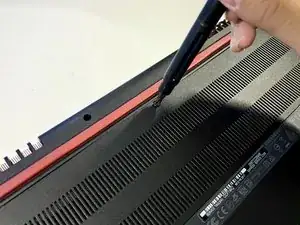
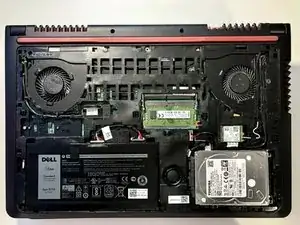
Use a spudger to gently pry up the top of the base panel until it pops loose.
-
Continue along the edges.
-
-
-
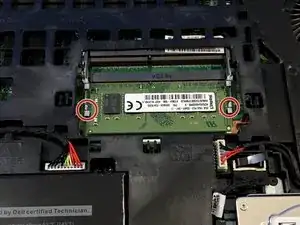
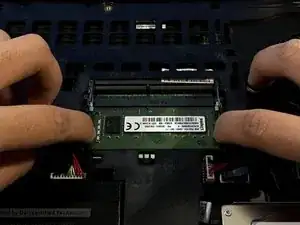
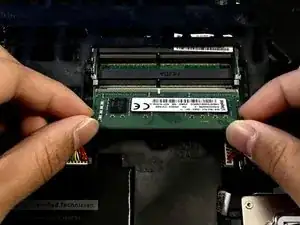
Use your fingertips to spread apart the securing-clips on both ends of the slot until the RAM stick pops up.
-
Remove the RAM stick.
-
-
-
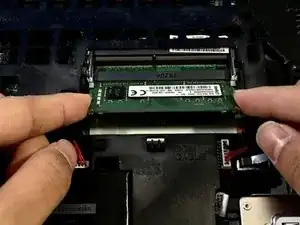
Align the notch of the new RAM stick with the tab in the slot.
-
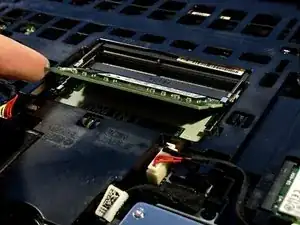
Firmly slide the new RAM in the slot at an angle.
-
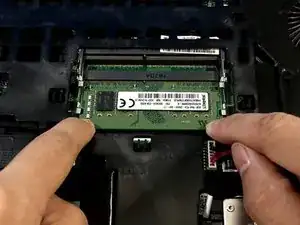
Press down until both secure-clips click into place.
-
-
-
Replace the base panel.
-
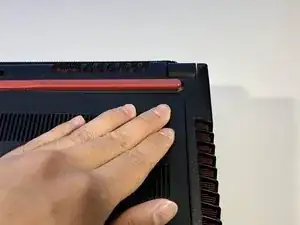
Firmly press on the edges of the base panel until it is clicked in.
-
Tighten the screw at the top of the base panel.
-
