Introduction

In this guide, we will be showing you how to remove and replace the Display Assembly.

  1. i1MRWylayhSpJoEH
    i1MRWylayhSpJoEH
    PMfXp1hq2OSXgVyv
    ZXcZSCdSSRY3Rouc
    • Before working inside your computer, read the safety information that shipped with your computer. Follow the instructions in Before Working Inside Your Computer.

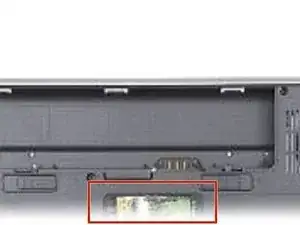
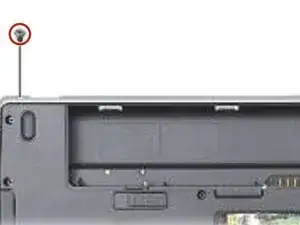
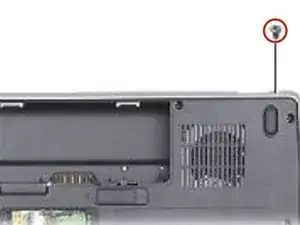
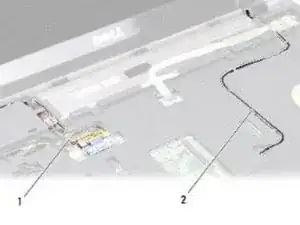
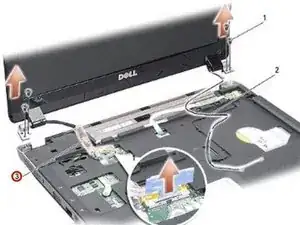
    • Remove the mylar tapes and then remove the two screws from the back of the computer.

  2. XlRo1JrTJeZHamck
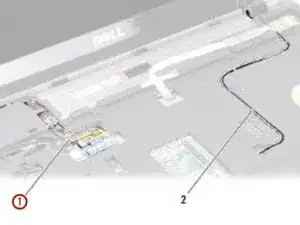
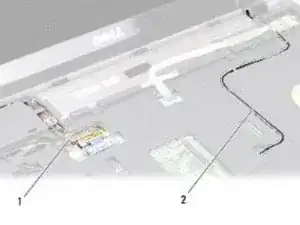
    • NOTE: Note how the display cable is routed through their routing guides.

    • Pull the display cable tab to disconnect the display cable from the system board connector.

  3. X2YEMauxf3ParwVu
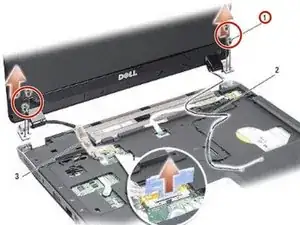
    • Make note of the cable routing and carefully dislodge the WLAN antenna cables and the rest of the cables from their routing guides. Pull the cables away, so that they are clear of the palm rest.

  4. hTe1HB4A26PyFoaa
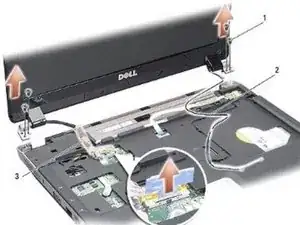
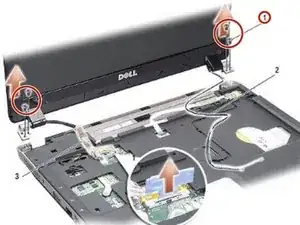
    • Remove the two screws from either side of the display hinges.

  5. fxGQdMsM2F5et5Sa
    • Lift and remove the display assembly.

  6. GB4JDhyESDETQiBP
    • Place the NEW display assembly in place and replace the two screws on each side of the display hinges.

  7. 1KkMhbPiEZ241HSR
    • Re-route and connect the display cable to the connector on the system board.

  8. aehjNO1aDIYiTUMD
    • Carefully route the WLAN antenna cables into their routing guides on the palm rest and through the computer base.

Terrence15

Member since: 18/12/17

79034 Reputation

0 comments