Introduction
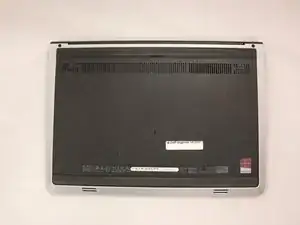
This guide will cover the steps needed to repair a faulty Wi-Fi card for the Dell Inspiron 14-5447 laptop. Make sure that prior to starting this guide, the device is not plugged into any power source and it is turned off.
Tools
-
-
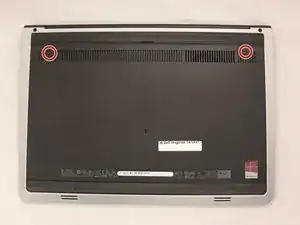
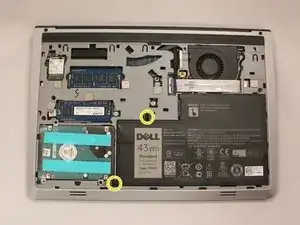
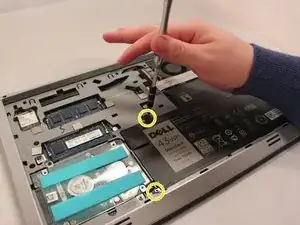
Remove the two black 5.70mm Phillips#0 screws on the case's back.
-
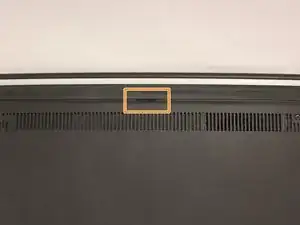
Insert a plastic opening tool into the small slit, centered between the removed screws, and pry open the back cover
-
-
-
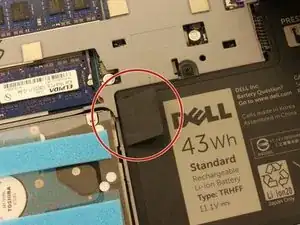
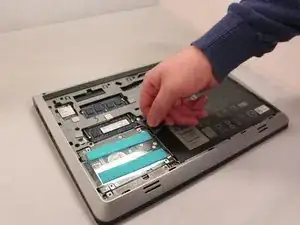
Use the black, plastic flap on the left side to pull the battery out.
-
Slowly lift the flap up and the battery should slide out.
-
-
-
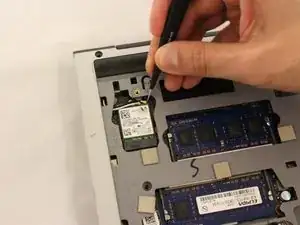
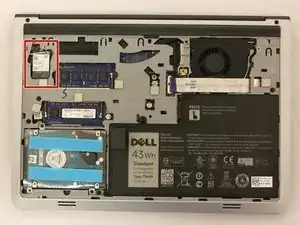
Locate the Wifi card on the top left of the laptop.
-
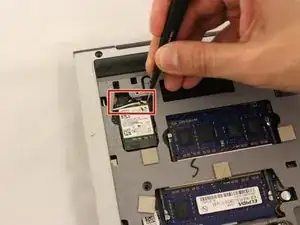
Use the tweezers to release the black and white cables.
-
-
-
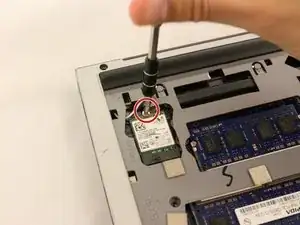
Use tweezers to push the white part of the Wi-Fi card up towards the top of the device to remove.
-
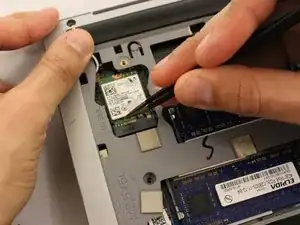
Remove the card with the tweezers.
-
To reassemble your device, follow these instructions in reverse order.
