Introduction
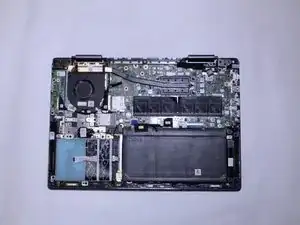
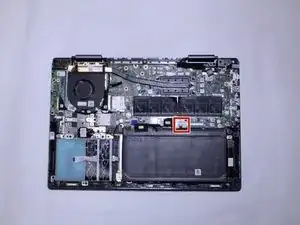
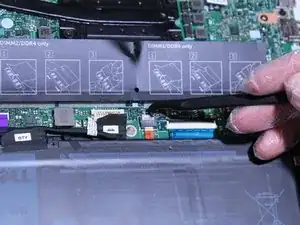
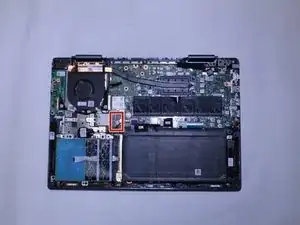
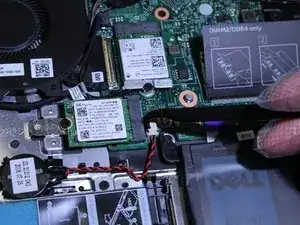
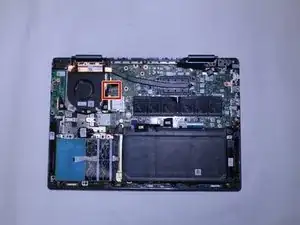
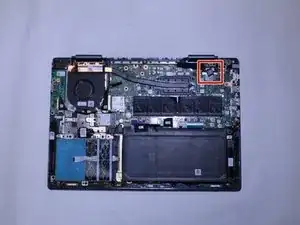
This is the motherboard replacement guide for the Dell Inspiron 14 5100 laptop. Make sure to be very careful in removing all of the connectors that are in the way of the motherboard because they are easily broken.
Tools
-
-
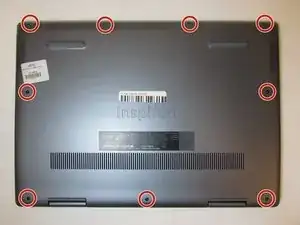
Remove nine screws securing the base cover of the laptop's keyboard assembly using the Phillips #0 screwdriver.
-
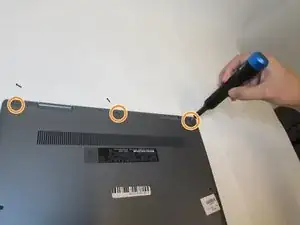
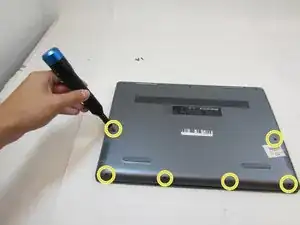
There are 2 sets of screws.
-
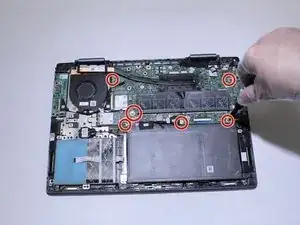
Remove the 3 captive screws.
-
Remove the 6M2*6 screws.
-
-
-
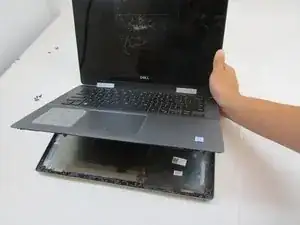
Pry open the laptop to separate the base cover from the keyboard assembly.
-
You may use your fingertips or use plastic opening tools.
-
-
-
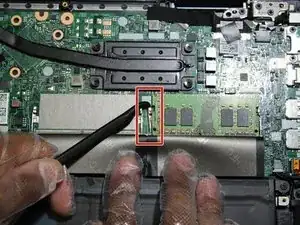
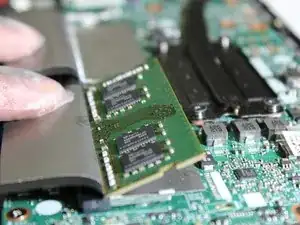
Using the spudger, pull back the pins holding the RAM in place.
-
The RAM will slightly pop up from the motherboard.
-
-
-
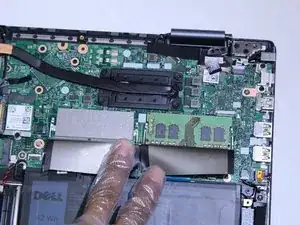
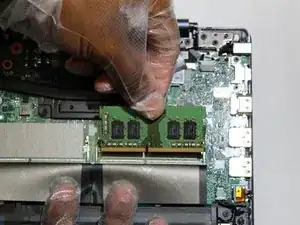
Remove the RAM card from the RAM slot using your fingers. Pull it gently in the direction of the laptop hinge.
-
Repeat Steps 3-5 for the other RAM slot.
-
-
-
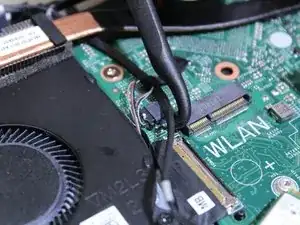
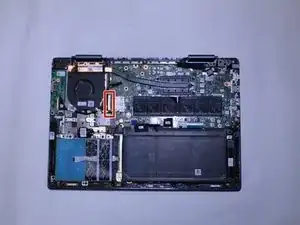
Flip up the retaining flap and remove the blue ribbon cable from its connector on the motherboard using a spudger.
-
-
-
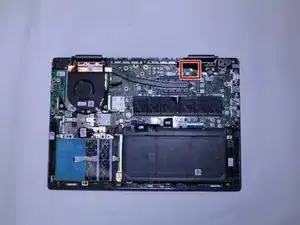
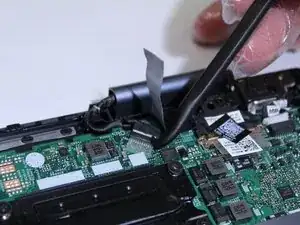
Flip up the retaining flap and remove the orange ribbon cable from its connector on the motherboard using a spudger.
-
-
-
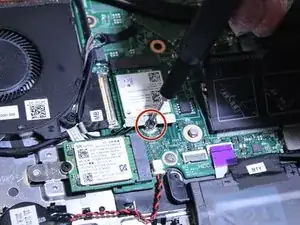
Remove the single 3 mm screw from the Wi-Fi card using the Phillips #0 screwdriver.
-
Pull the Wi-Fi card out of the slot and set aside.
-
-
-
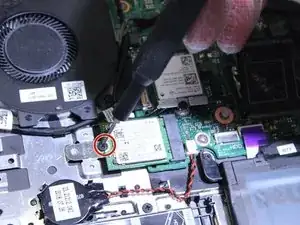
Remove the single screw from the SSD using the Phillips #0 screwdriver.
-
Remove the SSD from the motherboard.
-
-
-
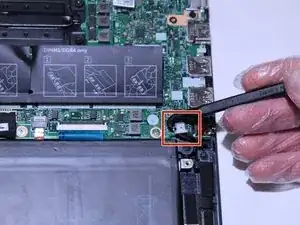
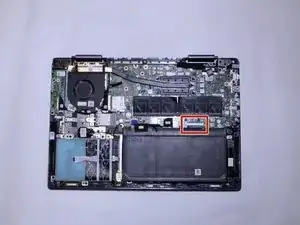
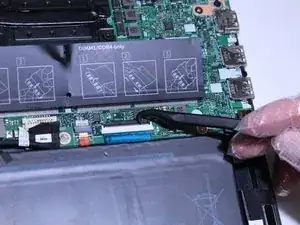
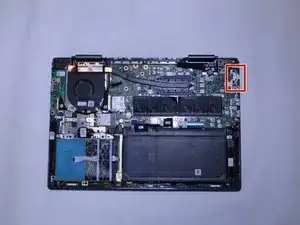
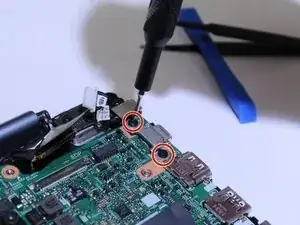
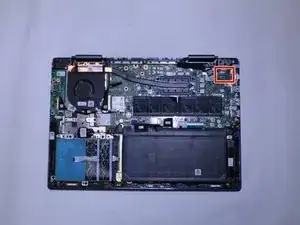
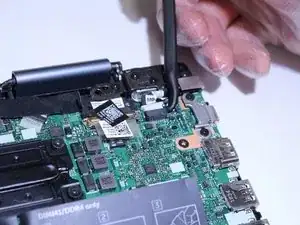
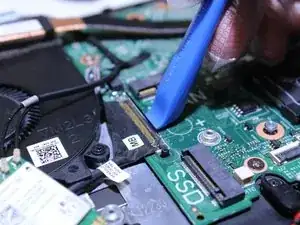
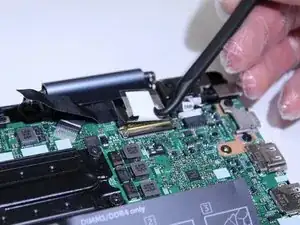
Lift the metal retaining flap using the opening tool.
-
Remove the connector from the bracket.
-
-
-
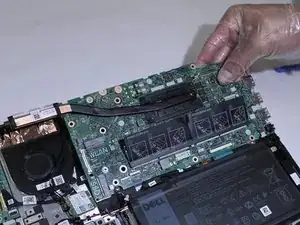
Remove the motherboard by lifting it from the rear and then completely removing it from the laptop.
-
To reassemble your device, follow these instructions in reverse order.
