Introduction
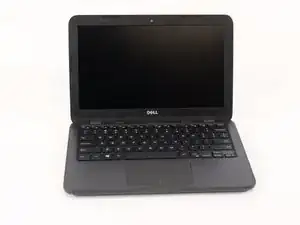
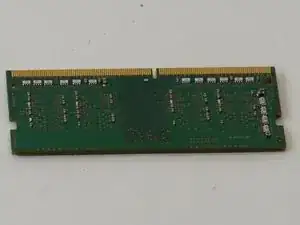
If there are still problems with the speed of the laptop and troubleshooting doesn't work, you may need to replace your RAM.
WARNING: It is highly recommended to use an anti-static wrist strap for any work on a computer involving metallic parts, static may easily damage fragile computer parts including your new RAM, if you do not have an anti-static wrist strap you can also find other ways to ground yourself such as by being in contact with metal that is touching the ground. Work with the device on a hard surface and away from carpet, it is also recommended to not wear high static-generating clothing during the repair or replacement.
Tools
Parts
-
-
Flip the Chromebook to have the bottom facing you.
-
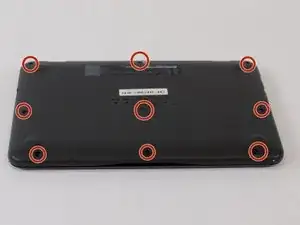
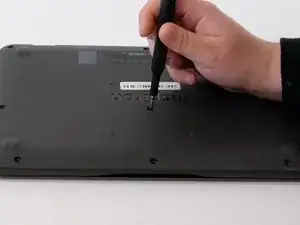
Make a note of all of the screws present. You may need to uncover some of them hidden beneath plastic tabs. The location of each screw is marked in the accompanying image.
-
-
-
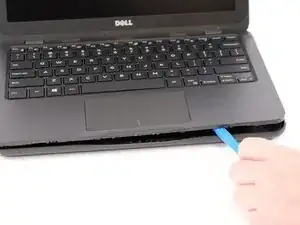
Using the iFixit plastic opening tool, wedge it into the seam of the bottom plate. This will create a small gap between the sections that you can gently pry open. Work your way around to each side of the device until the bottom pops free.
-
-
-
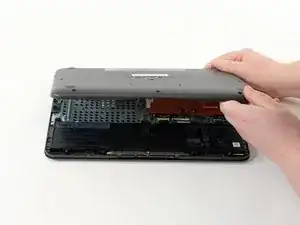
Once you have pried enough space between the Chromebook and the bottom plate, flip it back over so the bottom plate is facing you and gently pull it up with your hands.
-
-
-
Before you completely pull off the back, you must disconnect the MB cord.
-
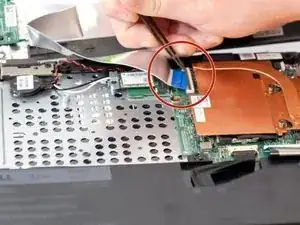
Using blunt-nosed tweezers, carefully flip the black bar that keeps the MB cord latched in as circled in the image.
-
Once open, grab the flat cord with your tweezers and pull horizontally until it comes free. Your bottom plate is now fully removed.
-
-
-
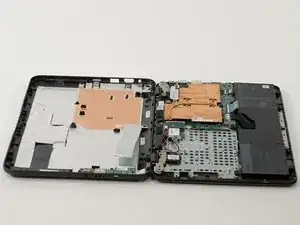
Finally, pull off the bottom plate carefully and set it to the side to continue with your needed repairs or replacements.
-
-
-
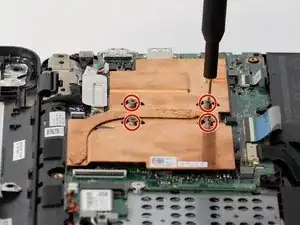
Use a #00 Phillips screwdriver to remove the copper heat sink by unscrewing the four captive 7 mm screws labeled 1, 2, 3, and 4
-
-
-
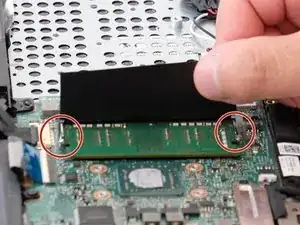
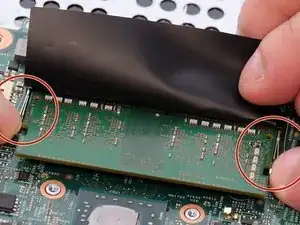
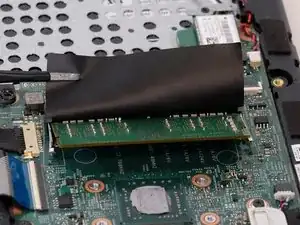
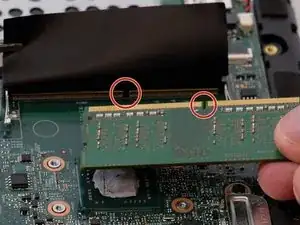
Lift the plastic flap to reveal the location of the RAM. Notice the two small clips holding it down on either side.
-
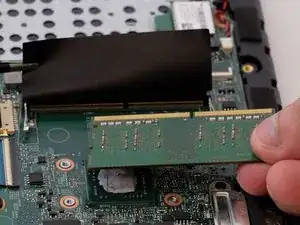
Pull the metal clips away from the RAM, so they no longer clip it in.
-
To reassemble your device, follow these instructions in reverse order.
