Introduction
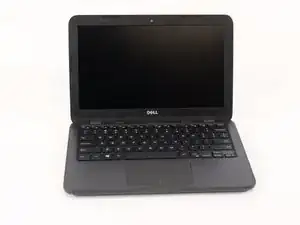
If your laptop is still having issues and you've tried troubleshooting, you may need to replace your battery.
⚠︎ WARNING: Avoid contact with battery liquid, if the battery is leaking follow the battery manufacturer’s recommendations for cleanup and avoid contact with skin and eyes. If contact does occur, rinse gently with water and contact a doctor about the appropriate steps to follow. Dispose of used and no longer functional batteries responsibly. Check with your local authorities about ways to safely dispose of or recycle used batteries.
Tools
Parts
-
-
Flip the Chromebook to have the bottom facing you.
-
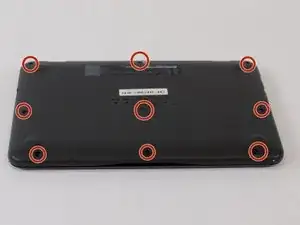
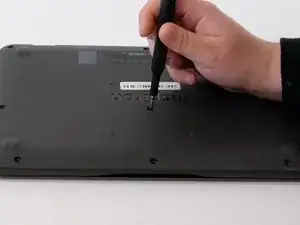
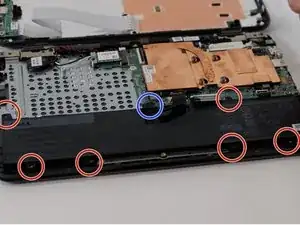
Make a note of all of the screws present. You may need to uncover some of them hidden beneath plastic tabs. The location of each screw is marked in the accompanying image.
-
-
-
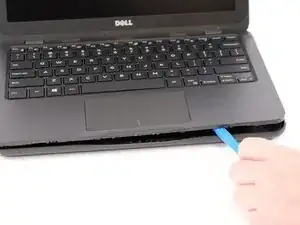
Using the iFixit plastic opening tool, wedge it into the seam of the bottom plate. This will create a small gap between the sections that you can gently pry open. Work your way around to each side of the device until the bottom pops free.
-
-
-
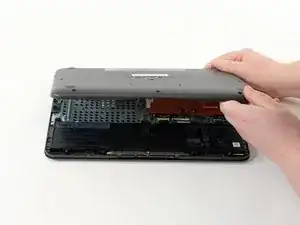
Once you have pried enough space between the Chromebook and the bottom plate, flip it back over so the bottom plate is facing you and gently pull it up with your hands.
-
-
-
Before you completely pull off the back, you must disconnect the MB cord.
-
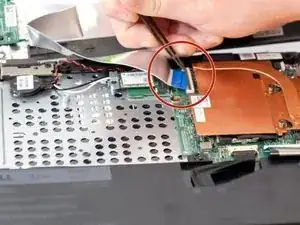
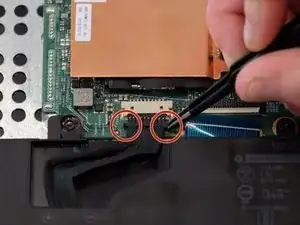
Using blunt-nosed tweezers, carefully flip the black bar that keeps the MB cord latched in as circled in the image.
-
Once open, grab the flat cord with your tweezers and pull horizontally until it comes free. Your bottom plate is now fully removed.
-
-
-
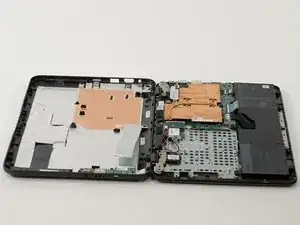
Finally, pull off the bottom plate carefully and set it to the side to continue with your needed repairs or replacements.
-
-
-
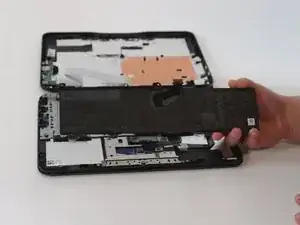
Locate the battery on the lower half of the open laptop.
-
Using blunt-nosed tweezers, carefully disconnect the battery cable from the service board by pulling at the small plastic tabs on either side.
-
-
-
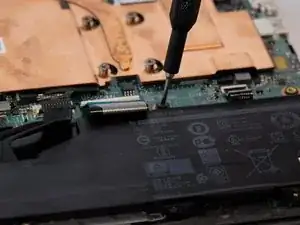
Use a #00 Phillips screwdriver to remove the six 4 mm screws.
-
Also remove the one 6 mm screw.
-
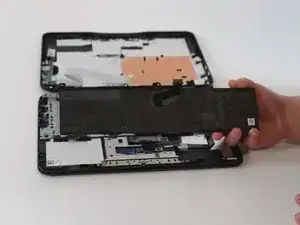
There should no longer be any screws holding down the battery.
-
To reassemble your device, follow these instructions in reverse order.
