Introduction
This guide provides the steps involved with replacing a broken or failing battery. You will need two Philips head screw drivers, One #1 and also a #0. Its a short and simple process as long as the guide is followed exactly as shown.
Tools
Parts
-
-
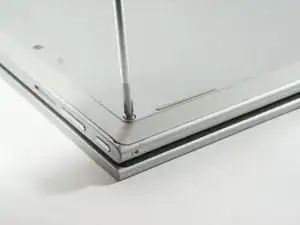
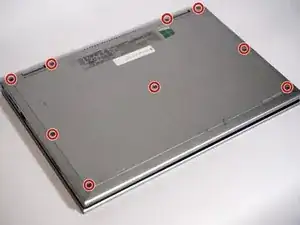
Using a Philips Head #1 Screw Driver remove the nine .7mm screws holding the back cover in place.
-
The cover is held on with small plastic tabs. Starting from the back of the machine use your hands to gently prey the back cover from the machine and release these tabs. While a tool is not necessary a plastic plunger can be used to lift the first few tabs.
-
-
-
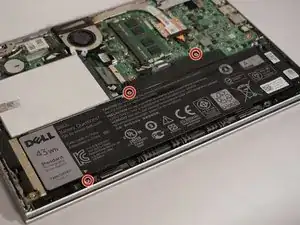
The 4mm battery screws can be removed with a philips head #0 screw driver. All the screws that must be removed are shown in the attached pictures.
-
Place screws close by in a safe place such as a magnetic board or cup so they are ready and accounted for when you begin reassembly.
-
-
-
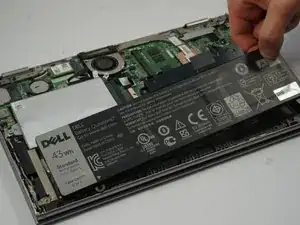
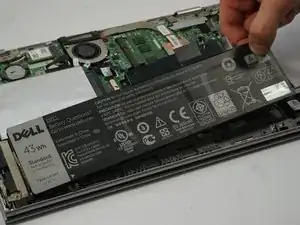
Once the screws have been removed the battery may then be simply removed by hand and replaced.
-
To reassemble your device, follow these instructions in reverse order.
