Introduction

This guide will show you how to replace the RAM (Random Access Memory) in G7 15-7588 Laptops.

RAM stores information and allows for this memory to be received and read. It is also a common part that is upgraded in computers. If your G7 15-7588 Laptop is slowing down and not running properly, you may need to replace the RAM.

Before following this guide, please make sure to power off your laptop completely and disconnect from any external power source to avoid causing unnecessary and possible damage. You will also need both a Phillips #0 Screwdriver and a Phillips #00 Screwdriver for this replacement.

  1. DiK2WU3QdjouA2ID
    DiK2WU3QdjouA2ID
    vDOA1jEvHRrjPtqf
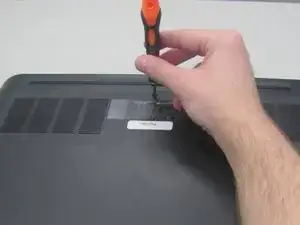
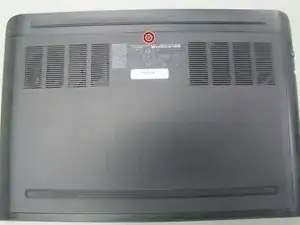
    • Use a Phillips #00 screwdriver to unscrew the 2 mm screw that secures the bottom cover.

    • This screw can not be fully removed from the bottom cover. It will only lift the back cover up the laptop up and allow it to be removed.

    • This will raise the bottom cover of the laptop centered around the screw, providing a easy point to remove the laptop back from later.

  2. YHGiVbLV4pVrhnDy
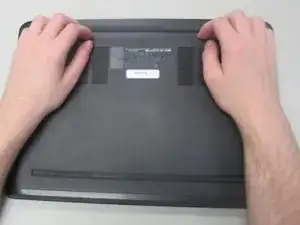
    • Remove the bottom cover from the laptop by pulling back the cover.

    • It is recommended to start from where the screw near the top of the laptop lifts the cover.

  3. XWoHDkMInTeYKxGW
    XWoHDkMInTeYKxGW
    oCUa3MlPkGh6C2VE
    se4Y5VyTyYhVX6Kn
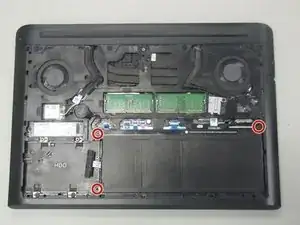
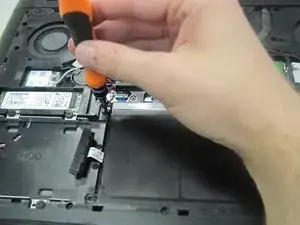
    • Use a Phillips #0 screwdriver to remove the three 2.5 mm screws from the battery brackets.

  4. TBvLlBcK4EZw2MiF
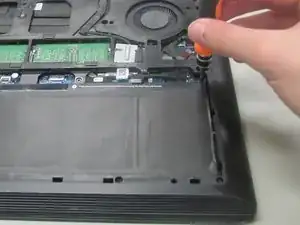
    • Grab both sides of the battery connector.

    • Pull the battery connector straight back to disconnect it from the laptop.

    • This will completely disconnect the batter from the laptop.

  5. SEhTpWxssRA2RccP
    SEhTpWxssRA2RccP
    GSVN1YHcQ12SdQ3q
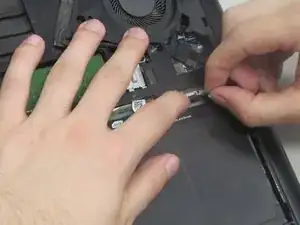
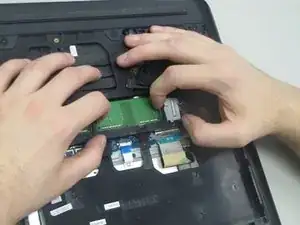
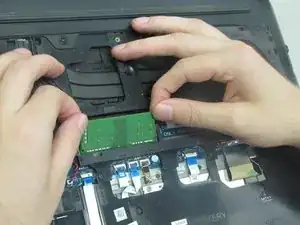
    • Push the sides of the metal retention clips outward.

    • This will release the RAM from its locked state and cause it to rise upward, allowing for removal.

    • The same method is used for both pieces of RAM.

  6. hJgYvkrA1y1QKZYt
    hJgYvkrA1y1QKZYt
    c2wENrTYtSCfVSJZ
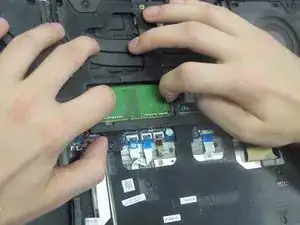
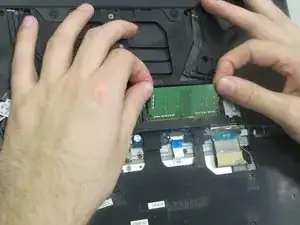
    • Remove the RAM from the laptop by pulling it up from the slot.

    • The same method is used for both pieces of RAM.

Conclusion

To reassemble your device, follow these instructions in reverse order.
Ryan Peschke

Member since: 21/02/22

141 Reputation

0 comments