Introduction
This guide will aid you in replacing your Dell Chromebook 5190 I/O board.
The Dell Chromebook 5190 was released alongside its sister model Dell Chromebook 5190 2-in-1. This guide will focus on the 5190 model that lacks a touchscreen.
The I/O board on your laptop helps physically connect external devices to your computer. If you are having issues with your computer identifying external devices when connected, try the Dell Chromebook 5190 troubleshooting page for possible solutions before replacing the I/O. If you are still experiencing these issues after troubleshooting, you may need a I/O board replacement.
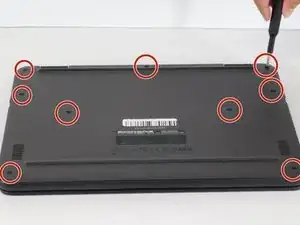
Please make sure your laptop is off before beginning, and remove all cables or devices populating your laptop ports.
Tools
-
-
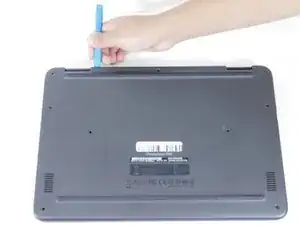
With the opening tool, pry open the upper left corner by the laptop hinge.
-
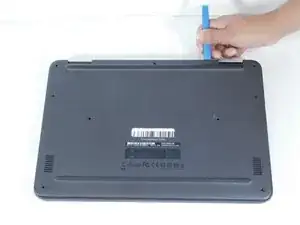
With the opening tool, pry open the upper right corner by the laptop hinge.
-
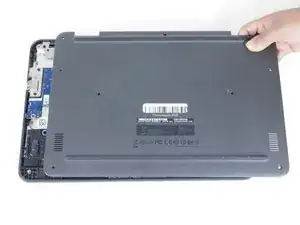
Lift off base cover.
-
-
-
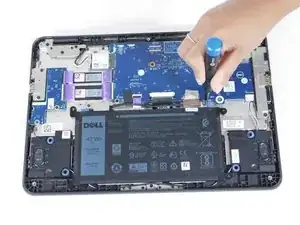
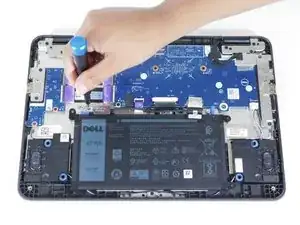
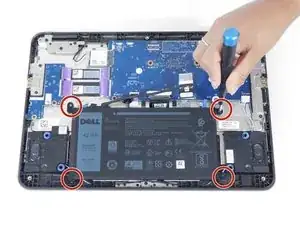
Unscrew and remove the M2x3 screw holding the silver metal brackets labeled "Battery Bracket" located on the top left side of the battery.
-
Unscrew and remove the M2x3 screw holding the silver metal brackets labeled "Battery Bracket" located on the top right side of the battery.
-
-
-
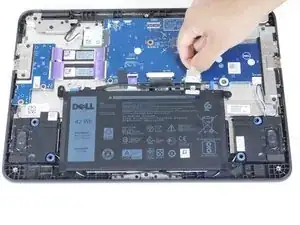
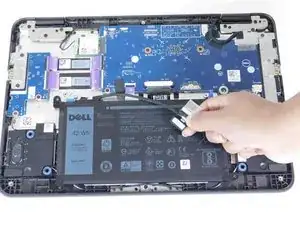
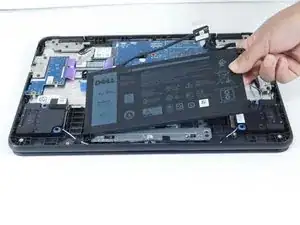
Remove the clear adhesive tape on the system board from the battery cable from where it's seated above the battery.
-
Pull out the keyboard cable toward you to disconnect it.
-
-
-
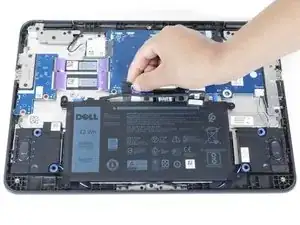
Remove the black adhesive tape on the system board from the battery cable.
-
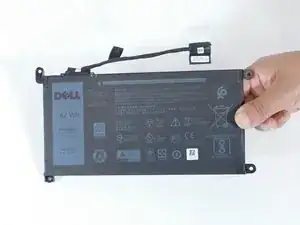
Dismount the cable from where it's seated above the battery.
-
-
-
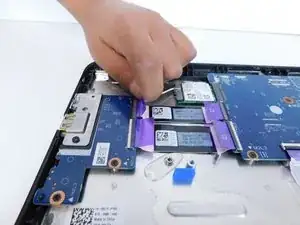
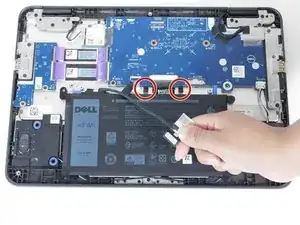
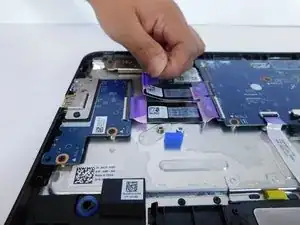
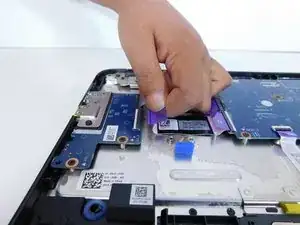
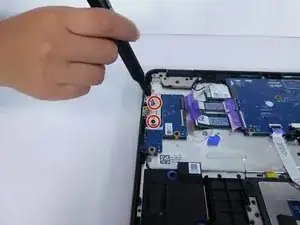
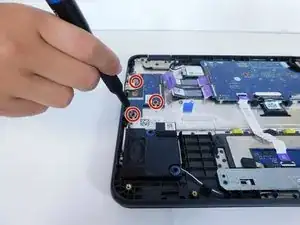
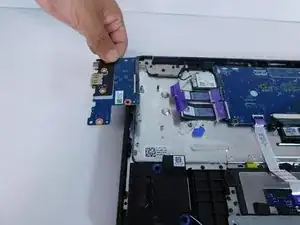
Disconnect the first purple I/O cable by lifting upwards and pulling away from the I/O connector.
-
-
-
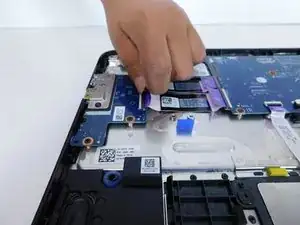
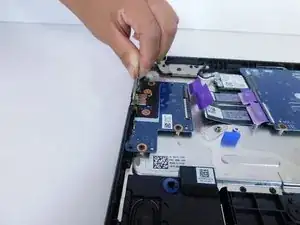
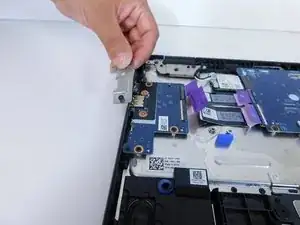
Disconnect the second purple I/O cable by lifting upwards and pulling away from the I/O connector.
-
To reassemble your device, follow these instructions in reverse order.
