
Introduction
This guide will you how to remove and replace the palmrest for a Dell Chromebook 3180.
-
-
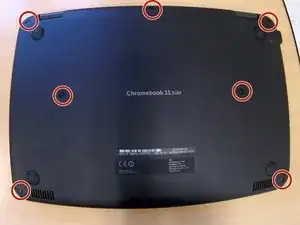
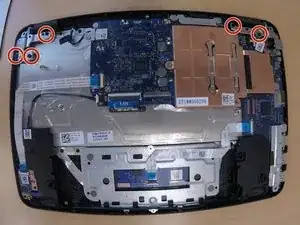
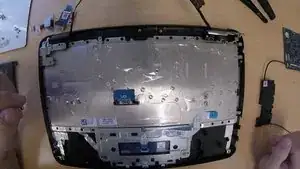
Remove the 7 screws from the back cover with a Phillips #0 screwdriver
-
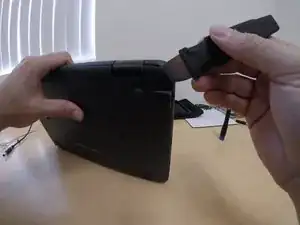
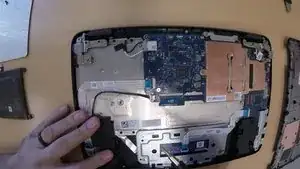
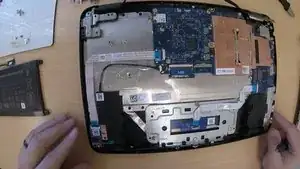
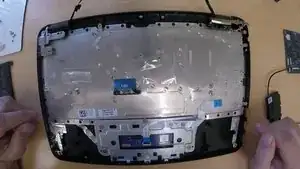
Once all 7 screws have been removed, you can start to pry apart the back cover with your Plastic Blade or your fingers. (See pic)
-
-
-
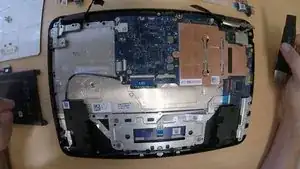
Using a phillips #0, remove the 1 screw from the wifi card.
-
Disconnect both the white and black power wires from the Wifi Card.
-
-
-
Remove the LCD data cable from the motherboard. Lift the black clip first in order to release the connector.
-
-
-
Lift the right side hinge upward in order to gain access to the charging port area.
-
Using your phillips #0, remove the 2 screws.
-
-
-
Remove the audio board data cable from the motherboard.
-
Using a phillips#0, remove the 1 screw from the audio board.
-
-
-
Lift and remove the tap that is securing the speaker wire to the palmrest.
-
Lift both speakers out from there secured areas. You do not need to disconnect the data cable from the motherboard.
-
-
-
Disconnect the keyboard data cable from the motherboard by lifting up the connector clip.
-
Disconnect the trackpad data cable from the motherboard by lifting up the connector clip.
-
-
-
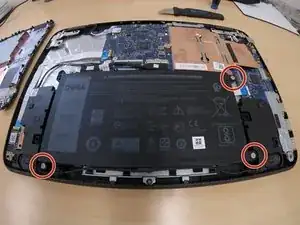
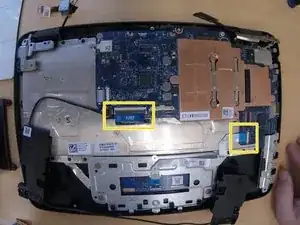
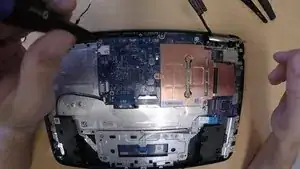
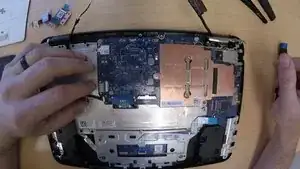
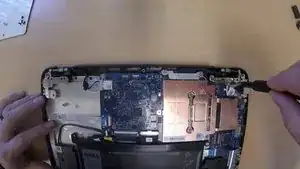
Using a phillips#0, remove 6 motherboard screws.
-
You do not need to remove all heatsink screws. You only need to remove the left and right side heat sink screws.
-
You do not need to remove all the USB cover/brace screws. Only remove the 1 in the top right corner. See video.
-
-
-
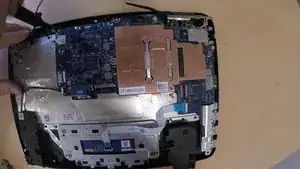
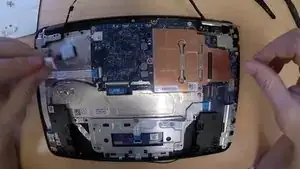
Position both LCD hinges in an upward position to allow space in order to separate the palmrest from the entire LCD assemply
-
Separate the palmrest from the LCD Assembly and set the palmrest on the desk with the keyboard face up.
-
-
-
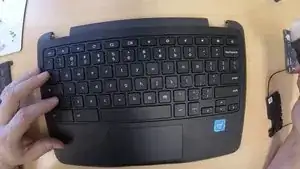
Using the plastic blade tool or any plastic tool of your choice, pry out the keyboard from the palmrest.
-
-
-
Replace the old palmrest with a new palmrest
-
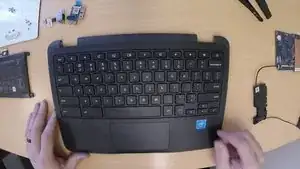
Install old or new keyboard into the new palmrest
-
Make sure to thread the keyboard data cable through the palmrest. See video
-
-
-
Lay the LCD assembly faceup with the hinges at the top.
-
Reconnect the palmrest by manuvering the corners under the LCD hinges.
-
Push the left hinge down flush against the palmrest
-
Leave the right hinge in an upward position so you can install the motherboard first.
-
-
-
Carefully insert the motherboard with speakers still atatched
-
Make sure to keep the keyboard and trackpad data cables above the motherboard. Sometimes they can get caught underneath the motherboard.
-
-
-
Using your phillips#0, replace the 6 motherboard screws.
-
Make sure the keyboard and trackpad data cables
-
-
-
Connect the keyboard data cable to the motherboard. Make sure the connector clip is pressed down to secure the data cable
-
Connect trackpad data cable to motherboard. Make sure the connector clip is pressed down to secure the data cable
-
-
-
Connect the audio board data cable to the motherboard connector.
-
Using a phillips#0, replace the 1 audio board screw.
-
-
-
Make sure the right hinge is still in an upward position so you can insert the charging board screws.
-
Using a philips#0, replace the 2 charging port screws.
-
Once the charging port is installed, push the right hinge down flush against the motherboard area.
-
-
-
Insert the battery while making sure it is flush against the palmrest
-
Keep an eye out for the speaker wires that are usually routed toward the bottom of the battery compartment area.
-


To reassemble your device, follow these instructions in reverse order.