Introduction
This guide shows you how to replace the LCD panel for a Dell Chromebook 3180.
Tools
Parts
-
-
Open the chromebook until its completely flat on the table
-
Remove both the left and right hinge caps
-
Remove a total of 4 screws. One in each corner.
-
-
-
Use a plastic pry tool or blade and start in the top left corner or first left plastic ridge.
-
-
-
Remove a total of 4 screws. One in each corner
-
Lift up the LCD screen from within the LCD assembly frame.
-
On the back of the LCD screen, remove the tape and LCD connector
-
-
-
Attach the LCD connector
-
re-apply the tape to the LCD connector
-
Set the new LCD screen into the LCD assembly frame while matching up the screw ports in each corner
-
-
-
When installing the LCD bezel, look for the plastic hinge outlines on each side and match them up with the metal hinges on the chromebook.
-
Snap the LCD bezel in place until it is flush with the entire LCD assembly
-
To reassemble your device, follow these instructions in reverse order.
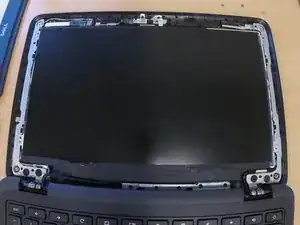
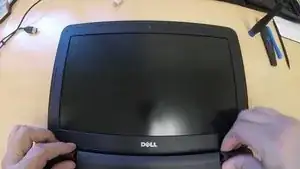
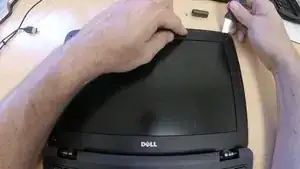
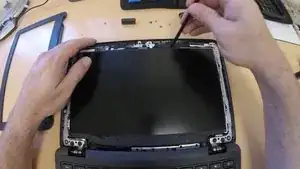
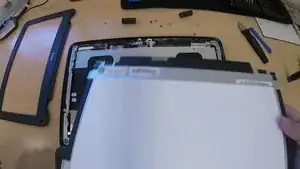
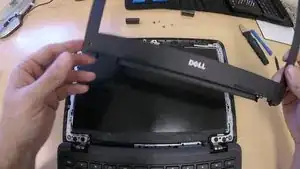
Thank goodness the screen was already broken on the one I was working on. There was so much glue at the bottom of the screen that it was cracking more as I was removing the bezel.
Riley Patton -