Introduction
This guide will show you how to remove and replace the charging port for your Chromebook 3180.
-
-
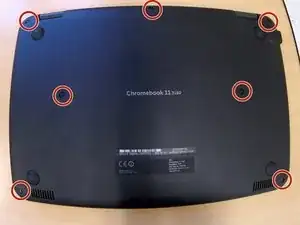
Remove the 7 screws from the back cover with a Phillips #0 screwdriver
-
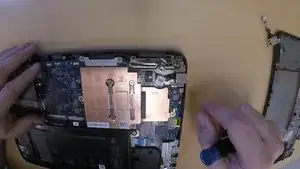
Once all 7 screws have been removed, you can start to pry apart the back cover with your Plastic Blade or your fingers. (See pic)
-
-
-
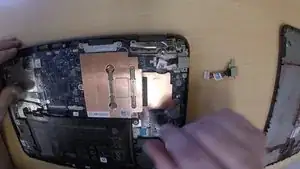
Using a Phillips #0, remove the 2 screws from the right side hinge.
-
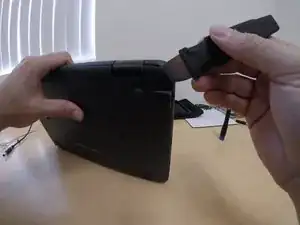
Lift the chromebook base in order to force the hinge in an upward position. This will provide you enough room to remove the charging port.
-
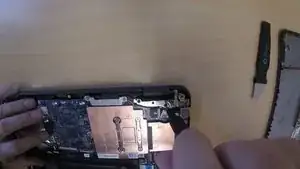
Remove the 2 charging port screws
-
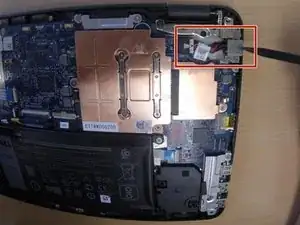
Unplug the charging port connector from the Motherboard
-
-
-
Disconnect the charging port connector from the motherboard.
-
Replace the charging port if needed by connecting the new charging port connector to the motherboard.
-
Using a Phillips#0, replace the 2 charging port screws.
-
-
-
Reset the right side hinge back into place by pressing down so the hinge is flush against the chromebook base.
-
Secure with the 2 screws using your phillips #0.
-

To reassemble your device, follow these instructions in reverse order.
One comment
Hey Party Person, nice job. I believe you might be the greatest tech to ever hold a screw driver. This song is for you https://youtu.be/ItWIYcD6jas
foshizol -