Introduction
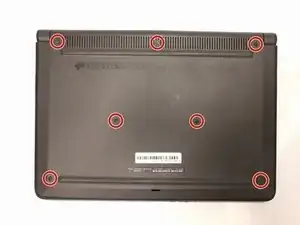
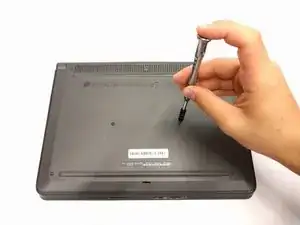
When a laptop's battery becomes old and obsolete it may not be able to hold a charge and will need to be replaced. A new battery allows for a better power supply to important parts to the laptop for optimal usage. When removing the battery, it is important to be careful and use caution. You will need a #J0 Philips Screwdriver for the removal of the battery.
-
-
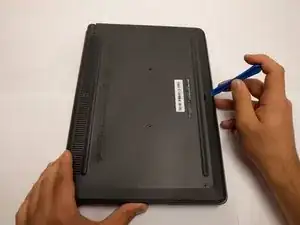
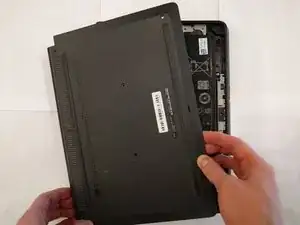
Use the plastic opening tool to gently pry around the four sides of the back panel until the panel is fully released.
-
-
-
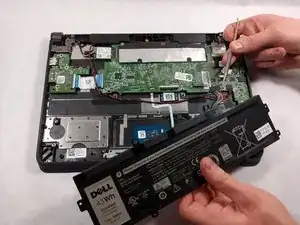
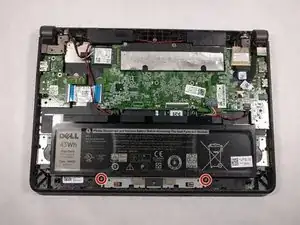
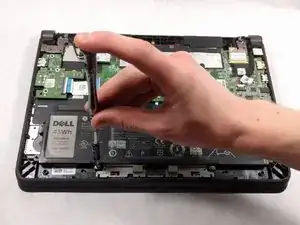
Using the pointed end of a #2 spudger, remove the connection between the battery and motherboard by slightly pulling on the wires while pushing the tiny hole down using the spudger.
-
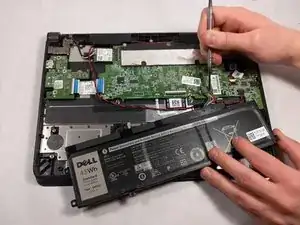
Pull out the battery from inside the laptop.
-
To reassemble your device, follow these instructions in reverse order.