Introduction
The display hinges of your laptop may need to be replaced. They can get damaged from dropping your computer, or even just from everyday wear. This replacement is a little bit more lengthy, but still very conquerable for someone with minimal experience working with electronics.
-
-
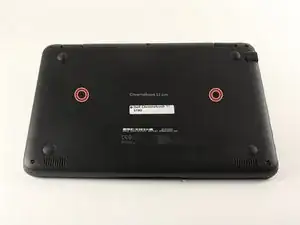
Using tweezers, remove the circular stickers that are covering the two screws near the middle of the back cover. Stick them to the laptop next to the screws.
-
-
-
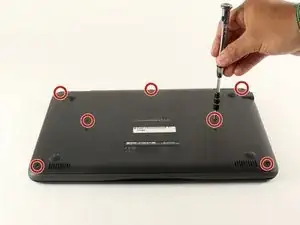
Using a Phillips #0 screwdriver, loosen all seven 2.5mm screws on the back cover of the device.
-
-
-
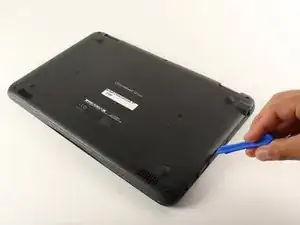
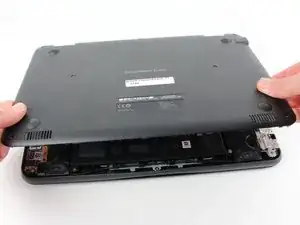
Using a plastic opening tool, begin to separate the back cover from the body of the computer.
-
-
-
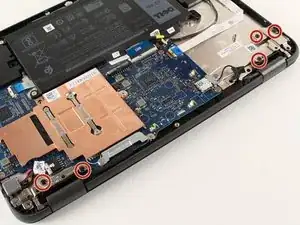
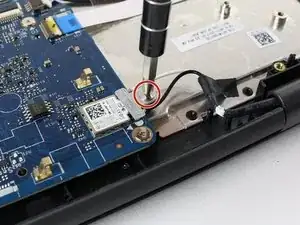
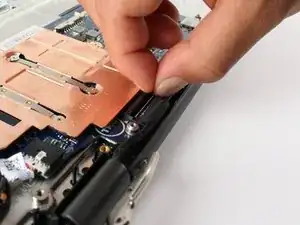
Using a Phillips #0 screwdriver, remove the single 3mm Phillips head screw holding down the small metal bracket that covers where the small black and white wires connect to the motherboard.
-
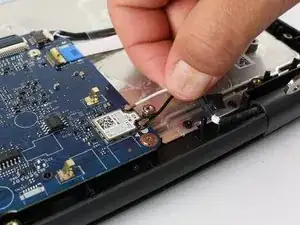
Once this screw has been removed. Unplug these two wires by gently puling them up and away from the motherboard. Hold the wire as close to the end as possible.
-
-
-
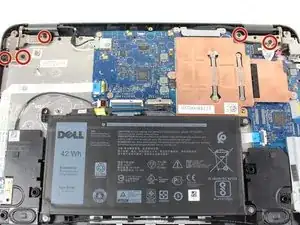
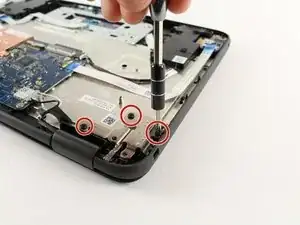
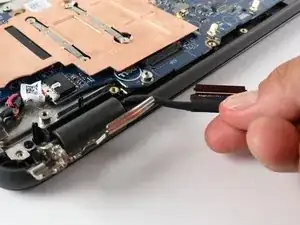
Using a Phillips #0 screwdriver, remove the two 3mm Phillips head screws from the metal bracket that covers where the wrapped cable from the screen attaches to the motherboard.
-
-
-
Remove the screen connector cable. To do this, gently lift up on the black tab where the cable plugs into the motherboard.
-
Once you have lifted the tab, gently pull the cable horizontally away from the motherboard connector to unplug it.
-
-
-
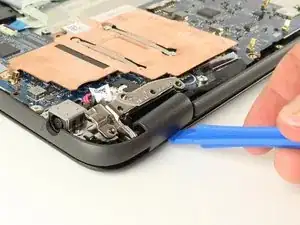
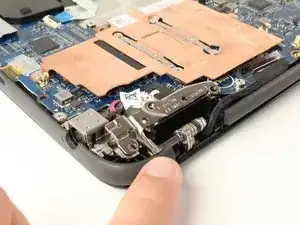
Using a plastic opening tool, remove the plastic hinge covers by inserting the tool into the gap and prying away from the computer.
-
You should now be able to separate the screen assembly from the rest of the laptop.
-
-
-
Once it's separated from the rest of the computer, place the screen assembly face up on your work space.
-
Using tweezers, remove all four stickers covering screws on the front. Stick these to the computer, a few inches from the screw holes.
-
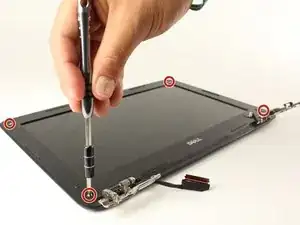
Using a Phillips #0 screwdriver, remove all four 3.5mm Phillips head screws from the front of the display assembly.
-
-
-
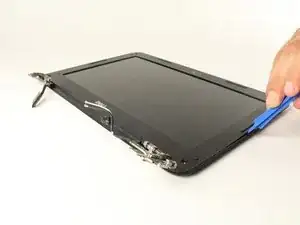
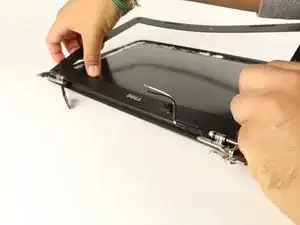
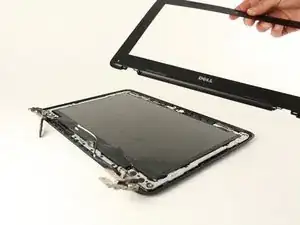
Using a plastic opening tool to start, and then eventually your hands, pry the front most face of plastic off of the screen assembly.
-
-
-
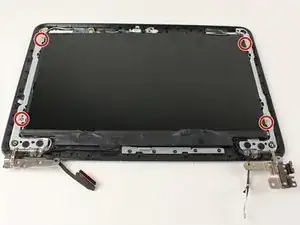
Using a Phillips #0 screwdriver, remove all four silver 3mm Phillips head screws that hold the screen tabs to the bracket.
-
-
-
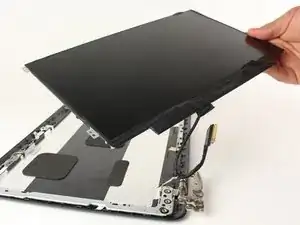
Lift the screen itself away from the rest of the assembly. Place it face down next to the rest of the assembly.
-
-
-
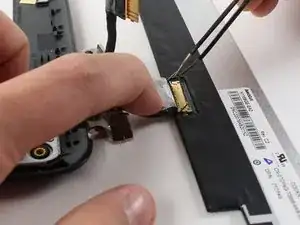
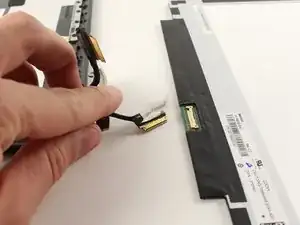
To unplug the screen, use tweezers to lift the small metal wire on the connector, and then gently pull the cable away from the screen.
-
-
-
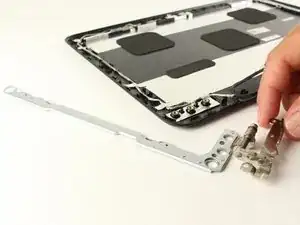
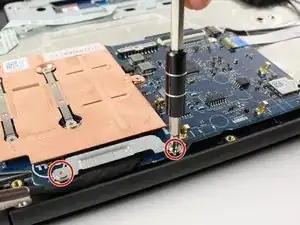
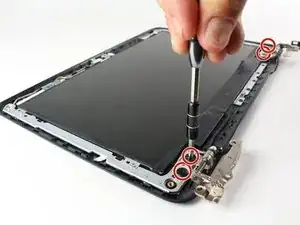
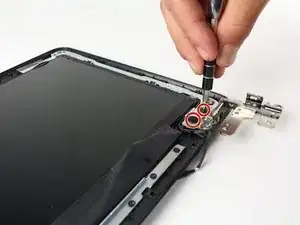
Using a Phillips #0 screwdriver, remove all four of 2.5mm Phillips head screws from the silver metal bracket.
-
-
-
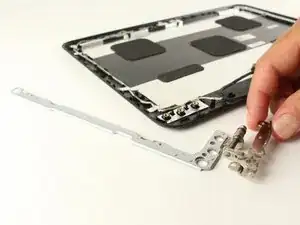
Once the screws have been removed, use a plastic opening tool to pry the metal bracket and hinge assembly off of the plastic backing.
-


To reassemble your device, follow these instructions in reverse order.
I usually skip most all of this and start with the bezel, disconnecting the screen wire AT THE SCREEN, and not at the motherboard. 4 screws around the bezel, and 4 screws in the screen. Leave everything connected and skip to step 12.
Denton Holland -