Introduction
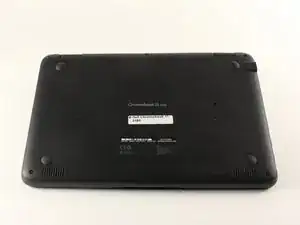
This prerequisite guide will instruct you on how to remove the back cover of your laptop. This is a very straightforward process and will not be a significant time consumer. Once the back cover is removed, you will have access to almost all of the internal components of the computer, so this will be the first thing to do before replacing most, if not all, other components.
-
-
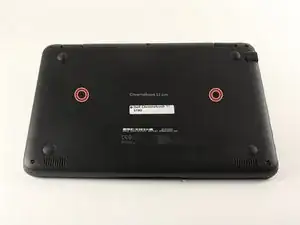
Using tweezers, remove the circular stickers that are covering the two screws near the middle of the back cover. Stick them to the laptop next to the screws.
-
-
-
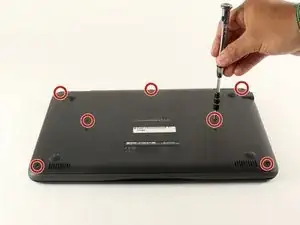
Using a Phillips #0 screwdriver, loosen all seven 2.5mm screws on the back cover of the device.
-
-
-
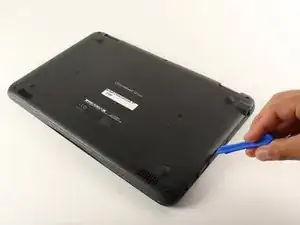
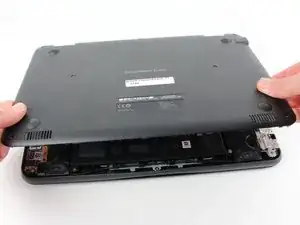
Using a plastic opening tool, begin to separate the back cover from the body of the computer.
-
To reassemble your device, follow these instructions in reverse order.
I usually skip most all of this and start with the bezel, disconnecting the screen wire AT THE SCREEN, and not at the motherboard. 4 screws around the bezel, and 4 screws in the screen. Leave everything connected and skip to step 12.
Denton Holland -