Introduction

In this guide, we will show you how to remove and replace the Hard drive.

  1. nxRAdsG3fjxqNVxC
    • WARNING: Before working inside your computer, read the safety information that shipped with your computer and follow the steps in Before You Begin.

    • WARNING: If you remove the hard drive from the computer when the drive is hot, do not touch the metal housing of the hard drive.

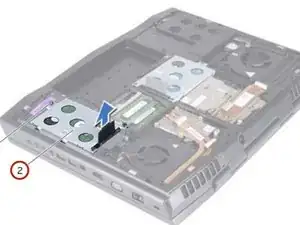
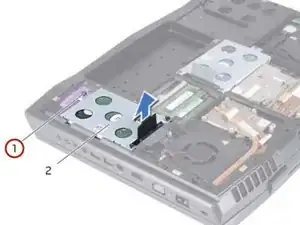
    • Loosen the captive screws that secure the hard-drive assembly to the computer base.

  2. tEIISjBEni6bQN6M
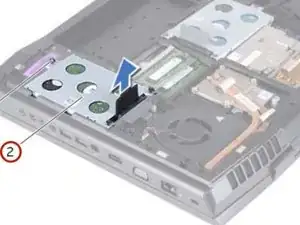
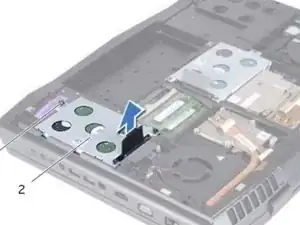
    • Using the pull-tab, lift the hard-drive assembly to disconnect it from the connector on the system board.

  3. YCmqlyVeFJcwbvL6
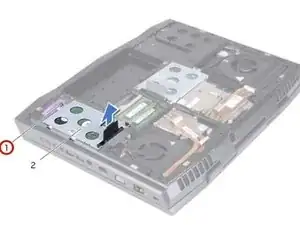
    • Lift the hard-drive assembly out of the computer base.

  4. BG5a5Ubqu6noYfmx
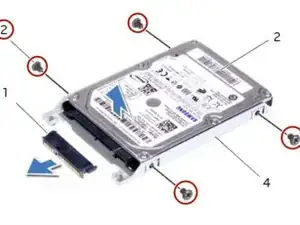
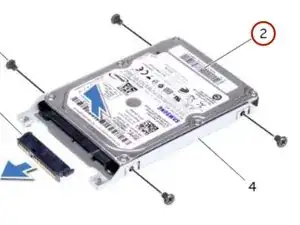
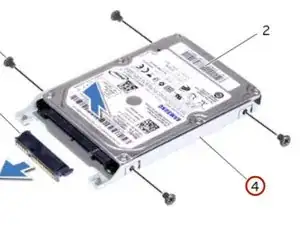
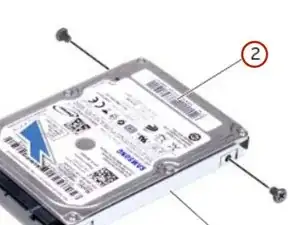
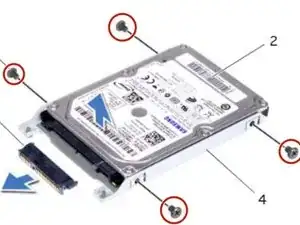
    • Remove the screws that secure the hard drive to the hard-drive bracket.

  5. 6QUarEXilKGTXGWy
    6QUarEXilKGTXGWy
    FLaCSCY6NbDAoYf4
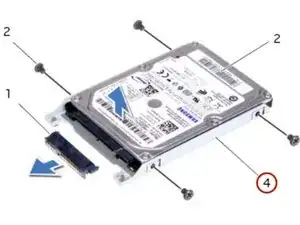
    • Lift the hard-drive off the hard-drive bracket.

  6. HnGwQfjTmRfbRZ5I
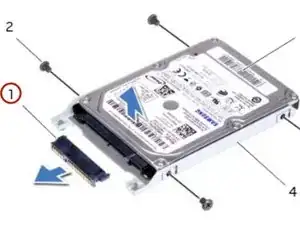
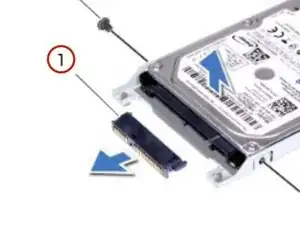
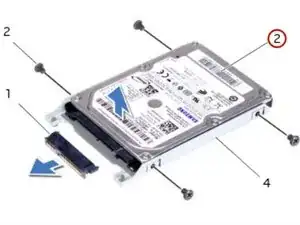
    • Remove the interposer from the hard drive.

  7. AChWr2QqWLPvSZVn
    AChWr2QqWLPvSZVn
    g65SVnOqWCHKyHYd
    • Connect the interposer to the NEW hard drive.

  8. Hyn25pXhMH1HDDJf
    Hyn25pXhMH1HDDJf
    IH4JOvQN2CXWserQ
    • Place the hard drive in the hard-drive bracket.

  9. GWnrycxodSdxCHjJ
    • Replace the screws that secure the hard drive to the hard-drive bracket.

  10. WoE5pLDZRh1DBjuO
    • Align the connector on the hard drive with the connector on the system board and press the hard drive until it is fully seated.

  11. kh5FCJTuAHdPVBaa
    • Tighten the captive screws that secure the hard-drive assembly to the computer base.

Conclusion

To reassemble your device, follow these instructions in reverse order.
Terrence15

Member since: 18/12/17

79034 Reputation

0 comments