Introduction

In this guide, we will show you how to remove and replace the Display Assembly.

  1. uGq5SJIFRNaAedBu
    • WARNING: Before working inside your computer, read the safety information that shipped with your computer.

    • CAUTION: To avoid electrostatic discharge, ground yourself by using a wrist grounding strap or by periodically touching an unpainted metal surface (such as a connector on your computer).

    • Disconnect the antenna cables from the Mini-Card(s).

  2. PFcVxCdc3N6wMZZb
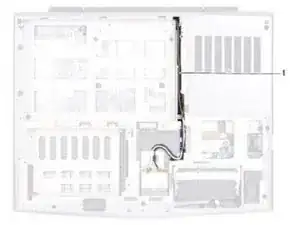
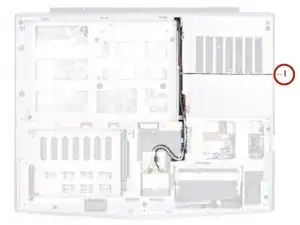
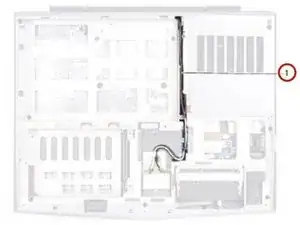
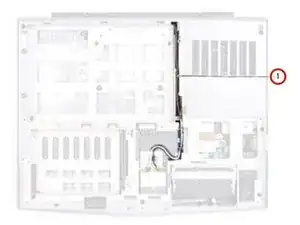
    • Note the routing of the Mini-Card antenna cables and remove them from the routing guides on the computer base.

  3. whWgt2oh1L3pS1Zd
    • Turn the computer over and open the display as far as possible.

  4. BbQkEUJ4x3AiZvNk
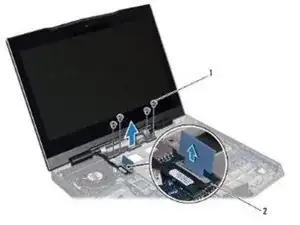
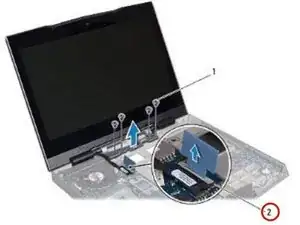
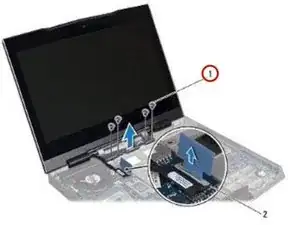
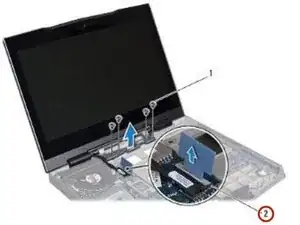
    • Pull the pull-tab to disconnect the display cable from the connector on the system board.

  5. jVAnj6CbIBGCyDFQ
    • Remove the four screws that secure the display assembly to the computer base.

  6. ZBB4N5OMtjSxWFNa
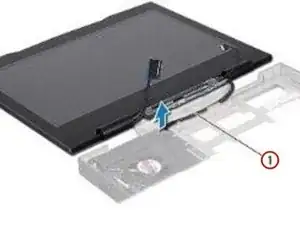
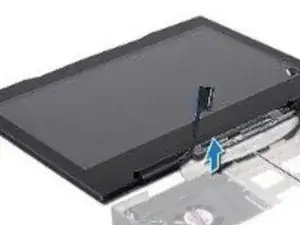
    • Gently slide the Mini-Card antenna cables out through the slot on the computer base.

  7. 4U1FRooiUVtiKLrP
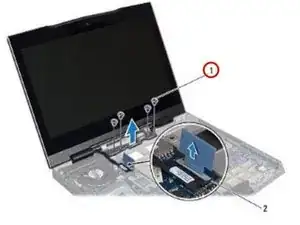
    • Lift the display assembly off the computer.

    • Slide the antenna cables in through the slot on the computer base.

  8. BeB4hmYeKXhmgUNV
    • Place the NEW display assembly in position and replace the four screws that secure the display assembly to the computer base.

  9. NQ6uTA6yblJMKQyM
    • Connect the display cable to the connector on the system board.

  10. YGcJarxnVwgaCy6X
    • Turn the computer over and route the Mini-Card antenna cables through the routing guides on the computer base.

  11. XywpEUNRtr6DEVkm
    • Connect the Mini-Card antenna cables to the Mini-Card(s).

Conclusion

To reassemble your device, follow these instructions in reverse order.
Terrence15

Member since: 18/12/17

79034 Reputation

0 comments