Introduction
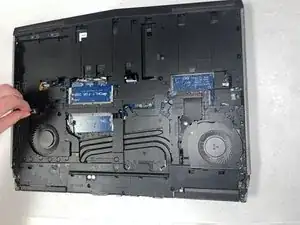
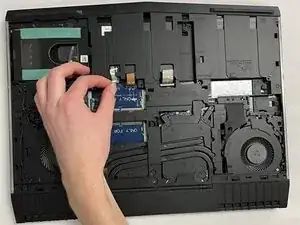
If you need to replace the touchpad in your Dell Alienware 15 R3, this guide will help you do so.
Before you start the repair, be sure to unplug the charger and power off the laptop.
Tools
-
-
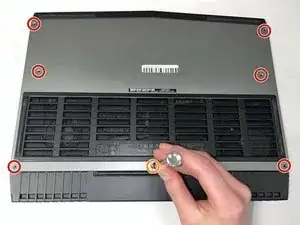
Remove the 6 M2.5x13 screws holding on the back cover.
-
Remove the 1 M2x3 at the rear of the device that is holding the back cover on.
-
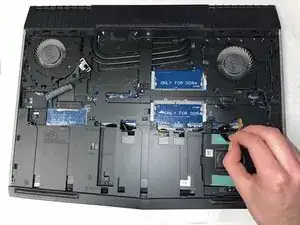
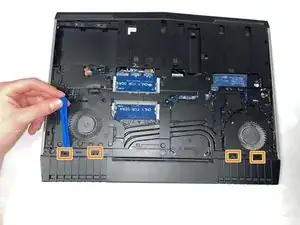
Gently pry on sides of the back cover with the iFixit Opening Tool to release tabs.
-
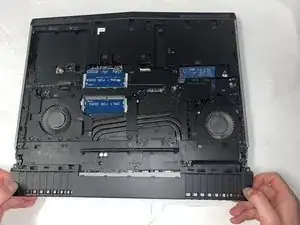
Pull up and backwards to remove the cover from the computer.
-
-
-
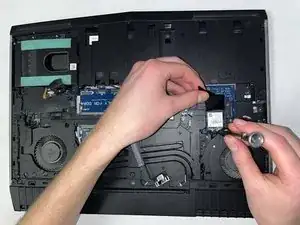
Remove the M2x3 screw holding the wireless card into place.
-
Lift and slide the wireless card from its slot.
-
-
-
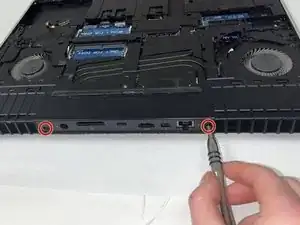
Remove the two M2.5x6 screws connecting the rear cover to the computer.
-
Gently pry the rear cover with the iFixit Opening Tool to release the 2 tabs on each side.
-
Slide the rear cover from the computer.
-
-
-
Remove the light cable between the hard drive port and fan.
-
Open the latch and remove the keyboard cable. Open the latch and remove the keyboard backlight cable. Open the latch and remove macro keys cable.
-
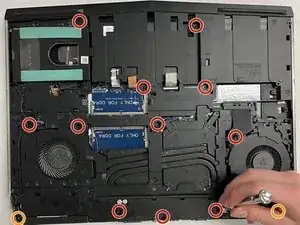
Remove the 11 M2.5x8 screws holding the base to the computer.
-
Remove the 2 M2x3 screws.
-
-
-
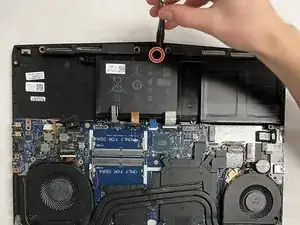
Remove the M2.5x5 screw holding the battery to the computer.
-
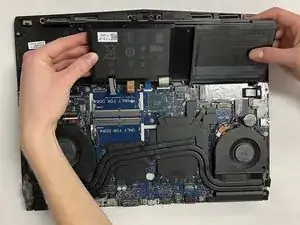
Remove the battery from the computer.
-
-
-
Lift the latches and disconnect the blue touchpad cable from the motherboard.
-
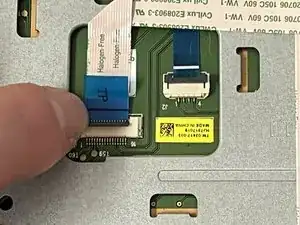
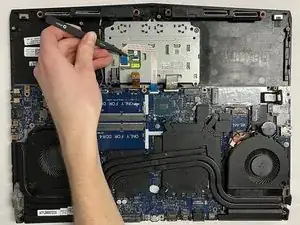
Lift the latch and disconnect the touchpad cable from the touchpad.
-
Lift the latch and disconnect the smaller touchpad cable from the touchpad using the iFixit Tweezers.
-
-
-
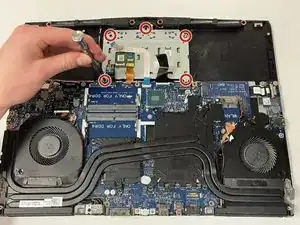
Remove five M2x3 screws securing the touchpad bracket to the computer.
-
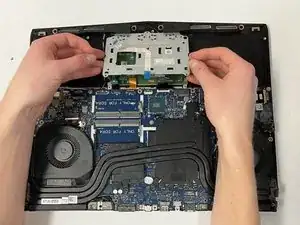
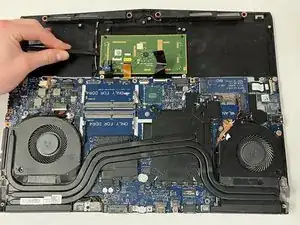
Lift the touchpad housing from the computer.
-
To reassemble your device, follow these instructions in reverse order.
