Introduction

  1. ugaRUHPSOvfFUTvZ
    ugaRUHPSOvfFUTvZ
    YkXWVKpkLyJqZUEQ
    XA6lvmKoGmwOofCk
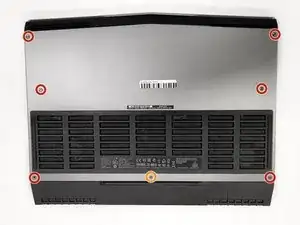
    • Before you begin, turn off the laptop and unplug the charger.

    • Flip the laptop over so that the backside is facing up.

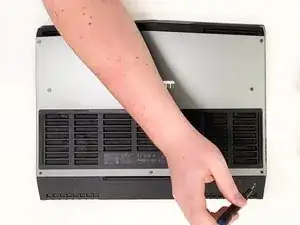
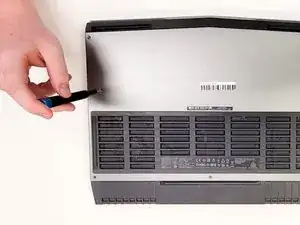
    • Use a Phillips #00 screwdriver to remove the six 13.0 mm screws from the sides of the back case.

    • Use a Phillips #00 screwdriver to remove one 5.0 mm screw from the back of the laptop.

  2. fUNUpWMVqyjxpxFL
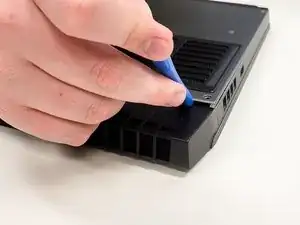
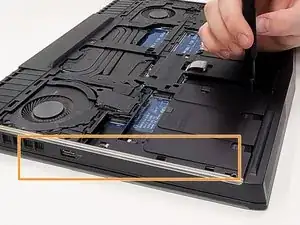
    • Use the opening tool to pry the back case from the computer.

    • Use the opening tool and work your way around the perimeter of the back case to gently release the clips.

    • Start from the black vent for an easier removal.

    • Lift the back case off of the laptop.

  3. 32WCjabHJbsVBp2Y
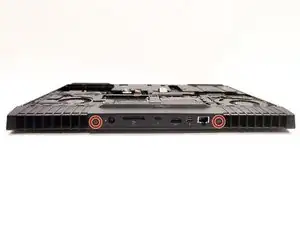
    • Use a Phillips #00 screwdriver to remove two screws from the side of the laptop.

  4. YNPiUCeWDkjAUuuZ
    YNPiUCeWDkjAUuuZ
    yDFDTJJc1UA3sLei
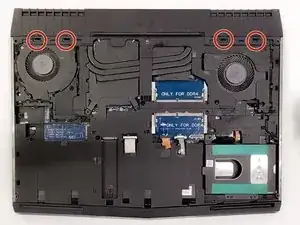
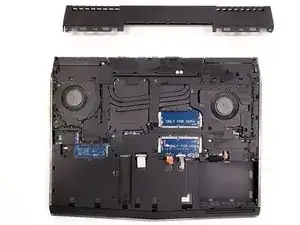
    • Use an opening tool to release the four tabs from the hinge cover and gently pry it off.

  5. 1BrTAjENIIRlxHMb
    1BrTAjENIIRlxHMb
    LLGQigK2VlVfaKQl
    yDnaadj4P4Eji3II
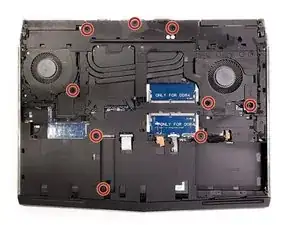
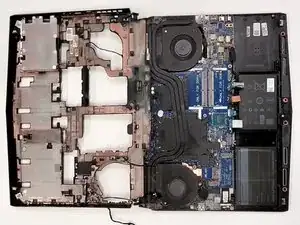
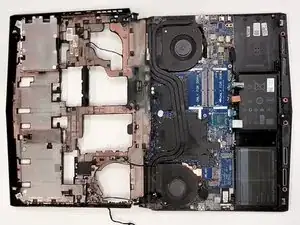
    • Use a Phillips #00 screwdriver to remove nine screws from the chassis.

    • Use a spudger or opening tool to remove the chassis and reveal the battery, fan, motherboard, and other components.

    The Wlan cable holds the base to the computer along with a little wire in the back left corner.

    darkdestroyer66 -

    Mine has 12 screws not 9. one card also to remove, (held by screw), and 2 sets of connectors

    Sean -

Conclusion

To reassemble your device, follow these instructions in reverse order.
Jake Nelson

Member since: 22/09/22

581 Reputation

0 comments