Introduction

In this guide, we will show you how to remove and replace the Hard Drive.

  1. PUwSKpUoIjnLZSTG
    PUwSKpUoIjnLZSTG
    JYjC5pFlNHvfiNca
    • WARNING: Before working inside your computer, read the safety information that shipped with your computer and Before Working Inside Your Computer. After working inside your computer, follow the instructions in After Working Inside Your Computer.

    • CAUTION: Hard drives are fragile. Exercise care when handling the hard drive.

    • CAUTION: To avoid data loss, do not remove the hard drive while the computer is in sleep or on state.

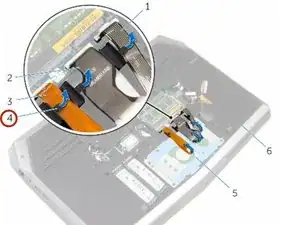
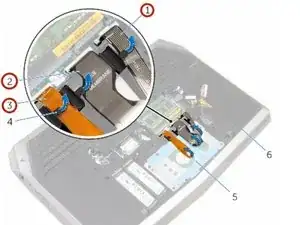
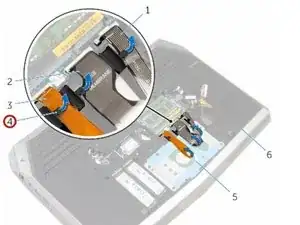
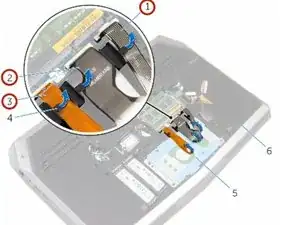
    • Remove the keyboard-backlight cable, keyboard cable, and macro-keys cable from the routing guides on the computer base.

  2. VcVEDMGd23MhIZGR
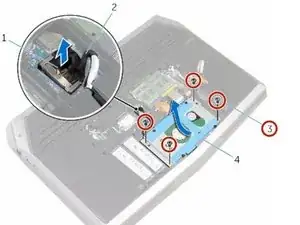
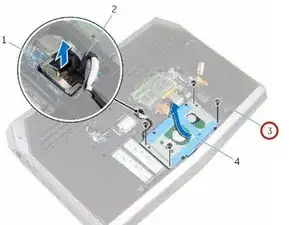
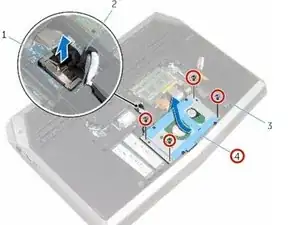
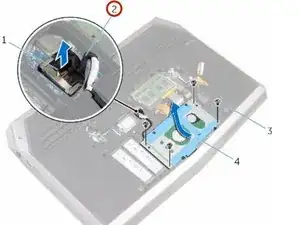
    • Remove the screws that secure the hard-drive assembly to the computer base.

  3. YsnuLkcJoV4JG3CO
    YsnuLkcJoV4JG3CO
    OPTduGmoSZyvTcsM
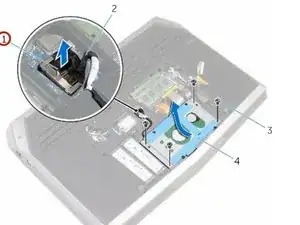
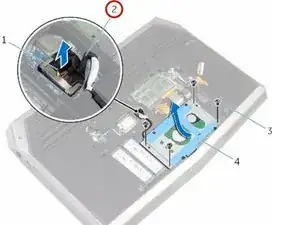
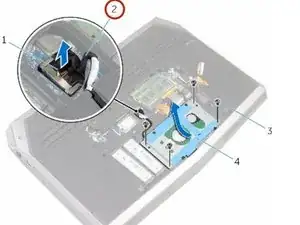
    • Using the pull tab, disconnect the hard-drive cable from the system board.

  4. pZyYRTjZdeYOxGJP
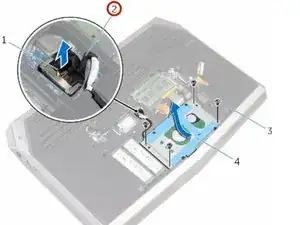
    • Note the hard-drive cable routing and remove the cable from the routing guides on the computer base.

  5. YRdlYIi5T5xnHDmZ
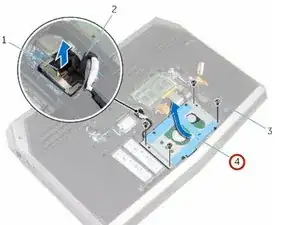
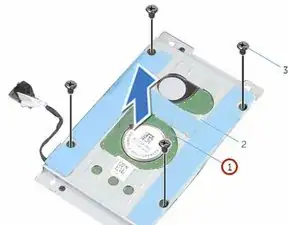
    • Lift and slide the hard-drive assembly off the computer base.

  6. dAYcuM5gBEgD5fFG
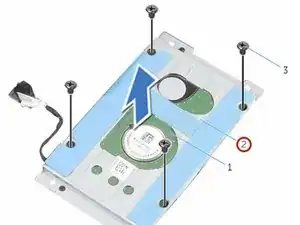
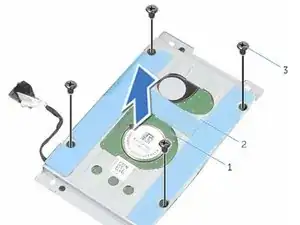
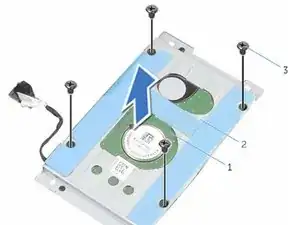
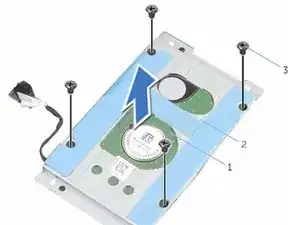
    • Remove the screws that secure the hard-drive bracket to the hard-drive assembly.

  7. uE1krYDCRjfHde2C
    uE1krYDCRjfHde2C
    co4PJyVOSrnvn6aE
    • Lift the hard-drive bracket off the hard-drive assembly.

  8. wJxusTOTq1yImpN2
    wJxusTOTq1yImpN2
    1LNM5hRJxtEXq3tg
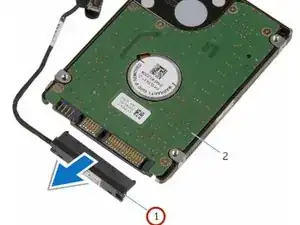
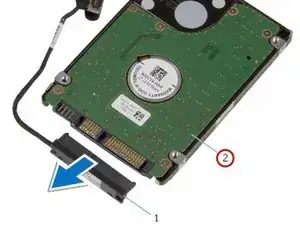
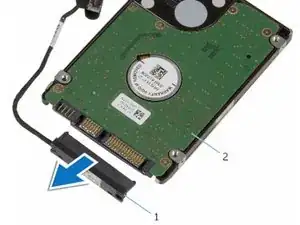
    • Disconnect the interposer from the hard drive.

  9. gyBO4SPXxfW2WOhF
    • Connect the NEW interposer to the NEW hard drive.

  10. YsYP4DkZHSheMwT6
    • Align the screw holes on the hard-drive bracket with the screw holes on the hard-drive assembly.

  11. 3plcMxNMIpDXoip6
    • Replace the screws that secure the hard-drive bracket to the hard-drive assembly.

  12. C1GeHrnhCxtIwVQ4
    • Slide the hard-drive assembly under the tab on the computer base and align the screw holes on the hard-drive assembly with the screw holes on the computer base.

  13. tL3tACMUpFl5dl53
    • Replace the screws that secure the hard-drive assembly to the computer base.

  14. ZxnJYfbb4Qrc22Ms
    • Route the hard-drive cable through the routing guides on the computer base.

  15. JYjVyGHnOBpLIidC
    • Connect the hard-drive cable to the system board.

  16. 5vLpMtAifvck2hCa
    5vLpMtAifvck2hCa
    m64mN1wQqsjuDTpN
    • Route the keyboard-backlight cable, keyboard cable, and macro-keys cable through the routing guides on the computer base.

Conclusion

To reassemble your device, follow these instructions in reverse order.
Terrence15

Member since: 18/12/17

79034 Reputation

0 comments