Introduction
WARNING : Before working inside your computer, read the safety information that shipped with your computer and follow the steps in Before working inside your computer. After working inside your computer, follow the instructions in After working inside your computer.
To replace the hard drive of an Alienware 15, you will first need to remove the base panel. After that, you'll need to move some cables before you can get to the hard drive.
Tools
Parts
-
-
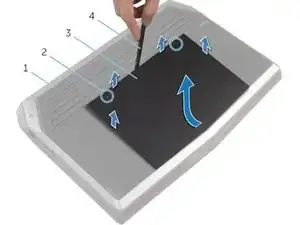
After the computer base (#1) is facing up, use a Philips screwdriver to remove the two captive screws (#2) which hold the base panel (#3) down.
-
Then, use a spudger (#4) to lift up the panel. You can also use your fingernail to lift it as well.
-
After the front has been lifted up a bit, the non-screw side of the panel will need to be slid forward a little to finish lifting out the base panel from the computer.
-
-
-
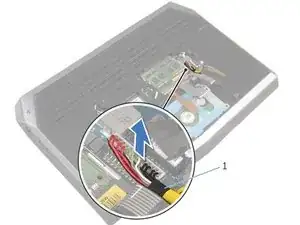
Disconnect the battery cable from the system board by pulling up on the battery connector (#1).
-
Turn the computer back over and open the display to the point where you can press the power button.
-
Press and hold the power button for 4 seconds to ground the system board so that you can safely remove components such as the RAM.
-
-
-
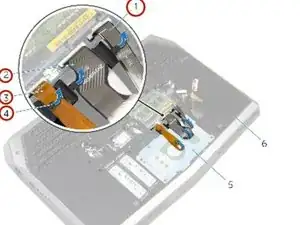
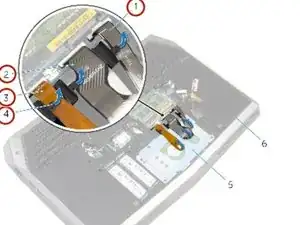
Remove the keyboard-backlight cable, keyboard cable, and macro-keys cable from the routing guides on the computer base. You do not need to unlatch these cables from their connectors.
-
-
-
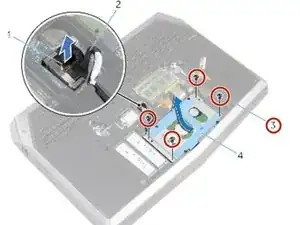
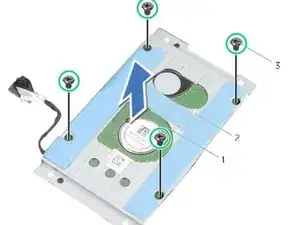
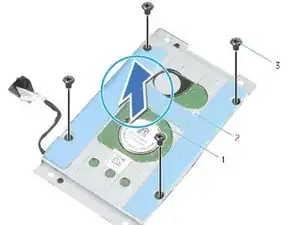
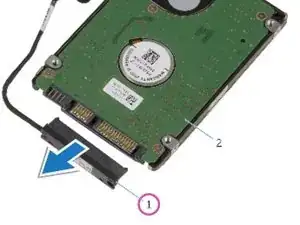
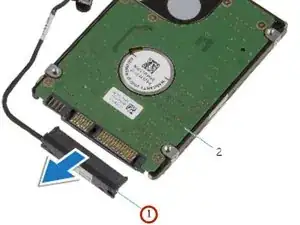
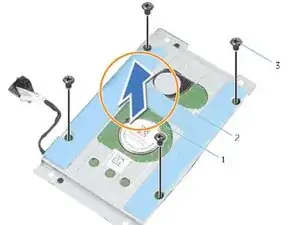
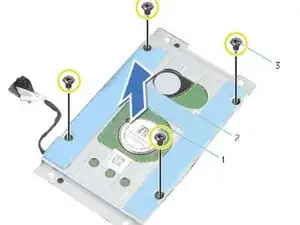
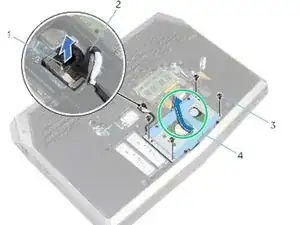
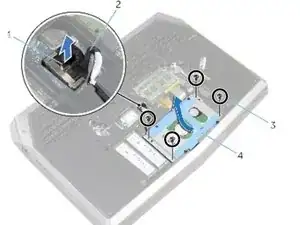
Align the screw holes on the hard-drive bracket with the screw holes on the hard-drive assembly.
-
-
-
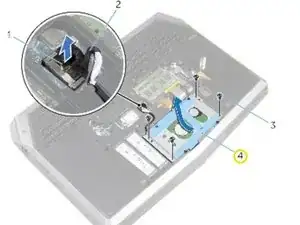
Slide the hard-drive assembly under the tab on the computer base and align the screw holes on the hard-drive assembly with the screw holes on the computer base.
-
-
-
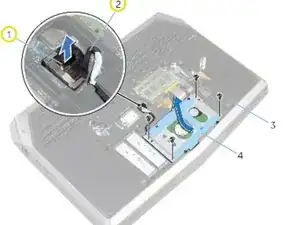
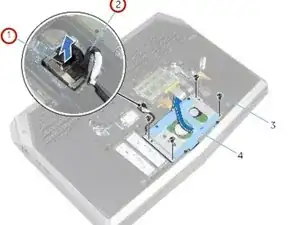
Route the hard-drive cable through the routing guides on the computer base.
-
Connect the hard-drive cable to the system board.
-
-
-
Route the keyboard-backlight cable, keyboard cable, and macro-keys cable back through their routing guides on the computer base.
-
If you have followed all these instructions, then your hard drive should be reinstalled!
